Making your own enclosures
This page compiles instructions on how to make your own enclosures. We normally use digital fabrication techniques that can be found in a Fablab such a 3D printing, laser cut or CNC machines. Have a look at the best option for your possibilities. We also encourage you to modify any of them and contribute it back to the community in the enclosures repository.
Where to print/cut?
Have a look at Hubs or look for a Fablab near you!
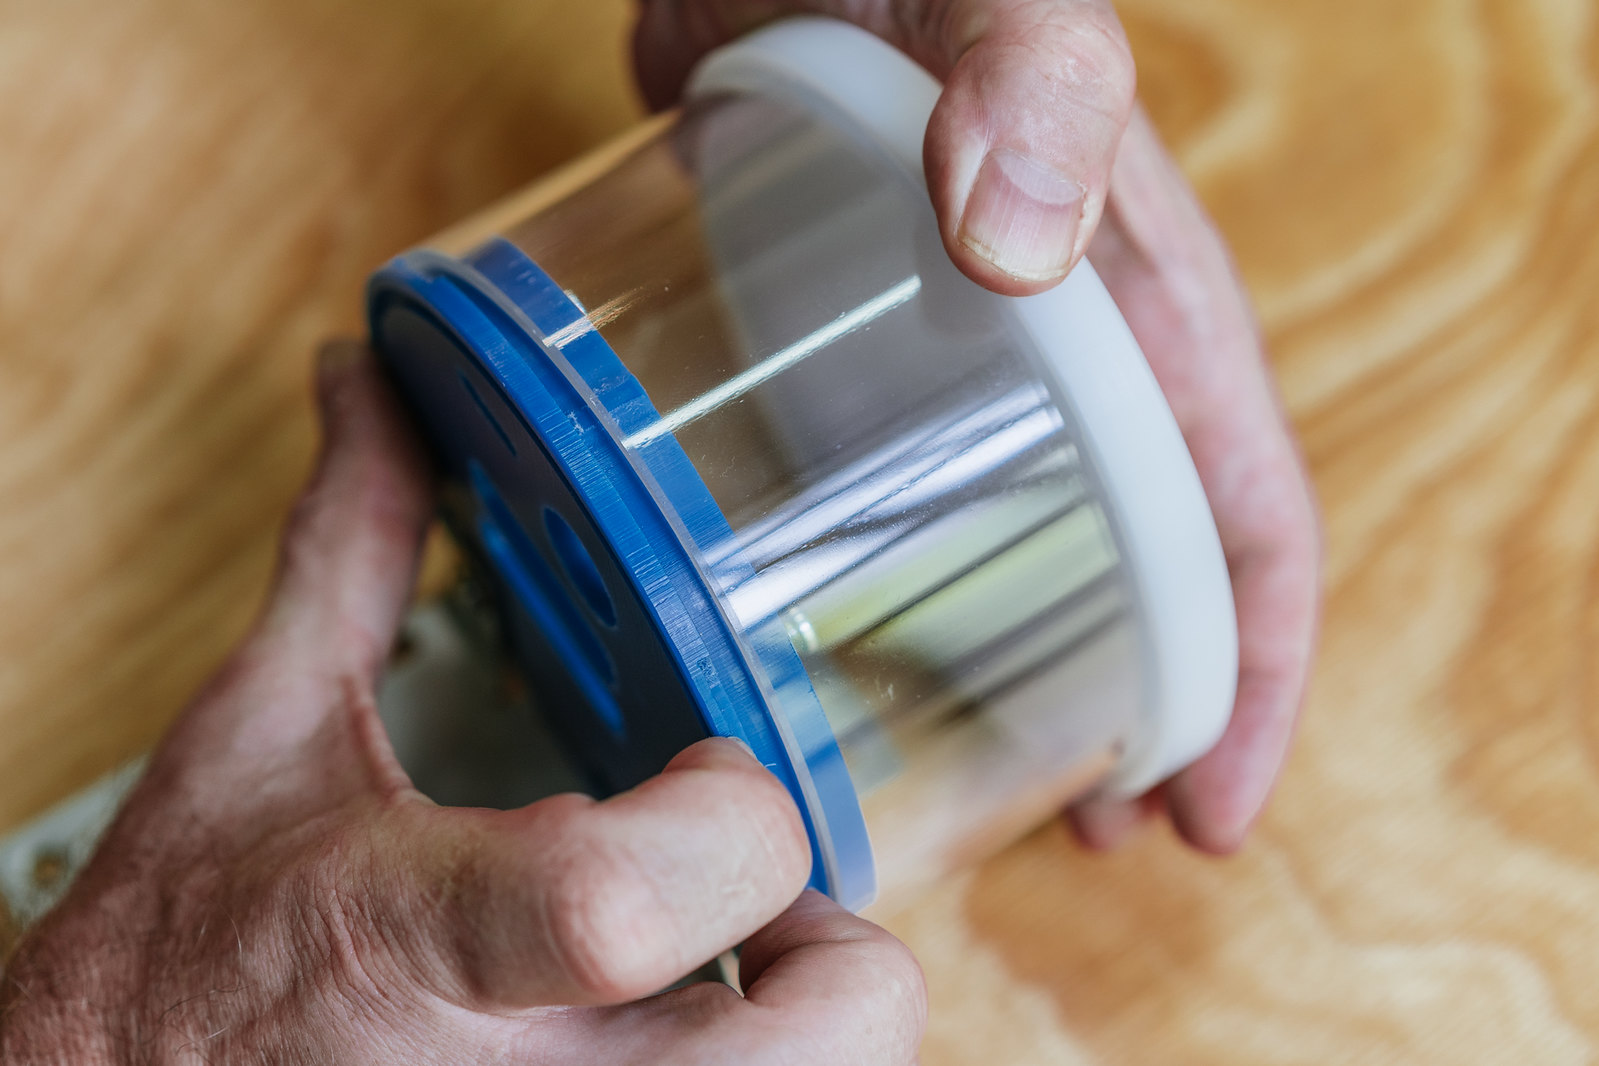
CNC Enclosure
This enclosure is made out of a mix of HDPE, acrylic and 3D printed compontents. All the design files can be find in various formats in the enclosures repository.

3D printing parts
Clip

The SCK and the PMS5003 are held together by a 3D printed clip. No support is needed for this part. The clip is attached to the base with screws.

There are two versions of the clip:
- One for big batteries that uses an o-ring to hold the battery in place. You can also use a rubber band, but it won't last long under the sun - clip_big_batt.stl
- One for smaller batteries that uses the PMS5003 cable to hold the battery (valid for default battery of 2000mAh) - clip_wo_oring.stl
Cable gland
There is a small cable gland (part 1 and 2)that fits into the HDPE blue base to hold the cable in place. It's split into two, so that the USB head can go through.
Foam cover
An additional foam cover has been included for high humidity environments. The print settings in SliC3r need to be adapted with:
- 0.2mm layer height
- Detect thin walls
CNC'ed parts
CNC milling of 15mm HDPE sheets for the base (we make it in blue), and 10mm for the top (we make it in white).
Base
The base is made out of a ouble sided milling on blue HDPE. The holes are for self-tightening screws (such as these ones). The bottom side has a channel for avoid water dripping into the sensors and break the flow. It also has small machined slots for easier disassembly:
An additional cap is added to cover the hole in case no cable is needed.
Top cover
The top cover is a single sided milling in white HDPE. The part has a stepped milling for letting heat out, without letting water in.
Sheet metal
This plate is meant for attaching the whole system to a wall or pole, as well as supporting the installation of an external power supply in an IP65 box. The sheet is 1mm stainless steel with laser cutting and bent in two edges 90º.

3D printed Enclosure(s)
This enclosure is meant to be fully 3D printed in PLA in a normal desktop 3D printed machine.
This design is not aiming to be the best design in the world, but one that anyone can make and modify such as our contributors.

Printing settings

We have tested the 3D printed components with both PLA or ABS. Good results are achieved with a normal 0.4mm nozzle and 0.2 layer height. No raft or brim are needed.
Components
Clip
The SCK and the PMS5003 are held together by a 3D printed clip. No support is needed for this part.
Base and top covers
Base and cover parts at different sizes too or transparent. Support is not needed for these part. A gasket can be added to the joint with adhesive foam. You can increase the top's thickness if you need better isolation, or use the foam provided with the SCK's box as an insulator. Also, tin foil is quite a good reflective material and helps with sun radiation.
A very DIY enclosure
Warning
Keep in mind that casing is designed for short outdoor deployments. If you want a case for long exhibitions abroad, we will soon have a much more rugged enclosure ready! Also, feel free to explore all our enclosures repository for this and other versions of our hardware.
Step by step
First, you will need the two 3D printed clips. You can download the STL file and print them easily on any RepRap or similar FDM printer. If you don't know how to find a 3D printer, you can look for your nearest Fab Lab or use 3D Hubs.
1.Use scissors to cut an empty plastic bottle at about 12 cm from the top

2.Use the rubber band to fix it using the bottle cap

3.Place the Kit inside and use the rubber band to hold it

4.You have now a simple enclosure to use your Kit outdoors for short measurement periods!

