Atlas DO
A galvanic probe that can measure dissolved oxygen in water.
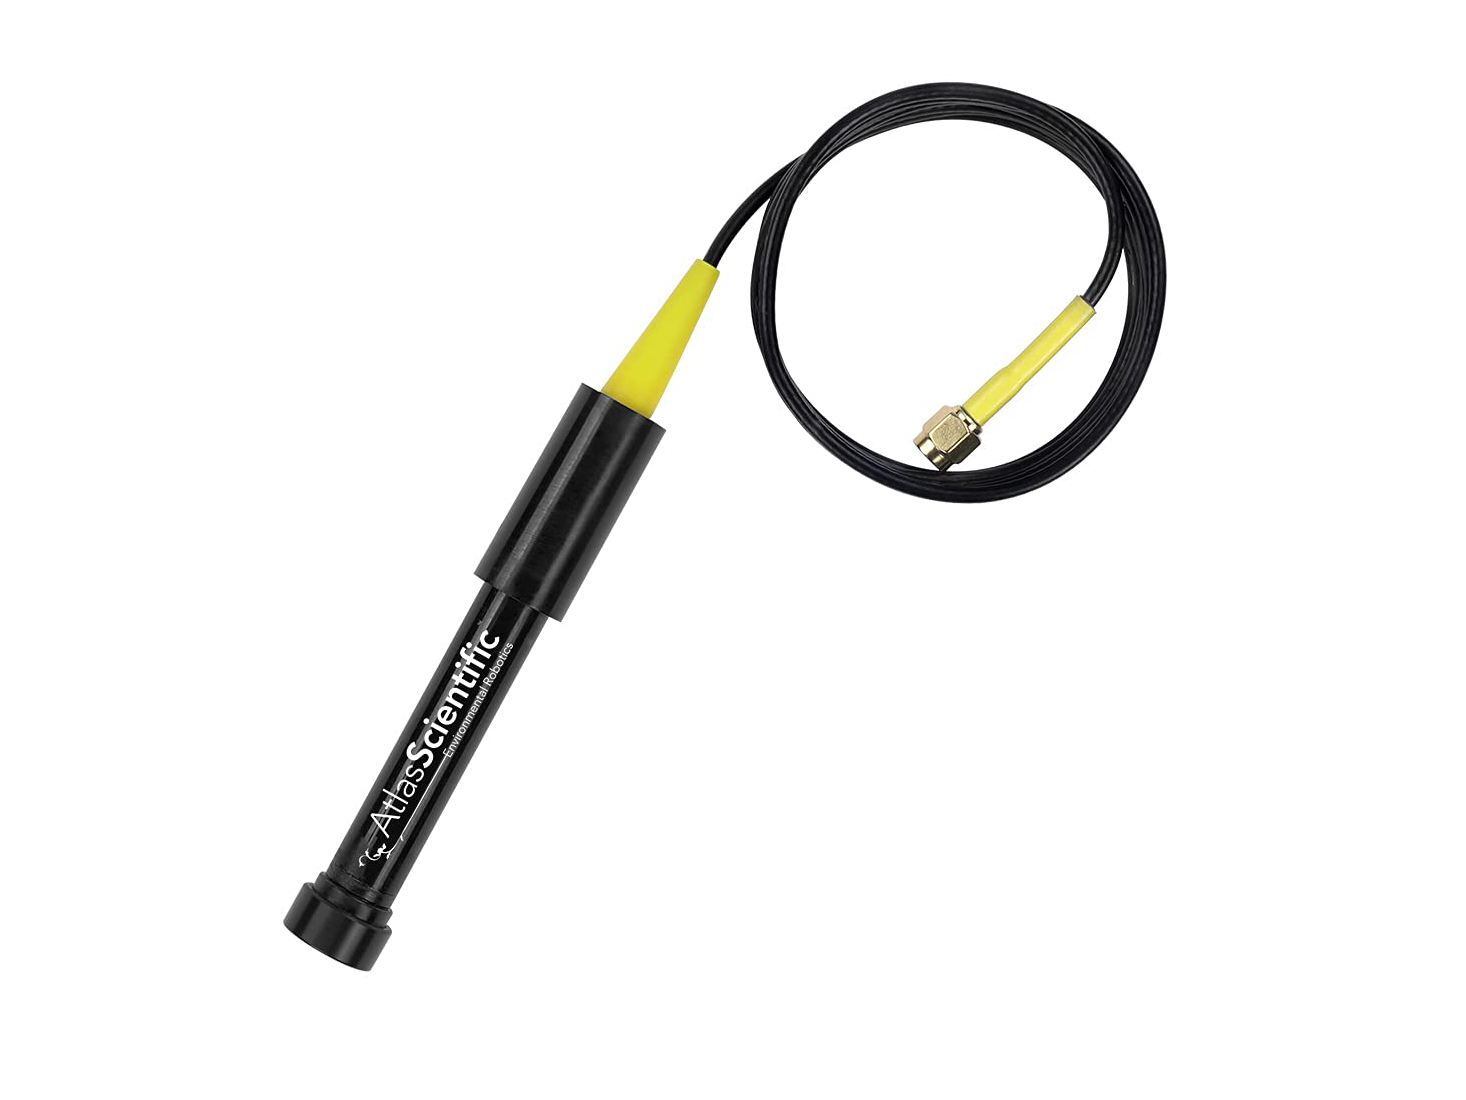
Image Credit: Atlas Scientific
Working principle
This Atlas Scientific dissolved oxygen probe consists of a teflon membrane and two electrodes, one of them in an electrolyte solution. Oxygen passes through the Teflon membrane, and as it shrinks in the cathode, a voltage difference is created between them, which we can measure. This type of probe is referred to as galvanic, and consumes some oxygen when you take readings. Therefore, it is necessary to move the probe or water around a little (without aerating it).
The sensor can be completely submerged, and has the following features (a selection is listed here, but you can find a complete description in the datasheet):
- Range: 1-50mg/l
- Maximum water depth: 70m
- Response rate: ~0.5 mg/l/per second
Taking care of your sensor
Since the electrolyte is part of the reaction with the oxygen inside the probe, it is consumed over time. Normally, it takes about 6 months for the electrolyte to be depleted. Therefore, it is recommended that the electrolyte solution and Teflon membrane be replaced every 6-12 months.
Before doing anything, review the datasheet:
Usage and considerations
How to prepare the sensor
This sensor comes in several sizes, depending on how much electrolyte solution it has. Check the sensor for electrolyte before use.
You may see Potassium Chloride (KCl) formation on the probe. Clean it with distilled water, without scrubbing harshly, and use it normally.

SOURCE: ThermoScientific - KCl Creep
Calibration
If the sensor is not calibrated, follow the procedure described below.
Calibration
Warning
When calibrating don't use the normal read sensor command, this command applies temperature/salinity compensation, calibration should be done without any compensation. Instead you should use control sensorName com,r and that will return the raw metrics that sensor can provide. On the documentation of each sensor calibration procedure we describe the format of this metrics.
You have two options for this calibration:
- Single point calibration (dry point)
- 2-point calibration (dry point and 0 mg/l point) - only if you need accurate readings below 1mg/l
Make sure you have followed the probe preparation above before proceeding with this calibration.
Datasheet
Here you can find the datasheet:
- Calibration info on page 9
- Calibration commands on page 52
Example commands (you can put control ox, control oxygen or control dissolved oxygen - however! do not put control dissolved as it will use TDS)
control ox com,r
control ox com,cal
control ox com,cal,0
control ox com,cal,clear
control ox com,cal,?
Pressure compensation
If the sensor is going to be used at more than 10 meters deep into the water Pressure compensation should be set with:
control ox com,P,kPaValue
More information on datasheet, page 57
OPTION 1: Single point calibration
First calibrate, compensate later
Temperature, salinity and pressure compensation values have no effect on calibration.
-
Read the sensor multiple times until the reading is stable:
control ox com,r 13.95,50% control ox com,r 13.76,49% ... -
Issue the calibration command, after this the readings will change. In this case, there is no need to add any value after
cal. The sensor will take the current reading as the dry point.control ox com,cal
Be careful
If at any point of the calibration process you see akward readings (for instance, that using a 0mg/l solution for dissolved oxygen you see weirdly high values), it is better to start over. For this, proceed with:
control ox com,cal,clear
And start from the beginning.
OPTION 2: 2-point calibration
Two point calibration is recommended if you require accurate readings below 1.0 mg/l. After completing the single point calibration procedure put the probe in the calibration solution.

-
Read the sensor multiple times until the reading is stable:
control ox com,r 13.95,50% control ox com,r 13.76,49% ... -
Issue the calibration command. In this case, you have to input the value of the calibration solution too, for example 0:
control ox com,cal,0
Reset your SCK and you are ready.
How to take measurements
Choose, depending on whether you're going to take a sample and then measure it in the lab, or if you're going to submerge the sensor directly.
Taking a sample
- Insert a bottle about halfway into the desired sample area, letting the water enter the bottle very slowly. If there's a lot of movement, allow the water to overflow for a couple of minutes, or at least until the water has been renewed two or three times in the bottle.
- Check that there are no water bubbles before removing the bottle from the water - if there are any near the neck of the bottle, which is where they usually accumulate, tilt the bottle and let them out.
- Fill the bottle as much as possible to avoid bubbles. If when turning the bottle there are bubbles, throw the sample and start again.
- Do not use funnels or intermediate containers, or pour water from one container to another, because doing so will inevitably aerate the sample. Use a rubber tube and transfer the water from one container to another, with the end of the tube that is in the container you want to fill at the bottom of it.
Submerging the sensor directly
- It is necessary to calibrate the probe beforehand, as indicated in the previous section.
- If you take a sample, do so by avoiding aerating it, as indicated above.
- Insert the probe into the sample and take several readings. If it takes a long time to stabilize, gently remove the probe, but don't shake it, as this could cause changes in the reading!
- When the readings are stable, take that value as valid and write it down.
A double-check never hurts
If you can, check the measurement with calibration solution after each reading.

Factory reset procedure
Why is this needed?
You may need to do a factory reset for water sensors for different reasons. However, the most common case is a wrong calibration process and it's very much related to a wrongful automatic temperature compensation of the sensor while calibrating the sensor.
To explain further: EC, DO and pH sensor readings are automatically compensated by temperature readings. If there is an existing temperature correction in the EZO driver, or there is a correction in the middle of the calibration process, the data available for the calibration process will be invalid. Follow the steps below to be make sure there is no correction while you calibrate the probes.
Each EZO driver has it's independent calibration and status. This process needs to be done per driver (i.e. per EZO metric). To make a factory reset procedure for the EZO drivers follow the steps below:
-
Make sure that the Smart Citizen Data board will not take any readings while you follow the calibration process. The best option is to reset the configuration to the defaults. Make sure you back-up your information before:
- The config command will output your current configuration. Copy it and keep it safe:
config- Then issue the default configuration:
config -defaults- The LED should be red now (the Data Board is in Setup mode)
-
Issue the factory reset command to the driver in question. For instance, for the conductivity one:
control cond com factory 0 -
Now you can check what the status of the device is:
control cond com cal,? ?CAL,0 -
Reset the kit
-
Follow the calibration process as you would normally would.
-
Reconfigure the kit using the
configcommand, by putting back the information you backed-up before:config -mode ...
Danger
After finishing the calibration process restart your SCK to start from a clean state.