Atlas pH
The pH probe is a very delicate submerged electrode in a thin glass bubble.
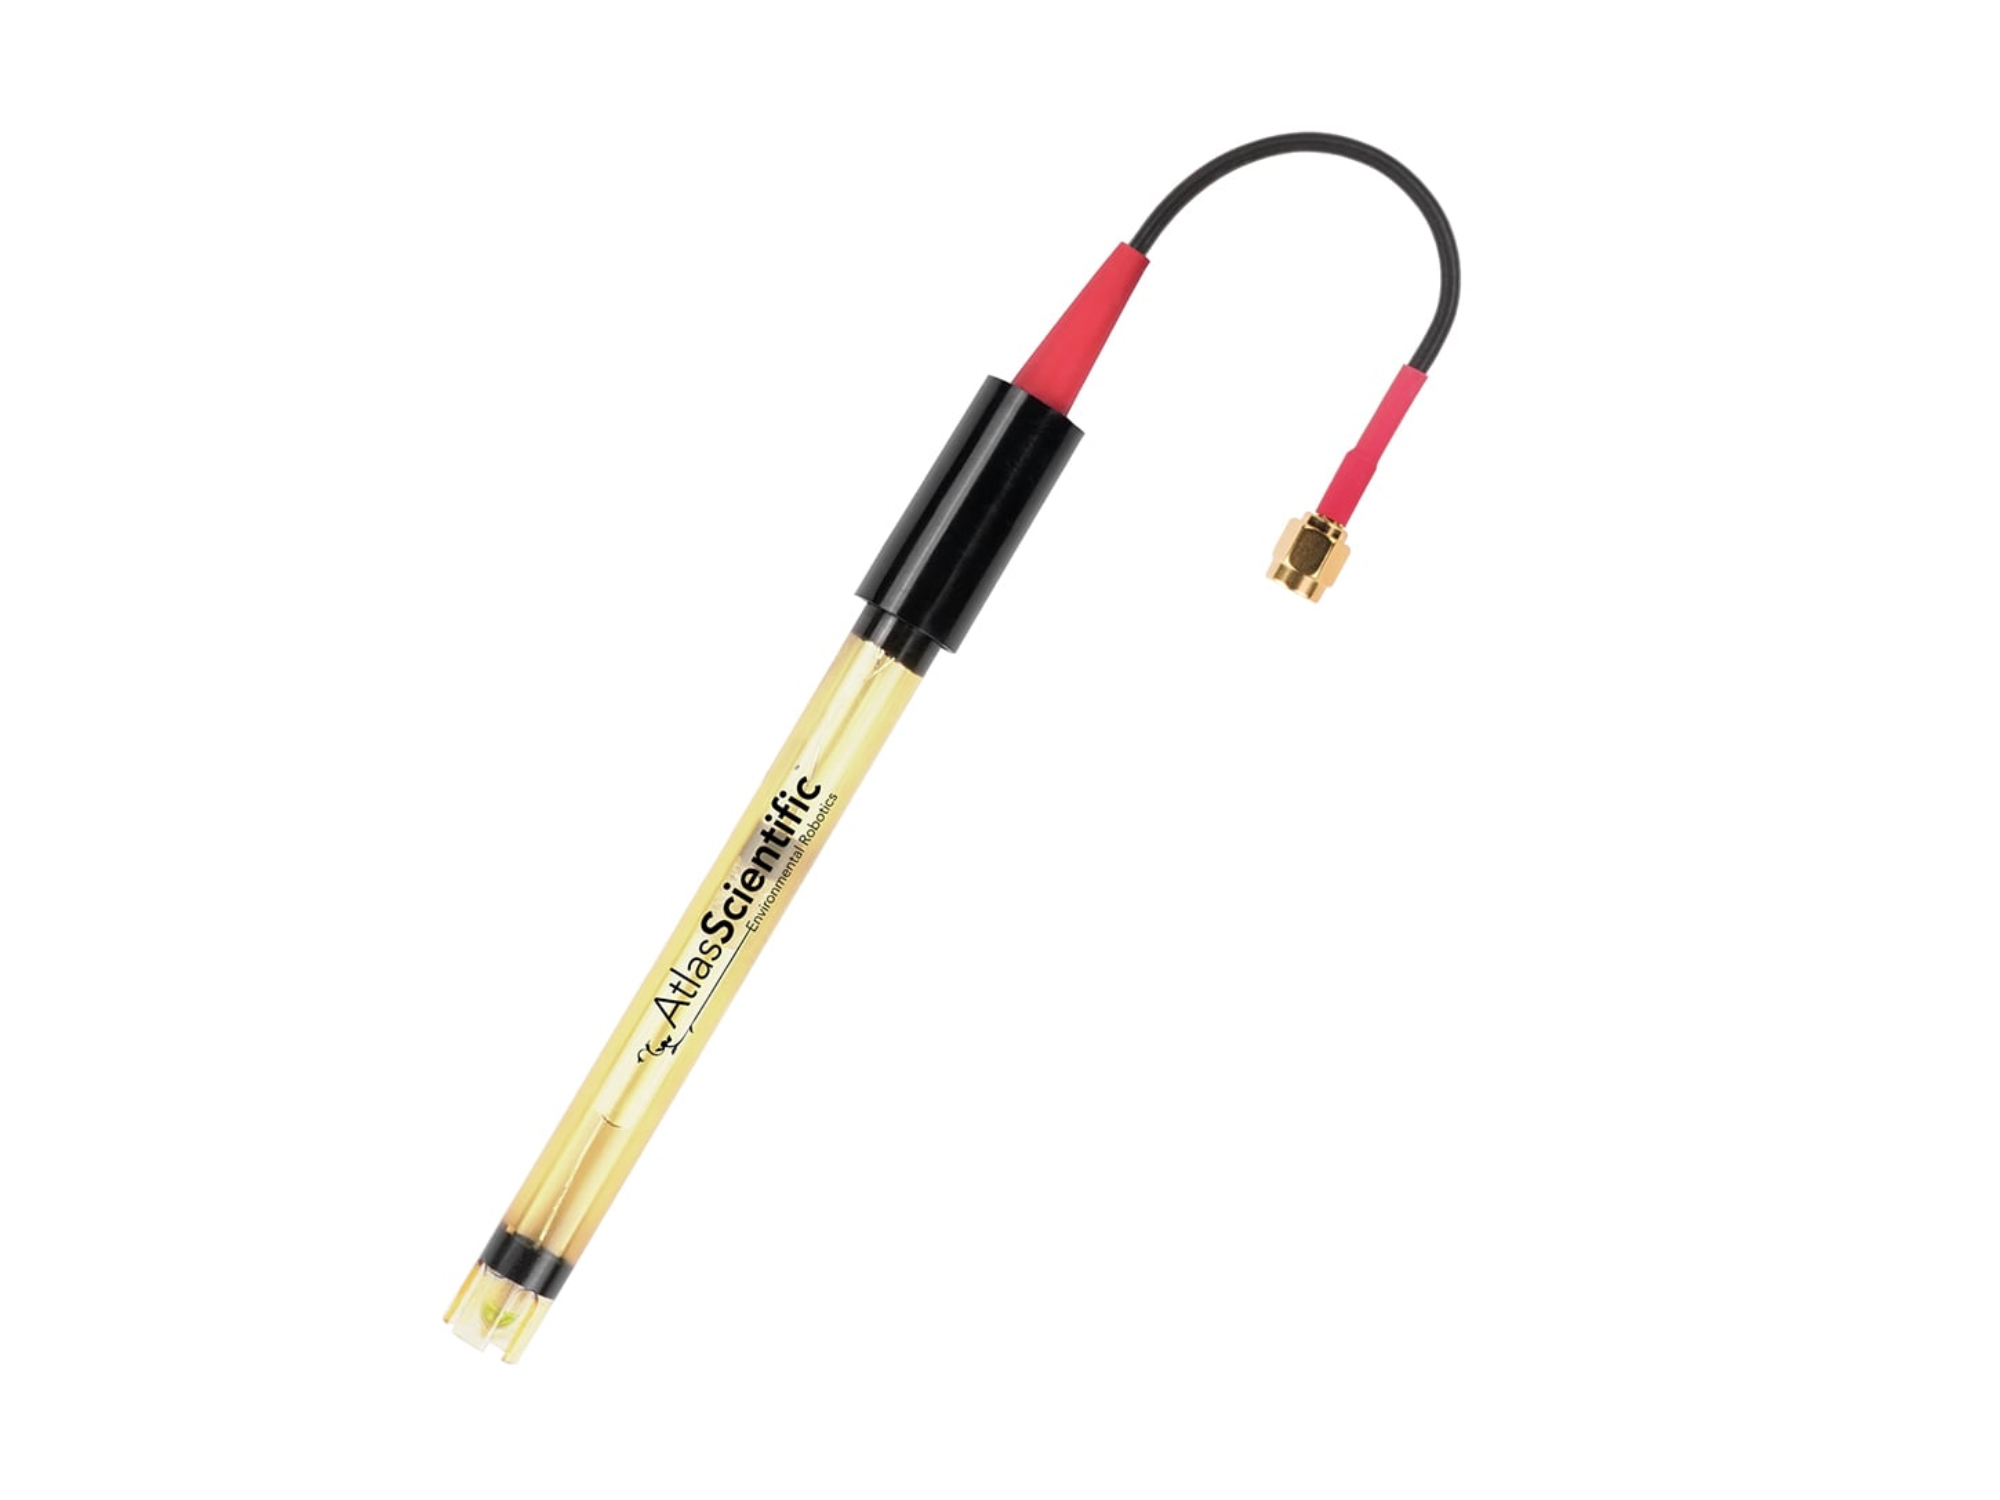
Image Credit: Atlas Scientific
Working principle
This Atlas Scientific pH sensor is composed of a crystal membrane (which is very delicate) through which some hydrogen ions of water can pass and generate a very small current which are then measured with an electrode.
The sensor can be completely submerged, and has the following characteristics (a selection is listed here, but you can find a complete description in the datasheet):
- pH range: 1 to 13
- Maximum depth in water: 35m
- Response speed: 95% in 4s
- Safe for use in food/beverages
Before doing anything, review the datasheets:
Check Atlas Scientific pH page for the datasheets.
Usage and considerations
Preparing the sensor
To remove the sensor from the protective canister:

SOURCE: Atlas Scientific
The pH sensor should be kept moist during sample preparation. You may see potassium chloride (KCl) forming on the probe. Clean it with distilled water, gently, and use it normally.

SOURCE: ThermoScientific - KCl Creep
Treat it with care!
The pH sensor is very delicate and has a crystal bubble at the tip. Use it carefully, and above all do not hit it. It is not a good idea to immerse it in soil or substances that are difficult to clean.

Storage solution
This probe needs storage solution in a small soaker bottle to prevent it from drying out.
If the probe is not being used you need to put the soaker bottle back on.
Calibration
Warning
When calibrating don't use the normal read sensor command, this command applies temperature/salinity compensation, calibration should be done without any compensation. Instead you should use control sensorName com,r and that will return the raw metrics that sensor can provide. On the documentation of each sensor calibration procedure we describe the format of this metrics.
You need to perform a 3-point calibration with the calibration solutions. The solutions vary their pH with temperature, so make sure to check the temperature prior. The pH value at the current temperature can be found on the reference table on the calibration solution bottle. If the current temperature is not on it, use the closest value or use the calculator here.
Datasheet
Here you can find the datasheet:
- Calibration theory on page 11
- Commands on page 52
Example commands
control ph com,r
control ph com,cal,[mid,low,high],value
control ph com,cal,clear
control ph com,cal,?
3-point calibration
This is the order of the calibration:
- Mid point (7.00)
- Low point (4.00)
- High point (10.00)
Warning
Always calibrate the mid point first because it will erase all the previous calibrations you may have done.
Danger
Always clean the probe with distilled water between each calibration
Midpoint calibration
- Put the sensor in the pH 7 calibration solution.

-
Read the sensor multiple times until the reading is stable:
control ph com,r 6.48 control ph com,r 6.45 ... -
Issue the mid point calibration command. Remember to input the pH value of the calibration solution at the current temperature
control atlas ph com,cal,mid,[value of pH at current temperature]Example at 30°C
control atlas ph com,cal,mid,6.99
After this command, if you take a pH reading the result should be 7.00 (or very close to it). You can now remove the probe from the calibration solution and clean it.
Lowpoint Calibration
Repeat the procedure with the Lowpoint 4.00 solution (the red one). The probe needs to be in the calibration solution until you issue the calibration command.
-
Read the sensor multiple times until the reading is stable:
control ph com,r 3.98 control ph com,r 3.98 ... -
Issue the low point calibration command. Remember to input the pH value of the calibration solution at the current temperature:
control atlas ph com,cal,low,[value of pH at current temperature]Example at 30°C
control atlas ph com,cal,low,4.01
After this command, if you take a pH reading, the result should be 4.00 (or very close to it). You can now remove the probe from the calibration solution and clean it.
Highpoint Calibration
Put the sensor in the pH 10.00 calibration solution (high point, the blue one). The probe needs to be in the calibration solution until you issue the calibration command.
-
First, read the sensor multiple times until the reading is stable:
control ph com,r 9.84 control ph com,r 9.84 ... -
Issue the high point calibration command. Remember to input the pH value of the calibration solution at the current temperature
control atlas ph com,cal,high,[value of pH at current temperature]Example at 30°C
control atlas ph com,cal,high,9.96
Extra notes
The command control com,cal,? can be used to check the calibration status as explained on datasheet page 52. The answers can be:
?CAL,0→ No calibration done?CAL,1→ One point calibration done?CAL,2→ Two-point calibration done?CAL,3→ Three-point calibration done
(not tested) If your calibration solutions are not 4, 7, and 10, you can still use them and replace [value of pH at current temperature] with your values.
Taking measurements
- Calibrate the probe beforehand, as indicated in the previous section (in case you have not already done so, or it has not been done for you).
- The sample can be taken in a glass or plastic container. Simply take enough so that you can submerge the probe. Clean the probe with the same water you want to measure (but not the sample water) before inserting the probe into the container.
- Insert the probe into the sample and take several readings (usually 3 readings are sufficient). When the probe is submerged in the sample, move it gently so that there are no air bubbles that could affect the measurement. If it takes a long time to stabilize, move it gently, but don't shake it, as this could cause changes in the reading!
- When the readings are stable, take that value as valid and write it down.
- Repeat 2 more times.
Factory reset procedure
Why is this needed?
You may need to do a factory reset for water sensors for different reasons. However, the most common case is a wrong calibration process and it's very much related to a wrongful automatic temperature compensation of the sensor while calibrating the sensor.
To explain further: EC, DO and pH sensor readings are automatically compensated by temperature readings. If there is an existing temperature correction in the EZO driver, or there is a correction in the middle of the calibration process, the data available for the calibration process will be invalid. Follow the steps below to be make sure there is no correction while you calibrate the probes.
Each EZO driver has it's independent calibration and status. This process needs to be done per driver (i.e. per EZO metric). To make a factory reset procedure for the EZO drivers follow the steps below:
-
Make sure that the Smart Citizen Data board will not take any readings while you follow the calibration process. The best option is to reset the configuration to the defaults. Make sure you back-up your information before:
- The config command will output your current configuration. Copy it and keep it safe:
config- Then issue the default configuration:
config -defaults- The LED should be red now (the Data Board is in Setup mode)
-
Issue the factory reset command to the driver in question. For instance, for the conductivity one:
control cond com factory 0 -
Now you can check what the status of the device is:
control cond com cal,? ?CAL,0 -
Reset the kit
-
Follow the calibration process as you would normally would.
-
Reconfigure the kit using the
configcommand, by putting back the information you backed-up before:config -mode ...
Danger
After finishing the calibration process restart your SCK to start from a clean state.
Resources
Check Atlas Scientific pH page for the datasheets.