Atlas Temperature
An encapsulated resistive sensor (RTD, resistance temperature detector).
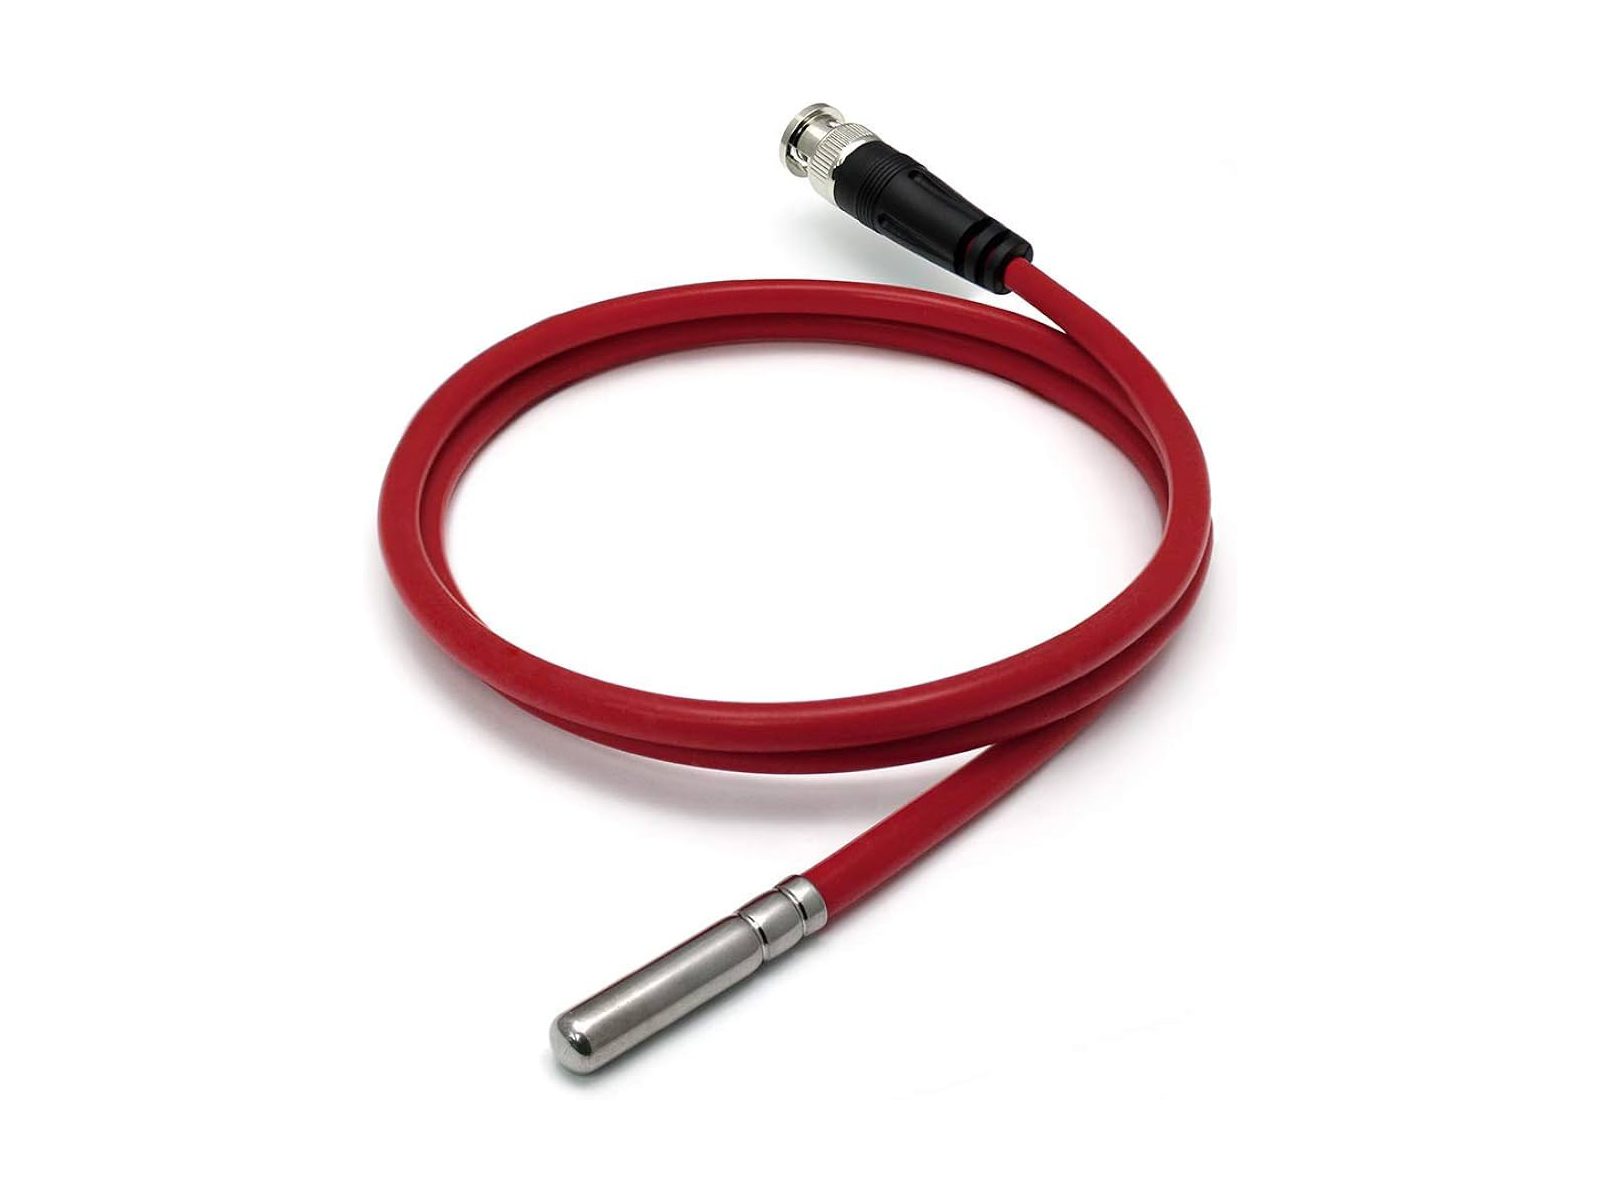
Image Credit: Atlas Scientific
Working principle
The sensor
To measure temperature, we will use a resistance temperature detector (RTD) of the PT1000 type (made of platinum, and with a resistance at 0ºC of 1000Ω). This sensor is encapsulated within a stainless steel tip, to conduct heat very efficiently. To be able to use it at more extreme temperatures, or fix it in a pipe, we will use a thermowell:
WATCH OUT!
Check the sensor specifications in the following section, because it has a "long" stabilization time of about 13 seconds.

The sensor can be completely submerged, and has the following features (we list some of them here, but you can find a complete description in the datasheet):
- Range: -200 to 850ºC (without thermowell -55ºC to 125ºC)
- Accuracy: ± (0.15 + (0.002*t))
- Maximum depth in water: 70m
- Response speed: 90% in 13s
This type of sensor does not require maintenance or recalibration, only periodic cleaning to remove fouling. Using a normal brush is enough.
Before doing anything, review the datasheet:
Usage and considerations
Calibration
Warning
When calibrating don't use the normal read sensor command, this command applies temperature/salinity compensation, calibration should be done without any compensation. Instead you should use control sensorName com,r and that will return the raw metrics that sensor can provide. On the documentation of each sensor calibration procedure we describe the format of this metrics.
You only need to perform a single point calibration. This process is only necessary if you change the probe cable or the first time you use the sensor.
Datasheet
Here you can find the datasheet:
- Calibration info on page 12
- Calibration commands on page 53
Example commands (you can put control ox, control oxygen or control dissolved oxygen - however! do not put control dissolved as it will use TDS)
control atlas temp com,r
control atlas temp com,cal
control atlas temp com,cal,[value]
control atlas temp com,cal,clear
control atlas temp com,cal,?
Warning
This is needed because the temperature probe is a resistive sensor – more cable → more resistance!
Reference
You will need another temperature probe or something of known temperature (like boiling water, or the triple point of water...) for this. If you are using a reference sensor, make sure both are stable before issuing calibration commands!
Single point calibration
-
Read the reference probe multiple times until the reading is stable. Write down the value:
control atlas temp com,r 22.5 control atlas temp com,r 22.4 ... -
Read the target probe multiple times until the reading is stable:
control atlas temp com,r 29.5 control atlas temp com,r 29.4 ... -
Issue calibration command:
control atlas temp com,cal,[value of temperature from reference probe or temperature]
Factory reset procedure
Why is this needed?
You may need to do a factory reset for water sensors for different reasons. However, the most common case is a wrong calibration process and it's very much related to a wrongful automatic temperature compensation of the sensor while calibrating the sensor.
To explain further: EC, DO and pH sensor readings are automatically compensated by temperature readings. If there is an existing temperature correction in the EZO driver, or there is a correction in the middle of the calibration process, the data available for the calibration process will be invalid. Follow the steps below to be make sure there is no correction while you calibrate the probes.
Each EZO driver has it's independent calibration and status. This process needs to be done per driver (i.e. per EZO metric). To make a factory reset procedure for the EZO drivers follow the steps below:
-
Make sure that the Smart Citizen Data board will not take any readings while you follow the calibration process. The best option is to reset the configuration to the defaults. Make sure you back-up your information before:
- The config command will output your current configuration. Copy it and keep it safe:
config- Then issue the default configuration:
config -defaults- The LED should be red now (the Data Board is in Setup mode)
-
Issue the factory reset command to the driver in question. For instance, for the conductivity one:
control cond com factory 0 -
Now you can check what the status of the device is:
control cond com cal,? ?CAL,0 -
Reset the kit
-
Follow the calibration process as you would normally would.
-
Reconfigure the kit using the
configcommand, by putting back the information you backed-up before:config -mode ...
Danger
After finishing the calibration process restart your SCK to start from a clean state.