Atlas ORP
An ORP probe is a passive device that detects a current generated from the oxidation or reduction of chemical substances in water.
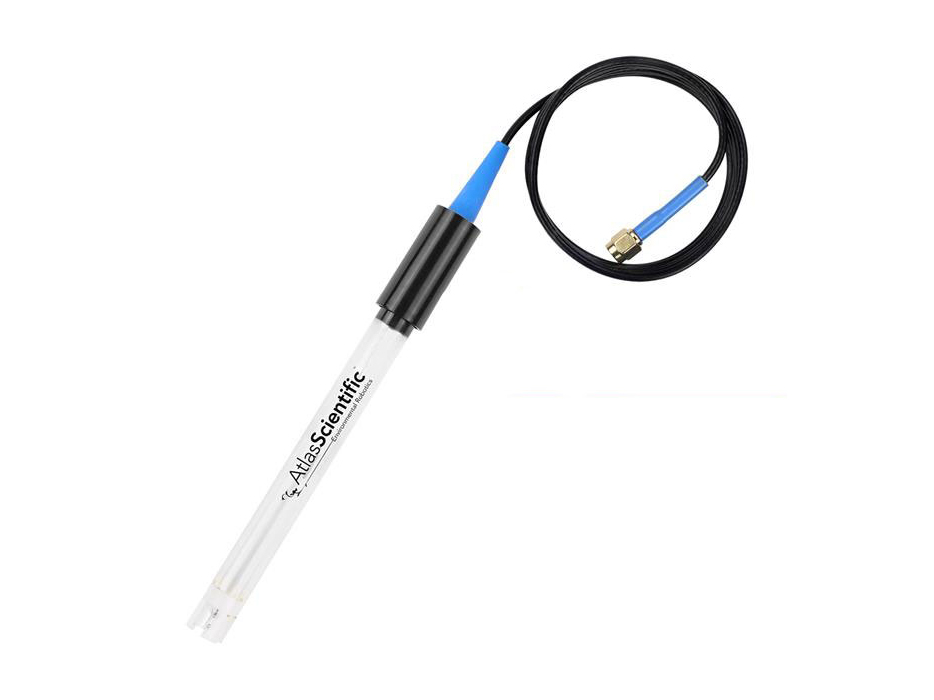
Image Credit: Atlas Scientific
Working principle
Usage and considerations
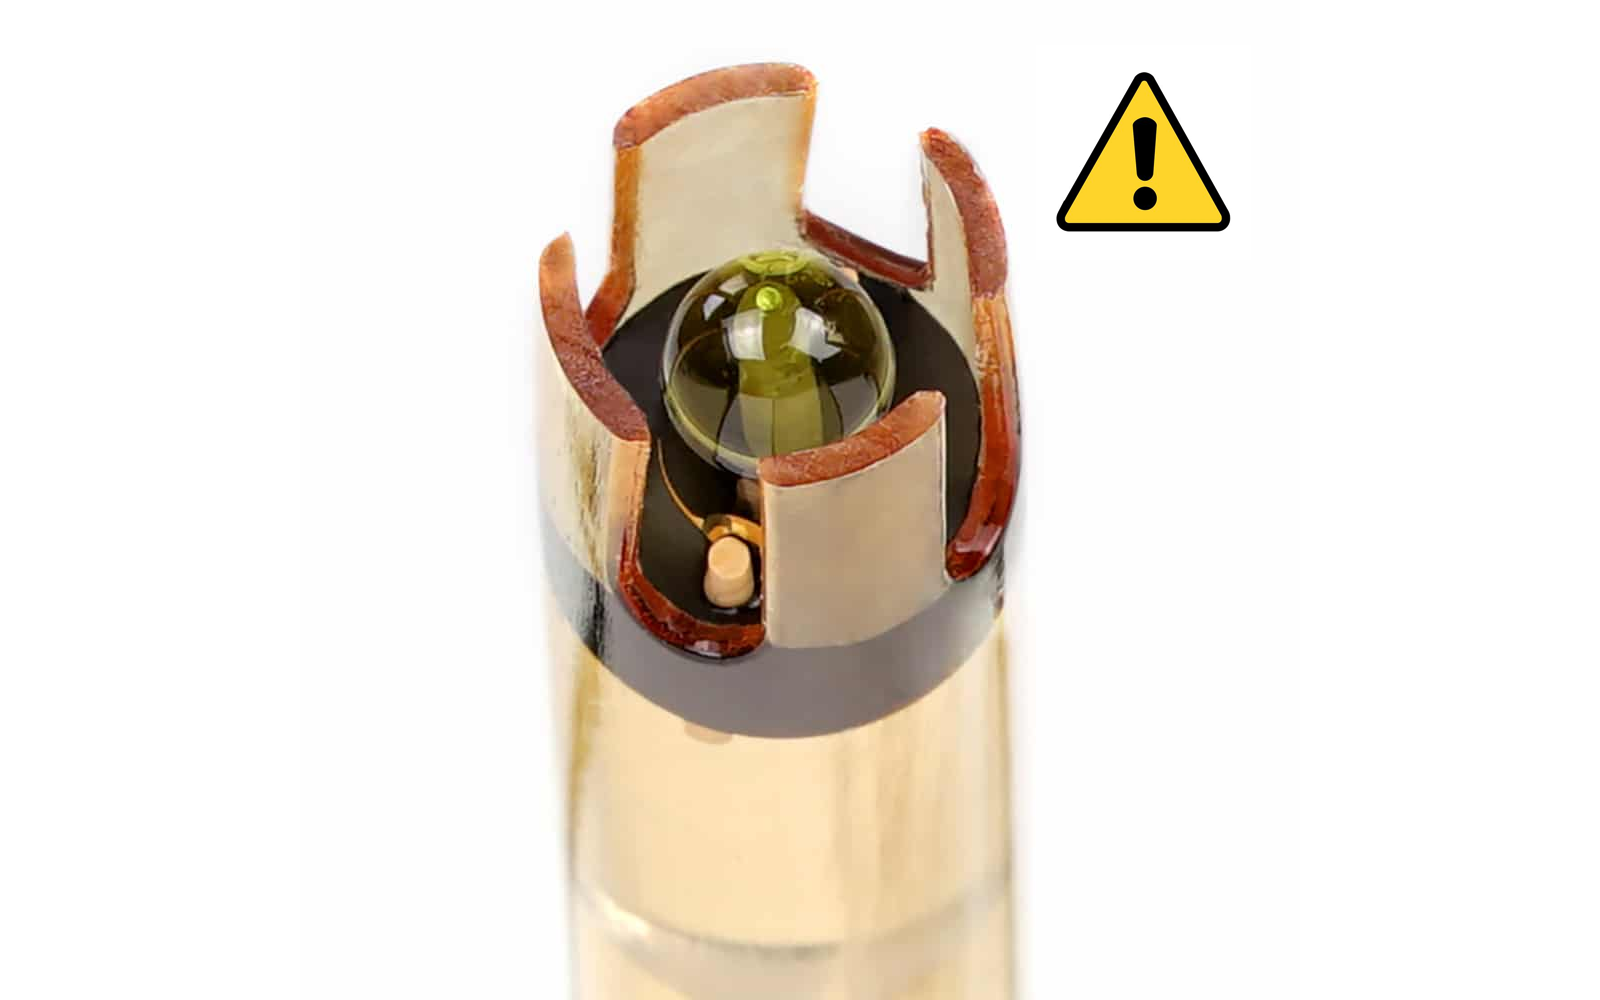
No particular consideration for the probe, other than it is very delicate:
Storage solution
This probe needs storage solution in a small soaker bottle to prevent it from drying out.
If the probe is not being used you need to put the soaker bottle back on.
Calibration
Warning
When calibrating don't use the normal read sensor command, this command applies temperature/salinity compensation, calibration should be done without any compensation. Instead you should use control sensorName com,r and that will return the raw metrics that sensor can provide. On the documentation of each sensor calibration procedure we describe the format of this metrics.
You only need to perform a single point calibration. You can use any calibrated solution, as long as it's within your sensor range. Atlas uses a 225mV calibration.
Datasheet
Here you can find the datasheet:
- Calibration info on page 12
- Calibration commands on page 49
Example commands
control redox com,r
control redox com,cal
control redox com,cal,[value]
control redox com,cal,clear
control redox com,cal,?
Single point calibration

-
Read the sensor multiple times until the reading is stable:
control redox com,r 225 control redox com,r 224 ... -
Issue calibration command
control redox com,cal,[value of ORP]
Example at 25°C
control redox com,cal,225
Factory reset procedure
Why is this needed?
You may need to do a factory reset for water sensors for different reasons. However, the most common case is a wrong calibration process and it's very much related to a wrongful automatic temperature compensation of the sensor while calibrating the sensor.
To explain further: EC, DO and pH sensor readings are automatically compensated by temperature readings. If there is an existing temperature correction in the EZO driver, or there is a correction in the middle of the calibration process, the data available for the calibration process will be invalid. Follow the steps below to be make sure there is no correction while you calibrate the probes.
Each EZO driver has it's independent calibration and status. This process needs to be done per driver (i.e. per EZO metric). To make a factory reset procedure for the EZO drivers follow the steps below:
-
Make sure that the Smart Citizen Data board will not take any readings while you follow the calibration process. The best option is to reset the configuration to the defaults. Make sure you back-up your information before:
- The config command will output your current configuration. Copy it and keep it safe:
config- Then issue the default configuration:
config -defaults- The LED should be red now (the Data Board is in Setup mode)
-
Issue the factory reset command to the driver in question. For instance, for the conductivity one:
control cond com factory 0 -
Now you can check what the status of the device is:
control cond com cal,? ?CAL,0 -
Reset the kit
-
Follow the calibration process as you would normally would.
-
Reconfigure the kit using the
configcommand, by putting back the information you backed-up before:config -mode ...
Danger
After finishing the calibration process restart your SCK to start from a clean state.