Creating Interfaces
Custom dashboards and notifications
When working on deployments that involve multiple devices a community might face the need to create their own page where the sensors’ data is updated on real time. Also, it is sometimes useful to trigger notifications on different services.
This can help to look at data from different spots simultaneously and also to create a sense of community among the devices’ owners. This feature can be easily built using Freeboards or Node-RED, both online free visual tool that supports the creation of dashboards. Additionally, [Node-RED] can be used to create notifications on common services such as Twitter or Telegram.
Node RED
Node-RED is an open-source visual tool that enabled the wiring of hardware devices, APIs and online services. The tool can be easily installed on any local computer or it can be used directly on the Smart Citizen infrastructure.
Examples
You can find the following examples in the toolkit repository:
Freeboard
WIP
This is a work in progress. You can find a demo here
Talk to the world
Due to their unobtrusive nature, sensor technologies like Smart Citizen may easily blend in the background of users’ attention. To bring the sensed data back to the surface and support sensemaking and awareness processes, it is possible to use the SCKs’ data to trigger actions on the physical environment.
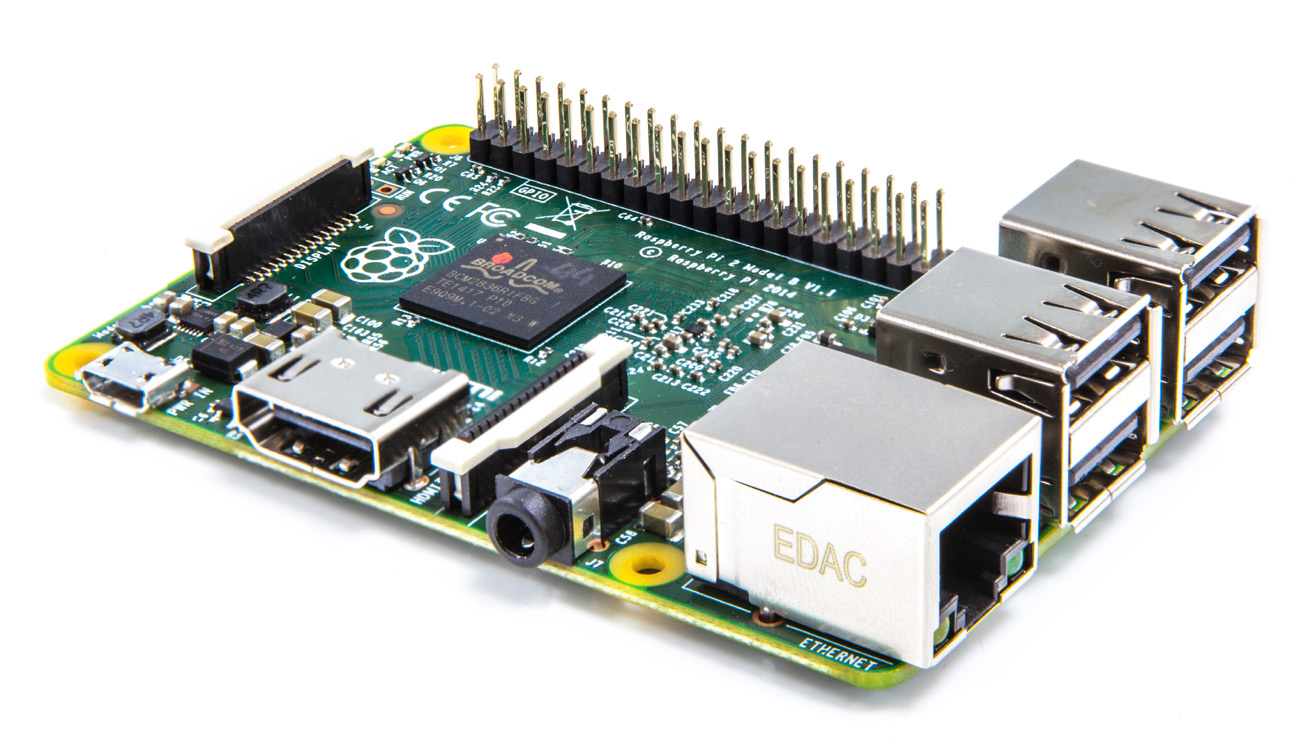
A Raspberry Pi is probably the best tool to do so, since it can also be a suitable tool to engage people with coding, creating new internet of things (IoT) and physical computing applications.
Blink example
This example presents a small Python script that can turn two lights based on the real-time temperature data from a remote sensor on the Smart Citizen platform.
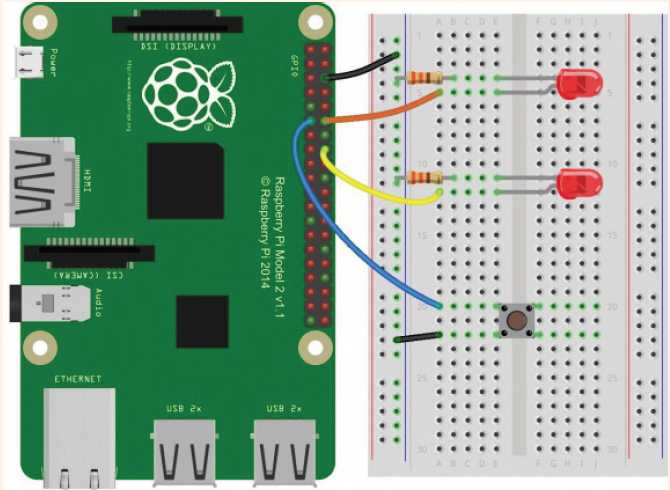
We will implement a simple logic: When temperature on the remote sensor reaches 25 degrees then turn the first light on. When temperature is below 25 degrees turn the first light off and then turn the other light on. We will use the Raspberry Pi GPIOs (General Purpose Input Outputs)_ to connect to LED’s that represent the status of our sensor.
Step-by-step
We will need to wire the two LED’s following the schematic below:
Once we have the Raspberry Pi running and connected to the internet we will need to save the Python script below on the desktop:
# Smart Citizen Examples for the Raspberry Pi
#
# http://smartcitizen.me
#
# Trigger 2 LEDs depending on the temperature
# For more information on the LEDs connection check: https://learn.sparkfun.com/tutorials/raspberry-gpio
# For more information on the SmartCitizen API check: http://developer.smartcitizen.me
#
import RPi.GPIO as GPIO
import json, requests, time
GPIO.setup(18, GPIO.OUT)
GPIO.setup(23, GPIO.OUT)
while True:
r = requests.get(‘https://api.smartcitizen.me/v0/devices/3292’)
data = json.loads(r.text)
for sensor in data[‘data’][‘sensors’]:
if sensor[‘description’] == ‘Temperature’: #CO, NO2...
print sensor[‘value’]
if sensor[‘value’] > 25:
print ‘LED ON’
GPIO.output(18, GPIO.HIGH)
GPIO.output(23, GPIO.LOW)
else:
print ‘LED OFF’
GPIO.output(18, GPIO.LOW)
GPIO.output(23, GPIO.HIGH)
time.sleep(15) #Update every 15 seconds
Finally, open the Terminal app and run:
pi@raspberrypi ~ $ cd Desktop
pi@raspberrypi Desktop $ sudo python smartcitizen-led.py
The sensor box
The Sensor Box is display installation aimed at engaging citizens to discuss about data on the public space. The installation was built by the Making Sense Barcelona community champions to talk about noise problems affecting neighbours around the Plaça del Sol area in Barcelona. However the installation was built from the ground up to be replicable ad easy to built in oder Fab Labs worldwide. This aims at creating a tool communities can built to engage citizens to discuss about issues by using the data provided by the Smart Citizen Kit.

The device comprises a wooden box equipped with a Smart Citizen Kit to which was a 5 meter long LED strip has been attached. Participants can press a button on the box to trigger the noise sensor. The original installation was battery powered but it can also be plugged to simplify the design and cost.
Step-by-step
Visit the public displays repository and download the directory.
The /built folder contains the files for building the installation: NoiseBox.blend the whole installation design in blender, CableClip.stl and Hinge.stl 3D printed parts for the cable clips and hinges used, Acrylic.dxf the acrylic cover lasercut file and noiseBoxSchematic.fzz the wiring diagram for the installation.
The /code folder contains the Arduino files to drive the installation. The Arduino sketch reads sensor data from an SCK 1.5 over the I2C bus when a user presses the button display the result on a WS2811 addressable LED strip. This code was originally created to display reading from the noise sensor in dB but it can quickly be changed to support any other sensor. It runs on an Arduino UNO but any compatible board can be used.

Check out the Making Sense D2.3 Smart Citizen Toolkit report and Making Sense D.24 Smart Citizen Toolkit report updates for more examples!