Onboarding Sensors
The onboarding app guides you through the process of the setup using simple language and a friendly graphic language. It is built as a separate tool from the core Smart Citizen Webpage in order it can be customized for each deployment.
Onboarding app
Visit the onboarding app at start.smartcitizen.me. Before you start make sure you have:
- A computer to visit the onboarding app
- A smartphone (or tablet, or another computer) to connect to the kit and configure it
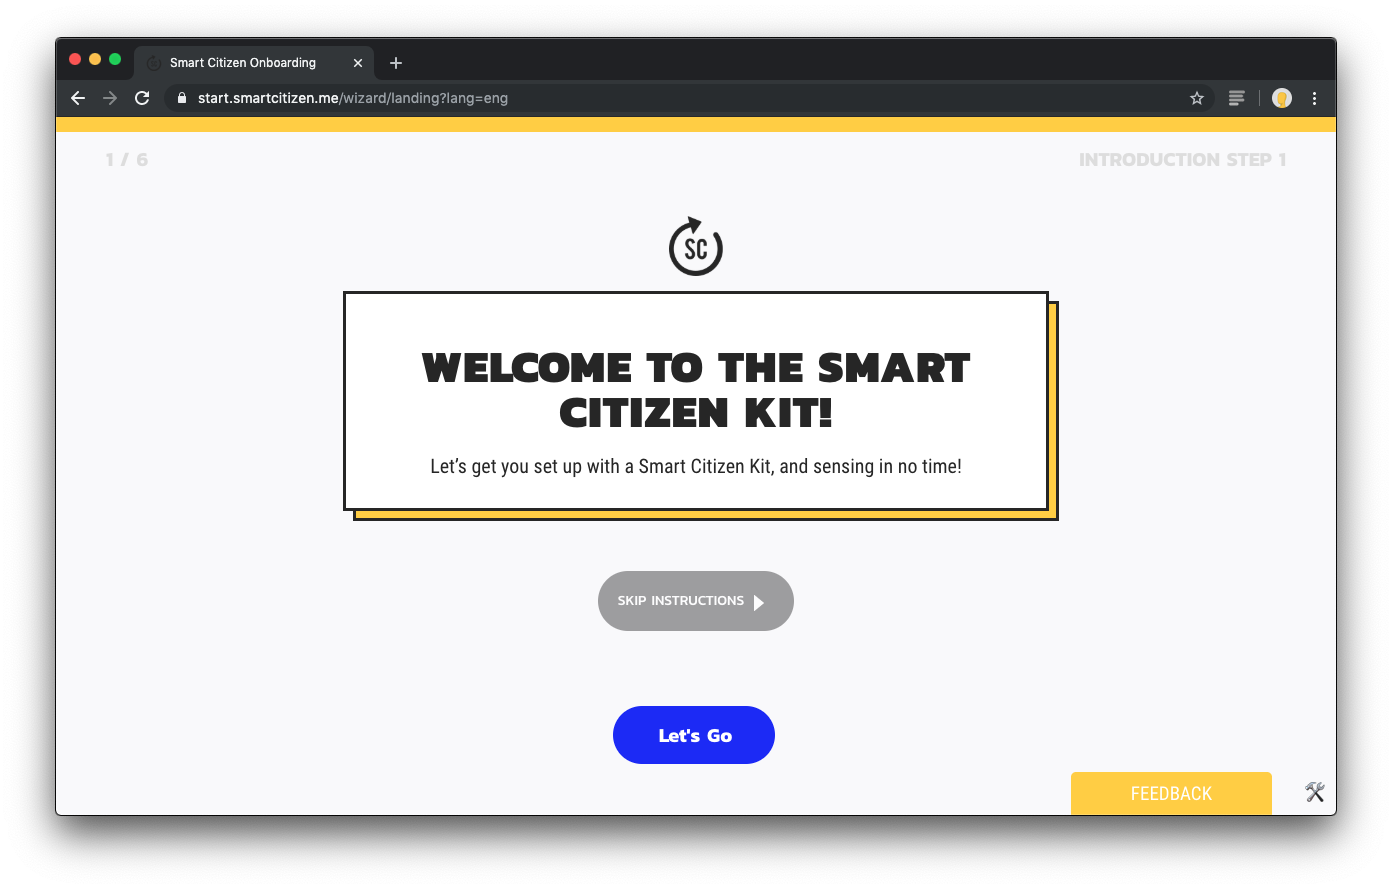
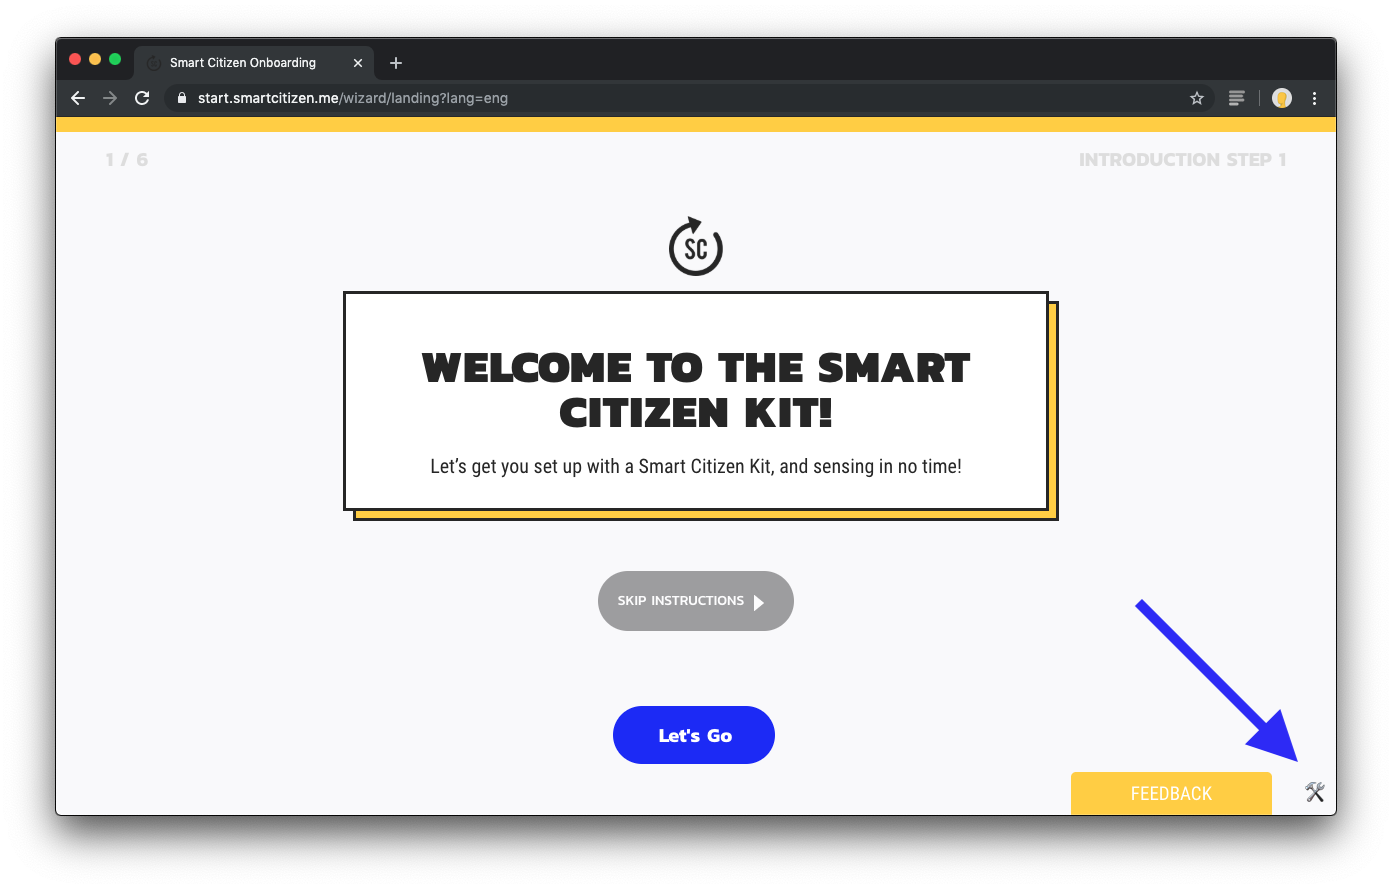
The welcome page looks like this. For sensors different from the Smart Citizen Kit 2.1, please check the advanced kit selection:
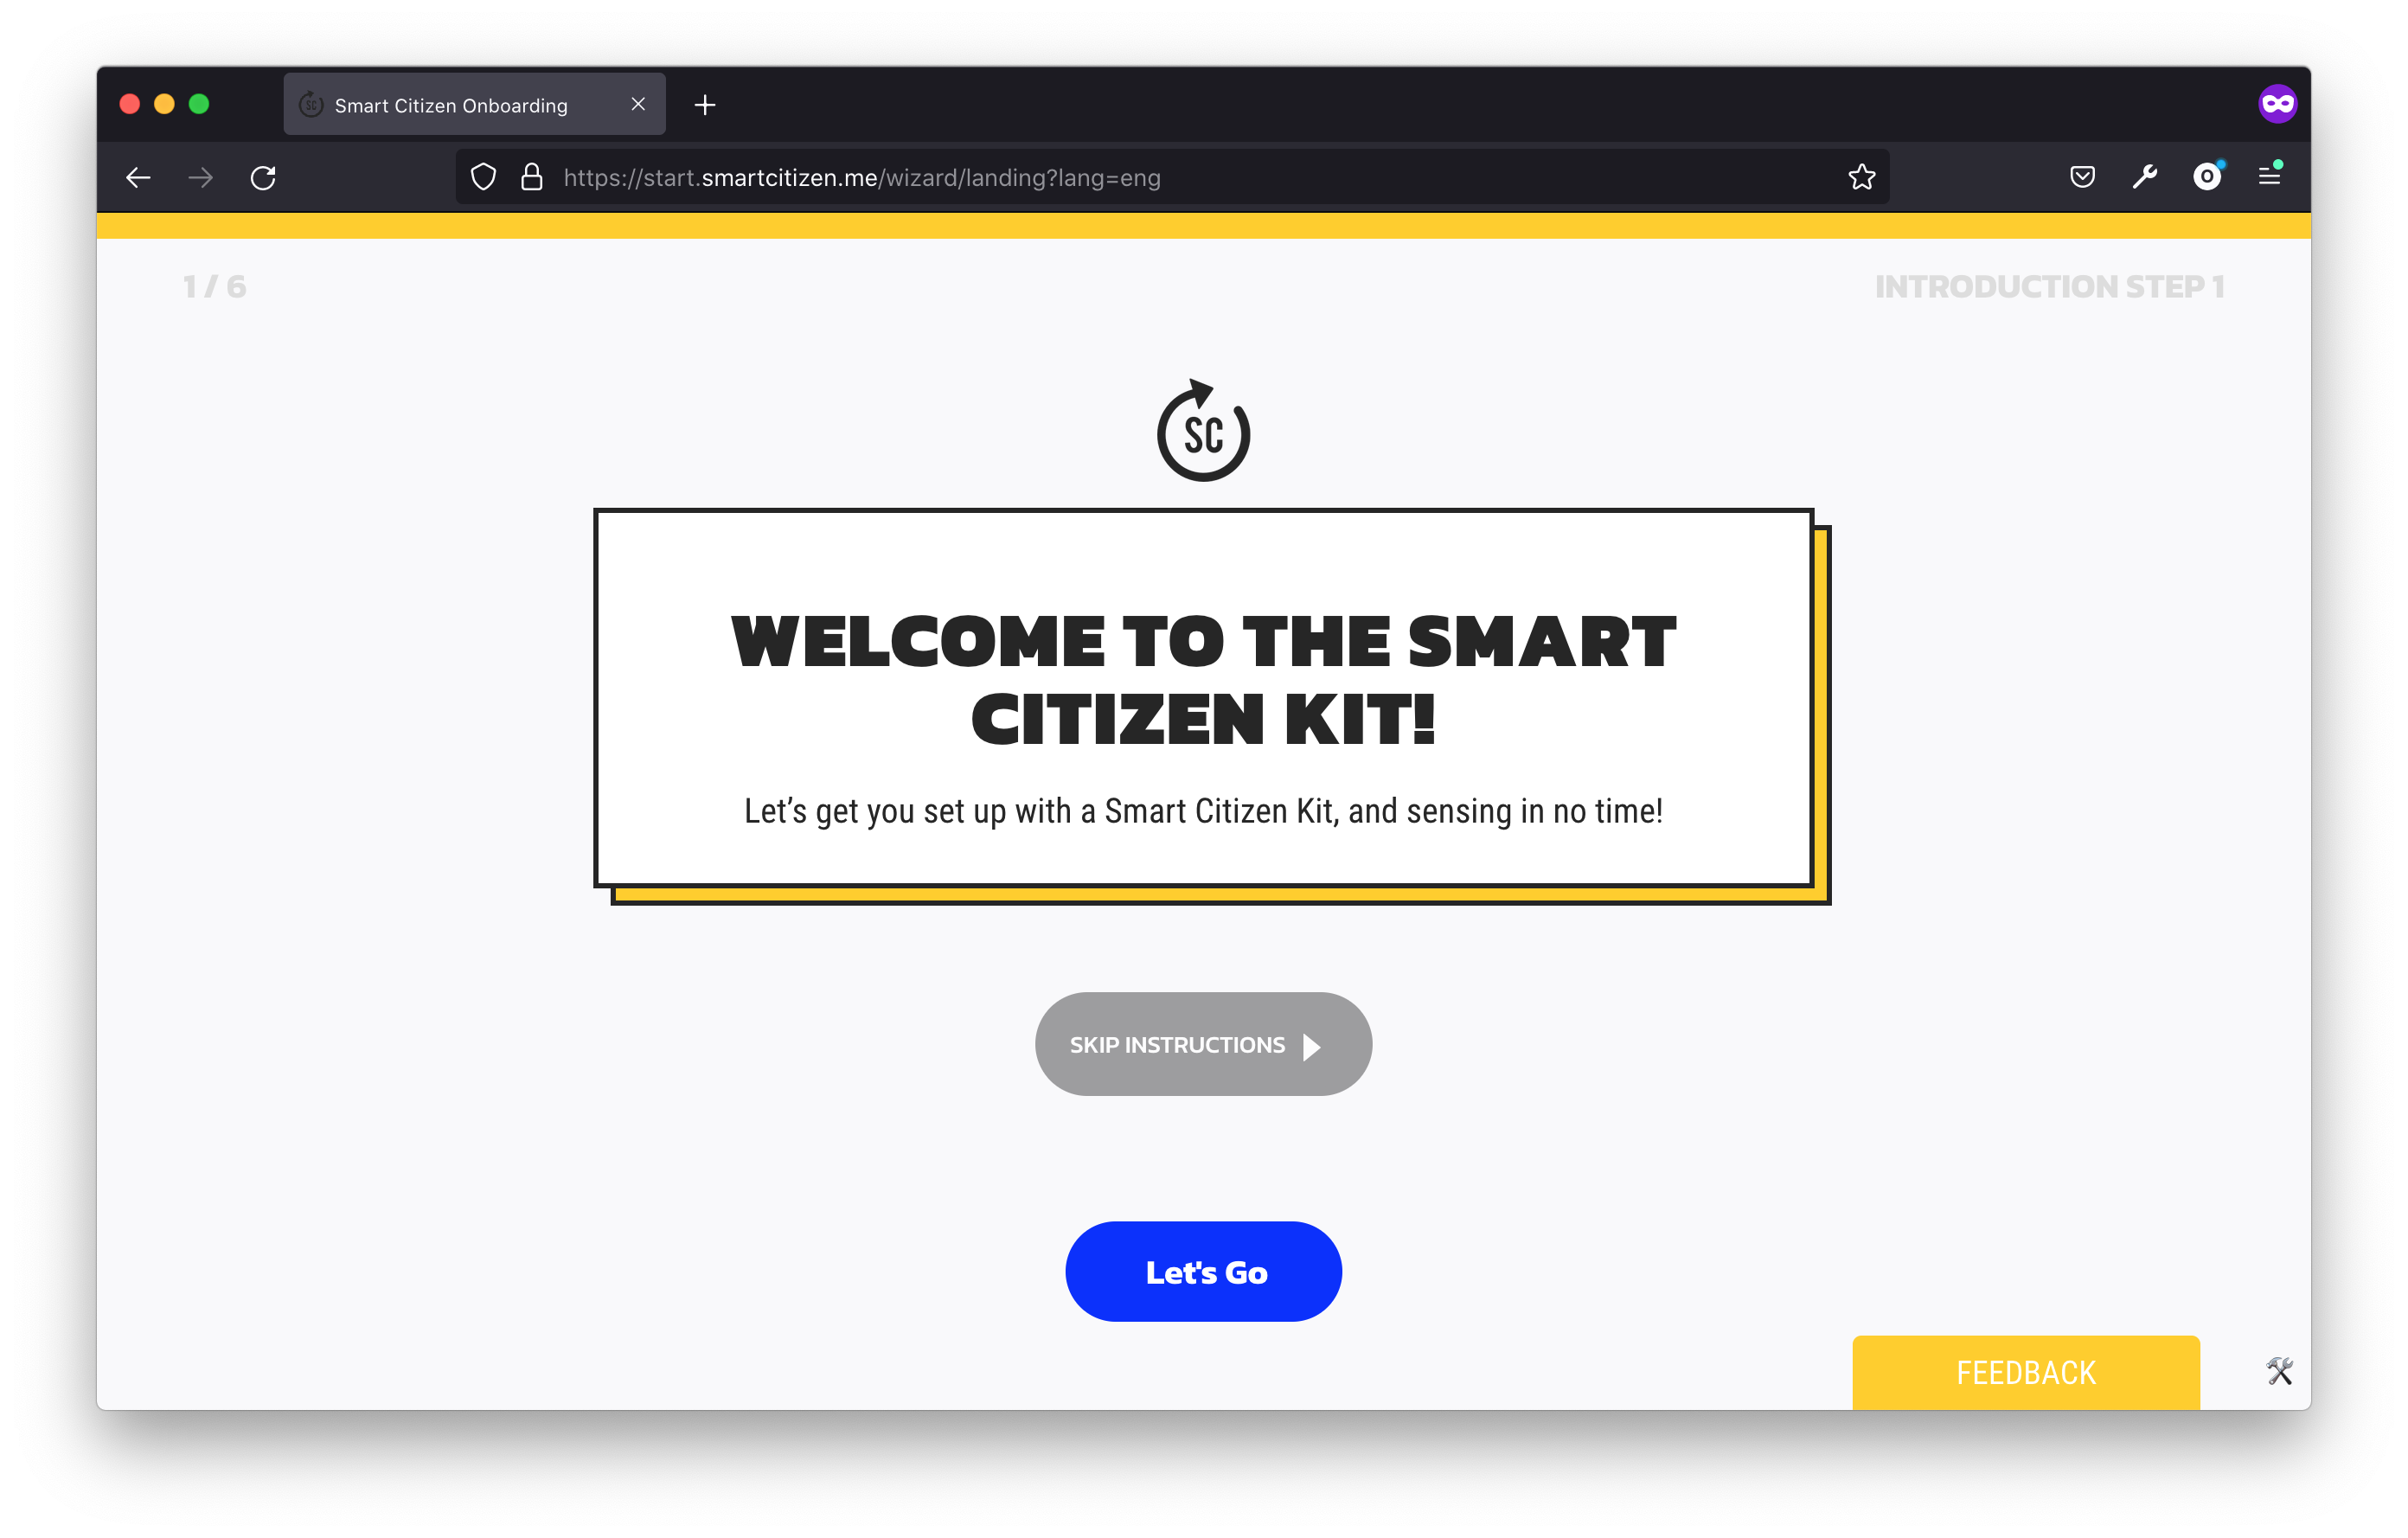
You can then follow the steps by pressing on Let's go!. For experienced users, you can press Skip instructions and go to the Configuration page:
After this, make sure that the SCK is in Setup Mode (LED is red) and connect with your smartphone to the SmartCitizen[...] network.
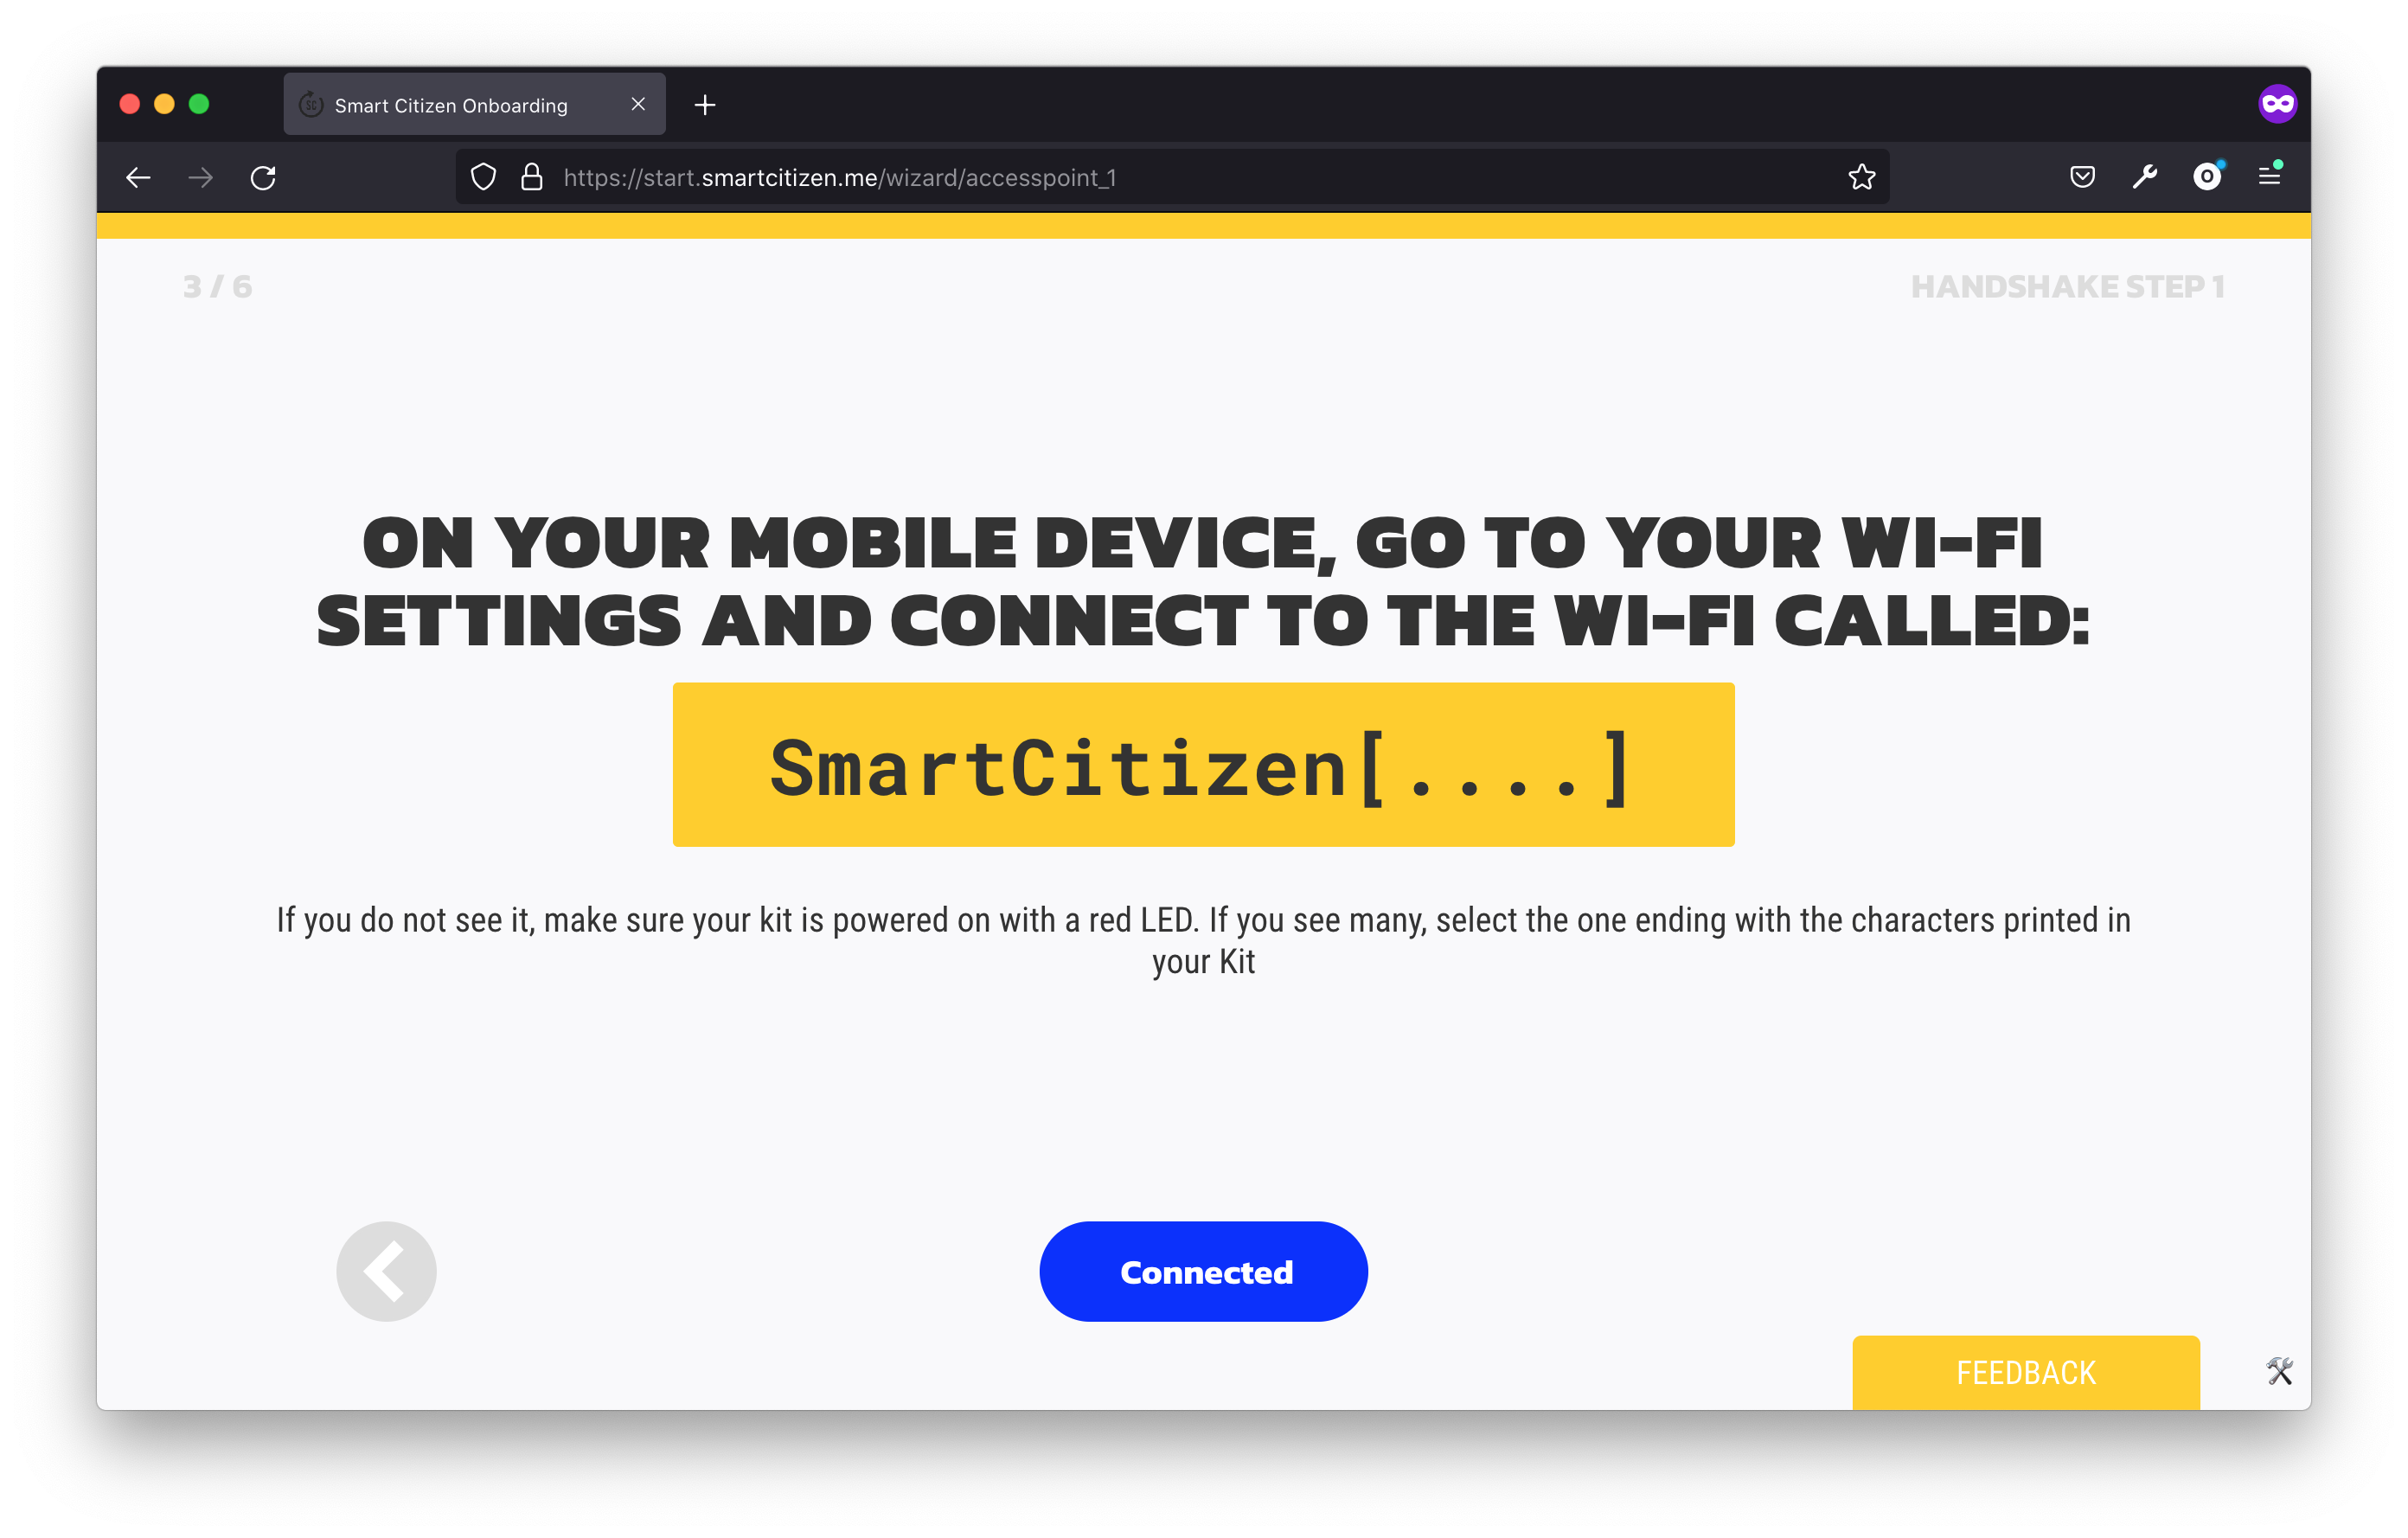
In your phone, something like below should pop-up:
If nothing comes up
In some cases, your phone will be disconected from the WiFi as it doesn't have access to the internet. Stay connected to it! If nothing pop-up in your phone, open your phone's web browser and navigate to sck.me
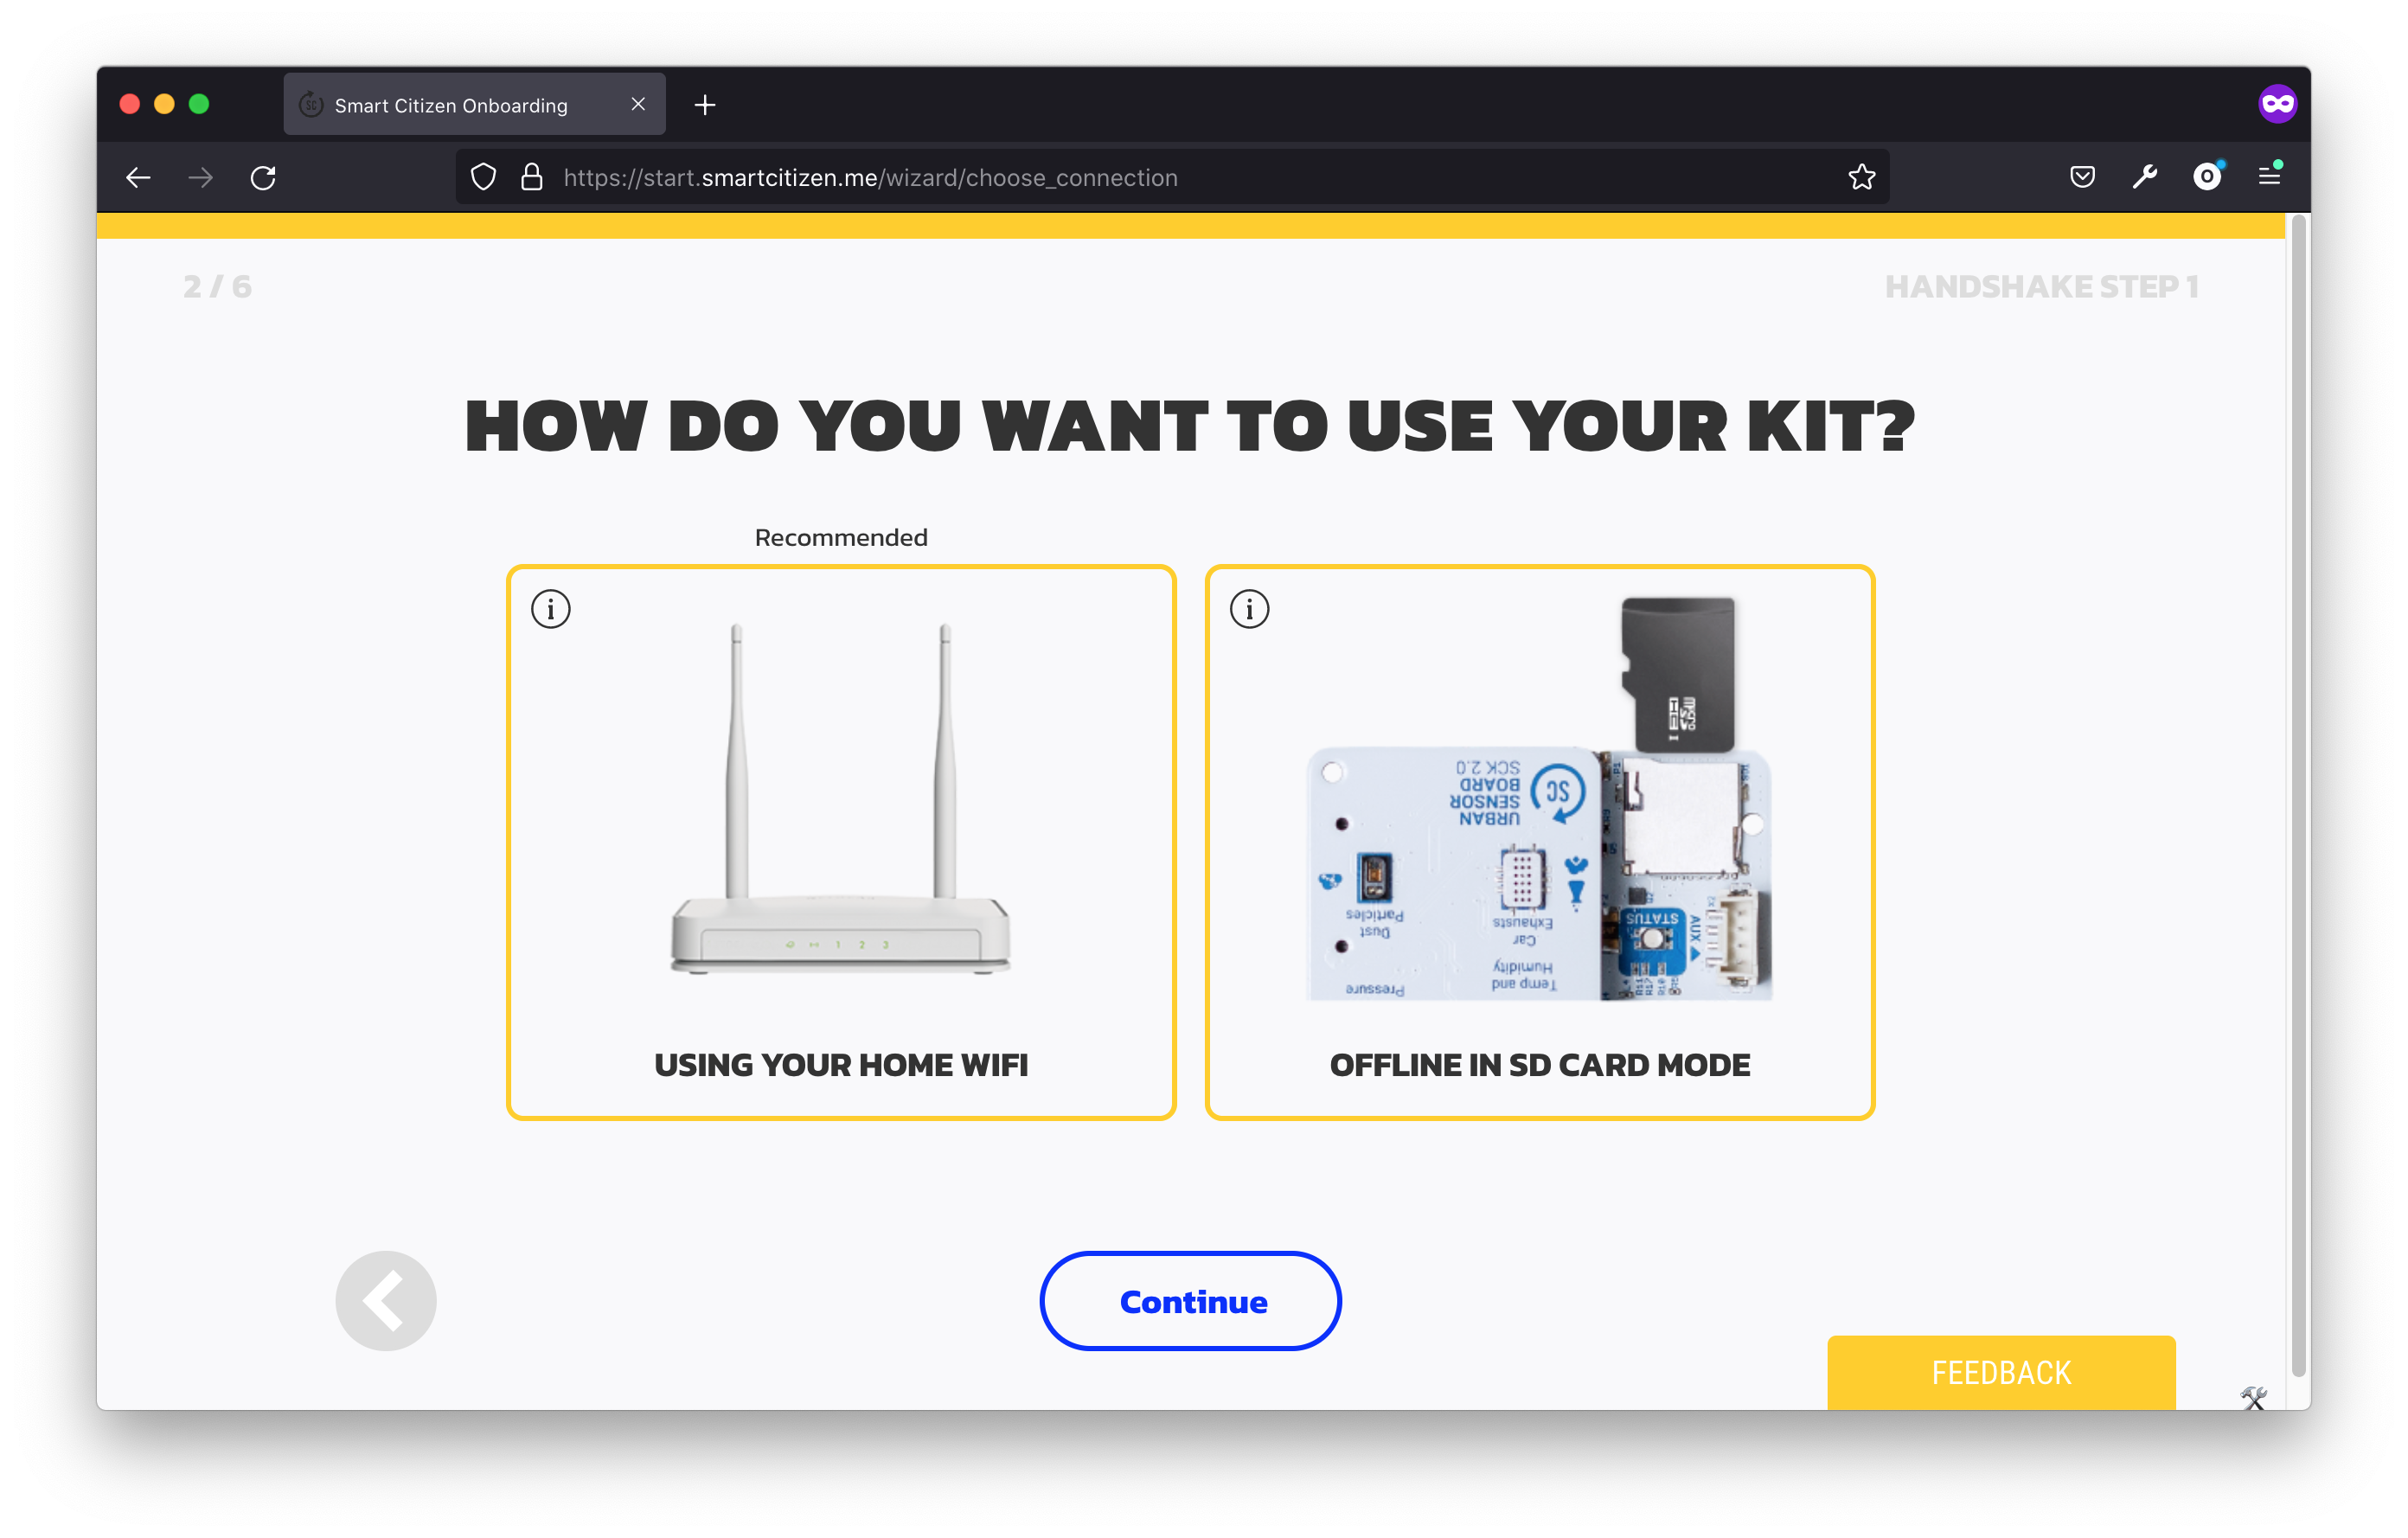
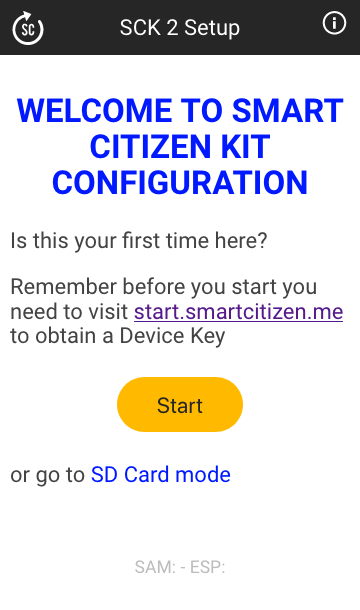
After this, in case you want to configure your kit in Network mode, press Start. If you want to set it in Offline mode, press SD Card mode.
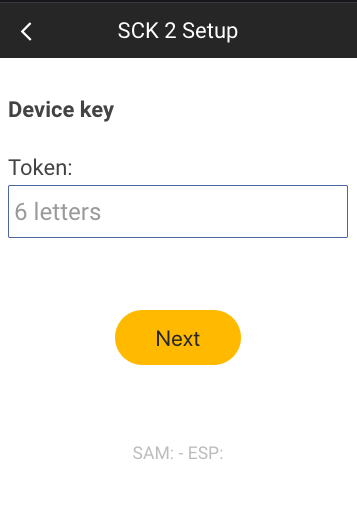
If you go with Network mode, you should see the screen below. In your computer, you should click Next and see a 6 letter token to be input in your phone:
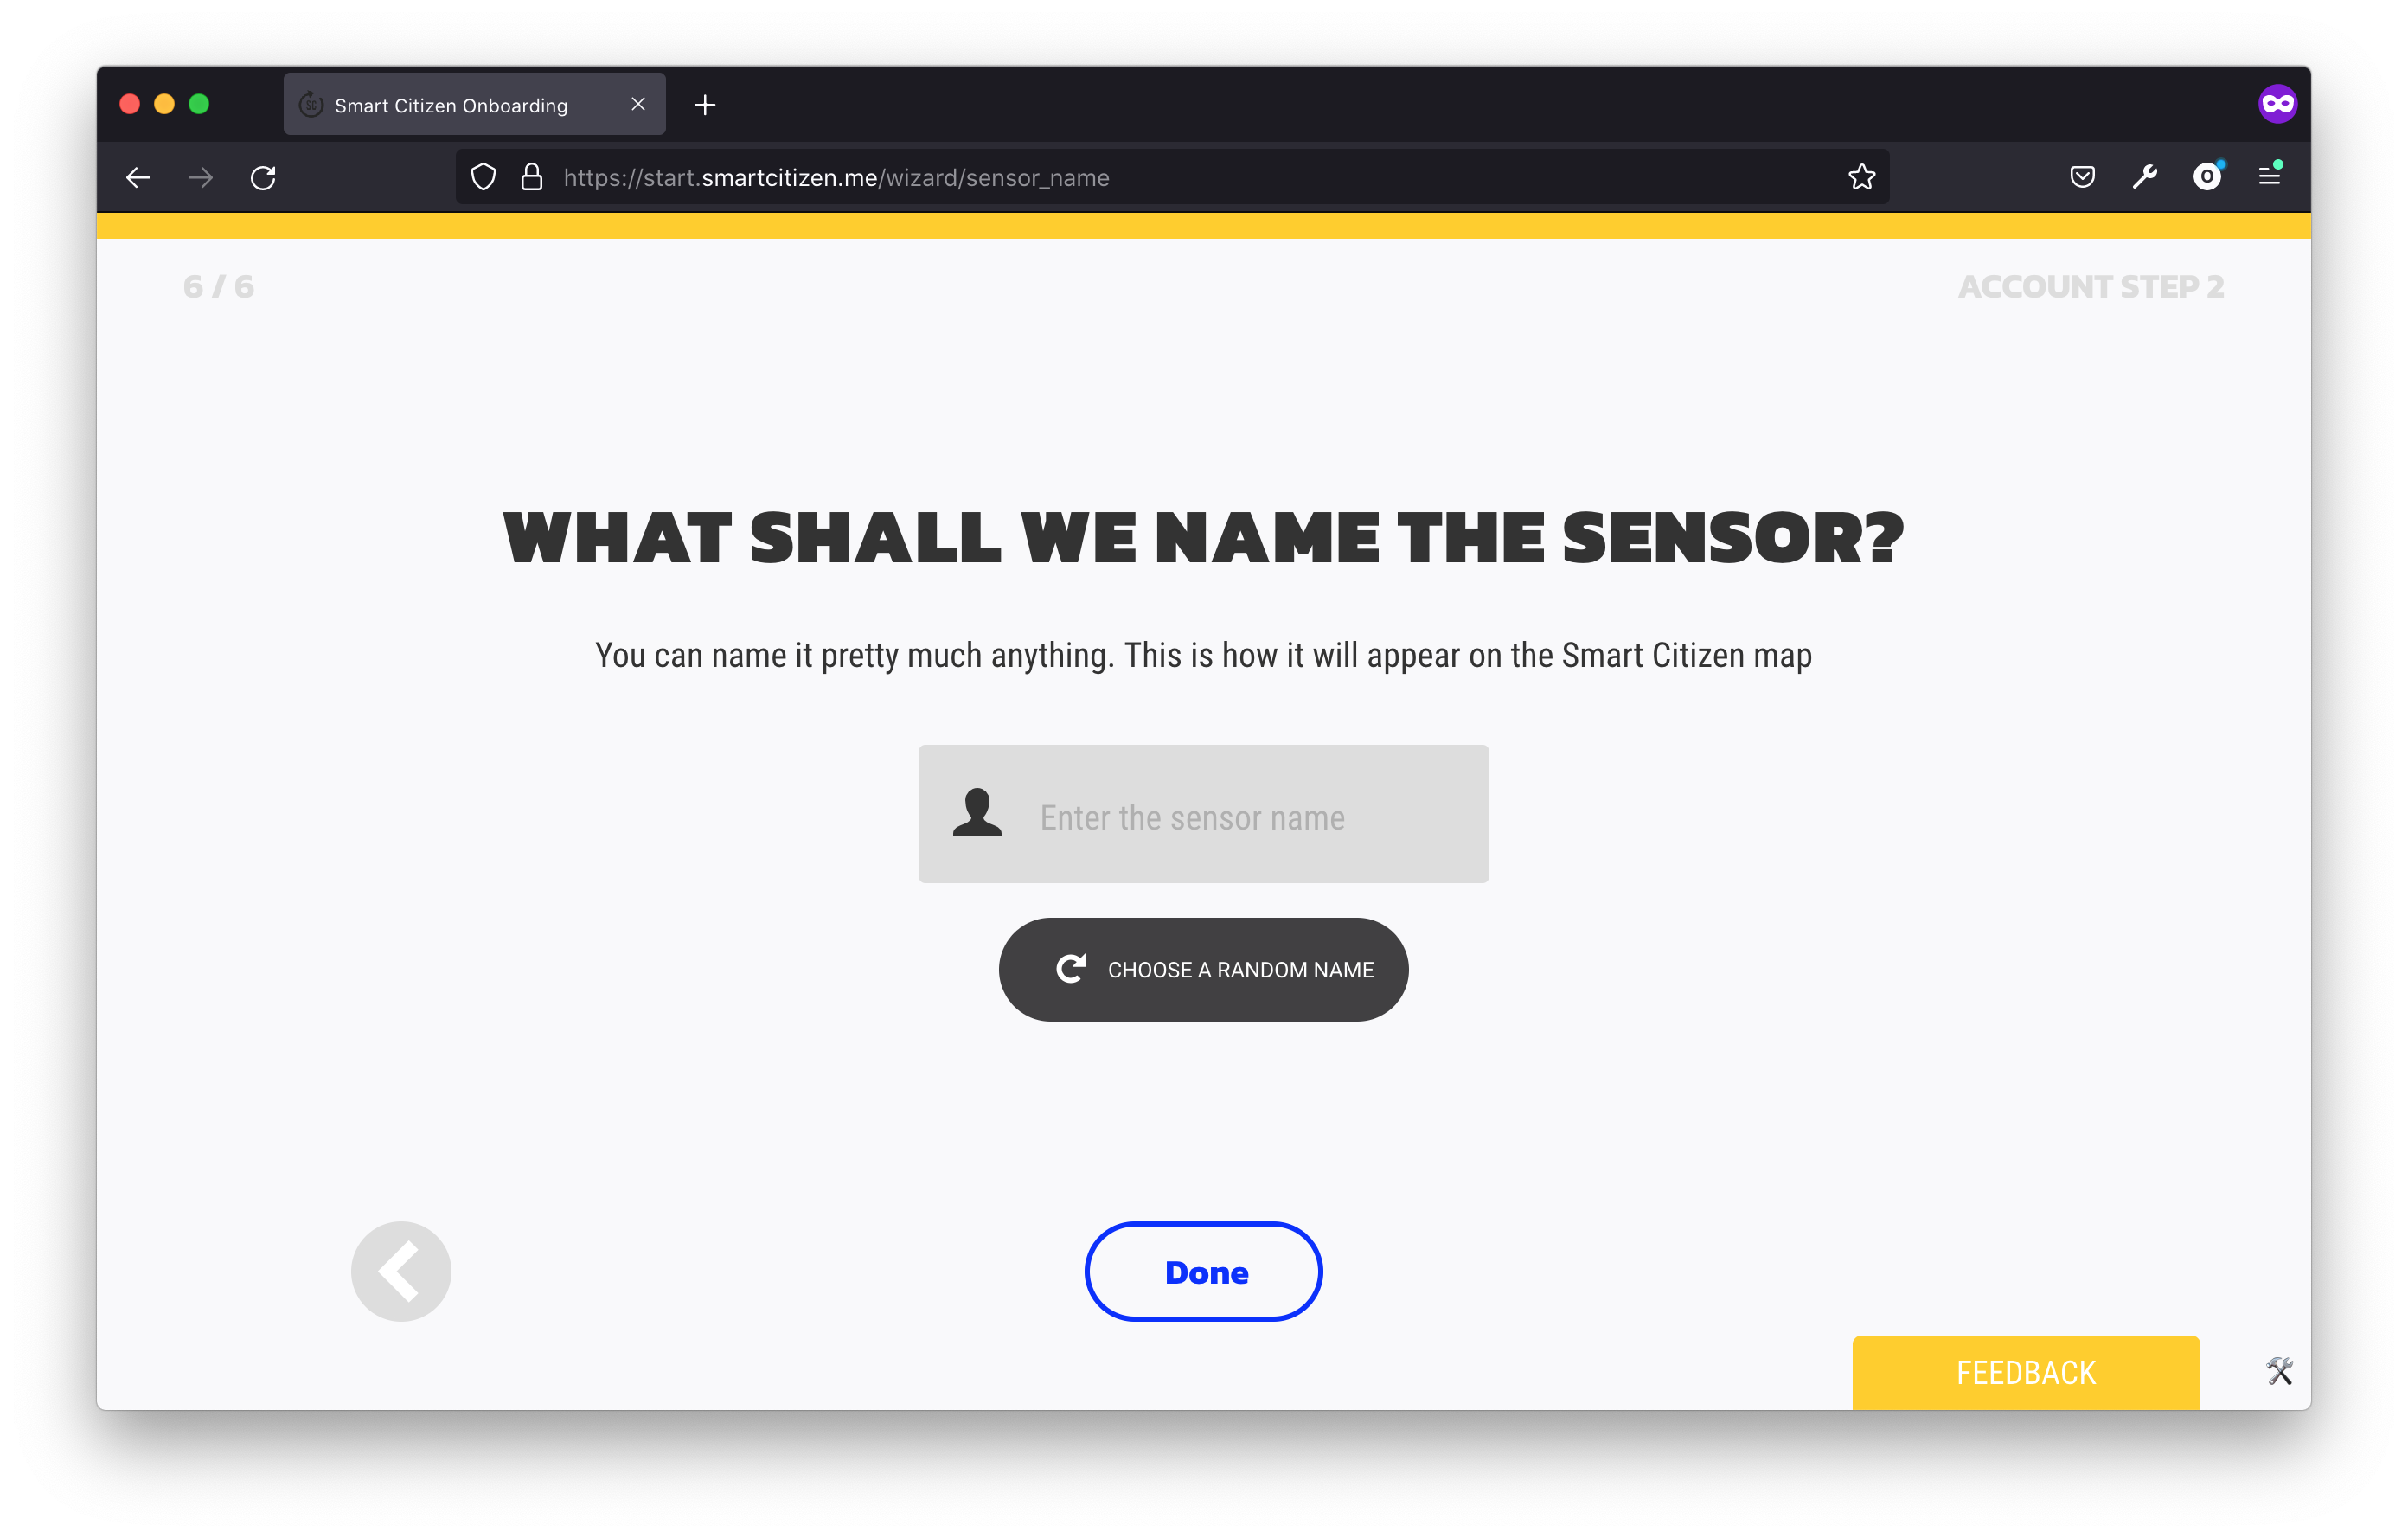
Depending on the mode selected (Wi-Fi or SD card), proceed with the steps and make sure the LED changes color: blue for Wi-Fi, purple for SD card. Once this is done, register your kit and add it to your user profile following the steps:
You can also mark it's location in the map (this doesn't need to be accurate, it's as accurate as you want it to be):
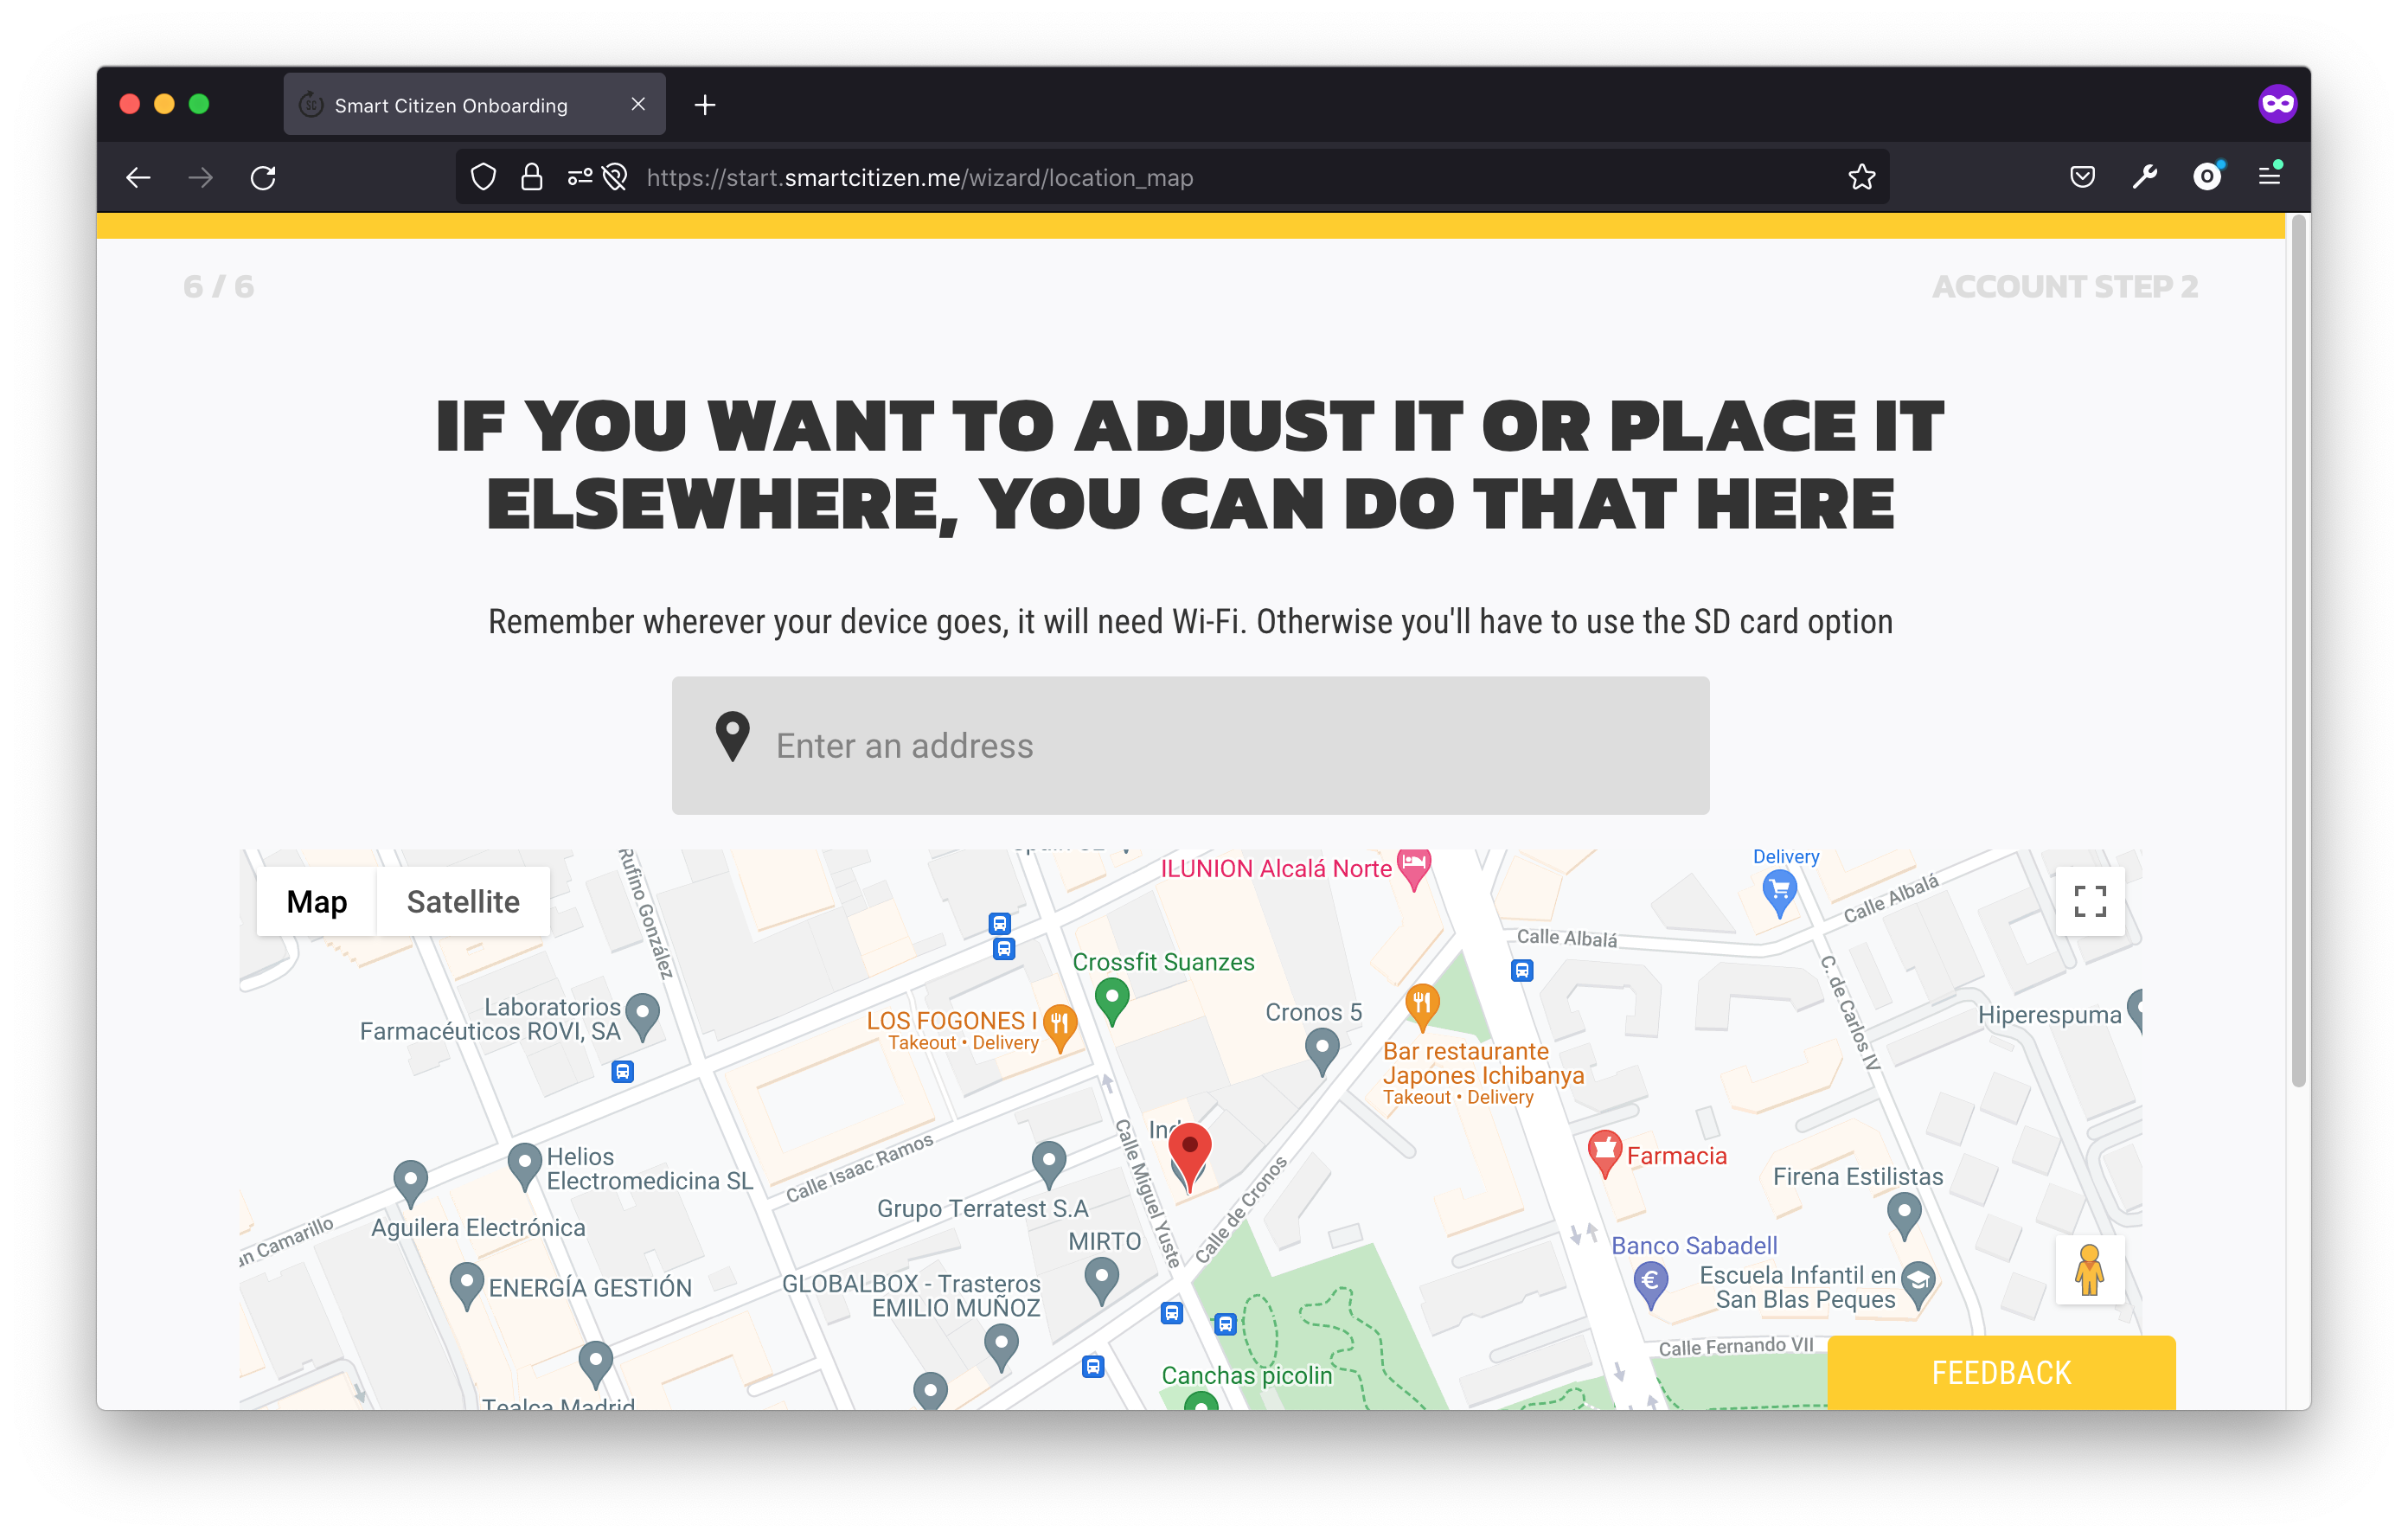
Location of the sensor
The sensor location is only defined by the user in the registration process. It can be modified afterwards in the kit edit page. The Smart Citizen Kit does not retrieve location unless it has an onboard GPS. In this case, the GPS location never updates the location in the map.
You can also add some tags to your sensor:

Finally, add the sensor to an user account (if you don't have one you can register now). This step is needed as every device needs to be owned by one user:

What is the email used for?
The user account and email is only used for sensor data emails and sensor notifications (i.e. notification when the battery is almost empty). It is not used for commercial purposes at all, as stated in our policy
You are done!

Working with a community?
You can either choose to create a joint email account, or work with each participant with one account. Working with a joint email account speeds things up, but it is not the same sense of ownership. When in doubt, we recommend giving each participant the freedom to choose, and if they do not want to create an account, a fallback option can be used.
Visit the Kit on the platform. Wait one minute till it publishes data:
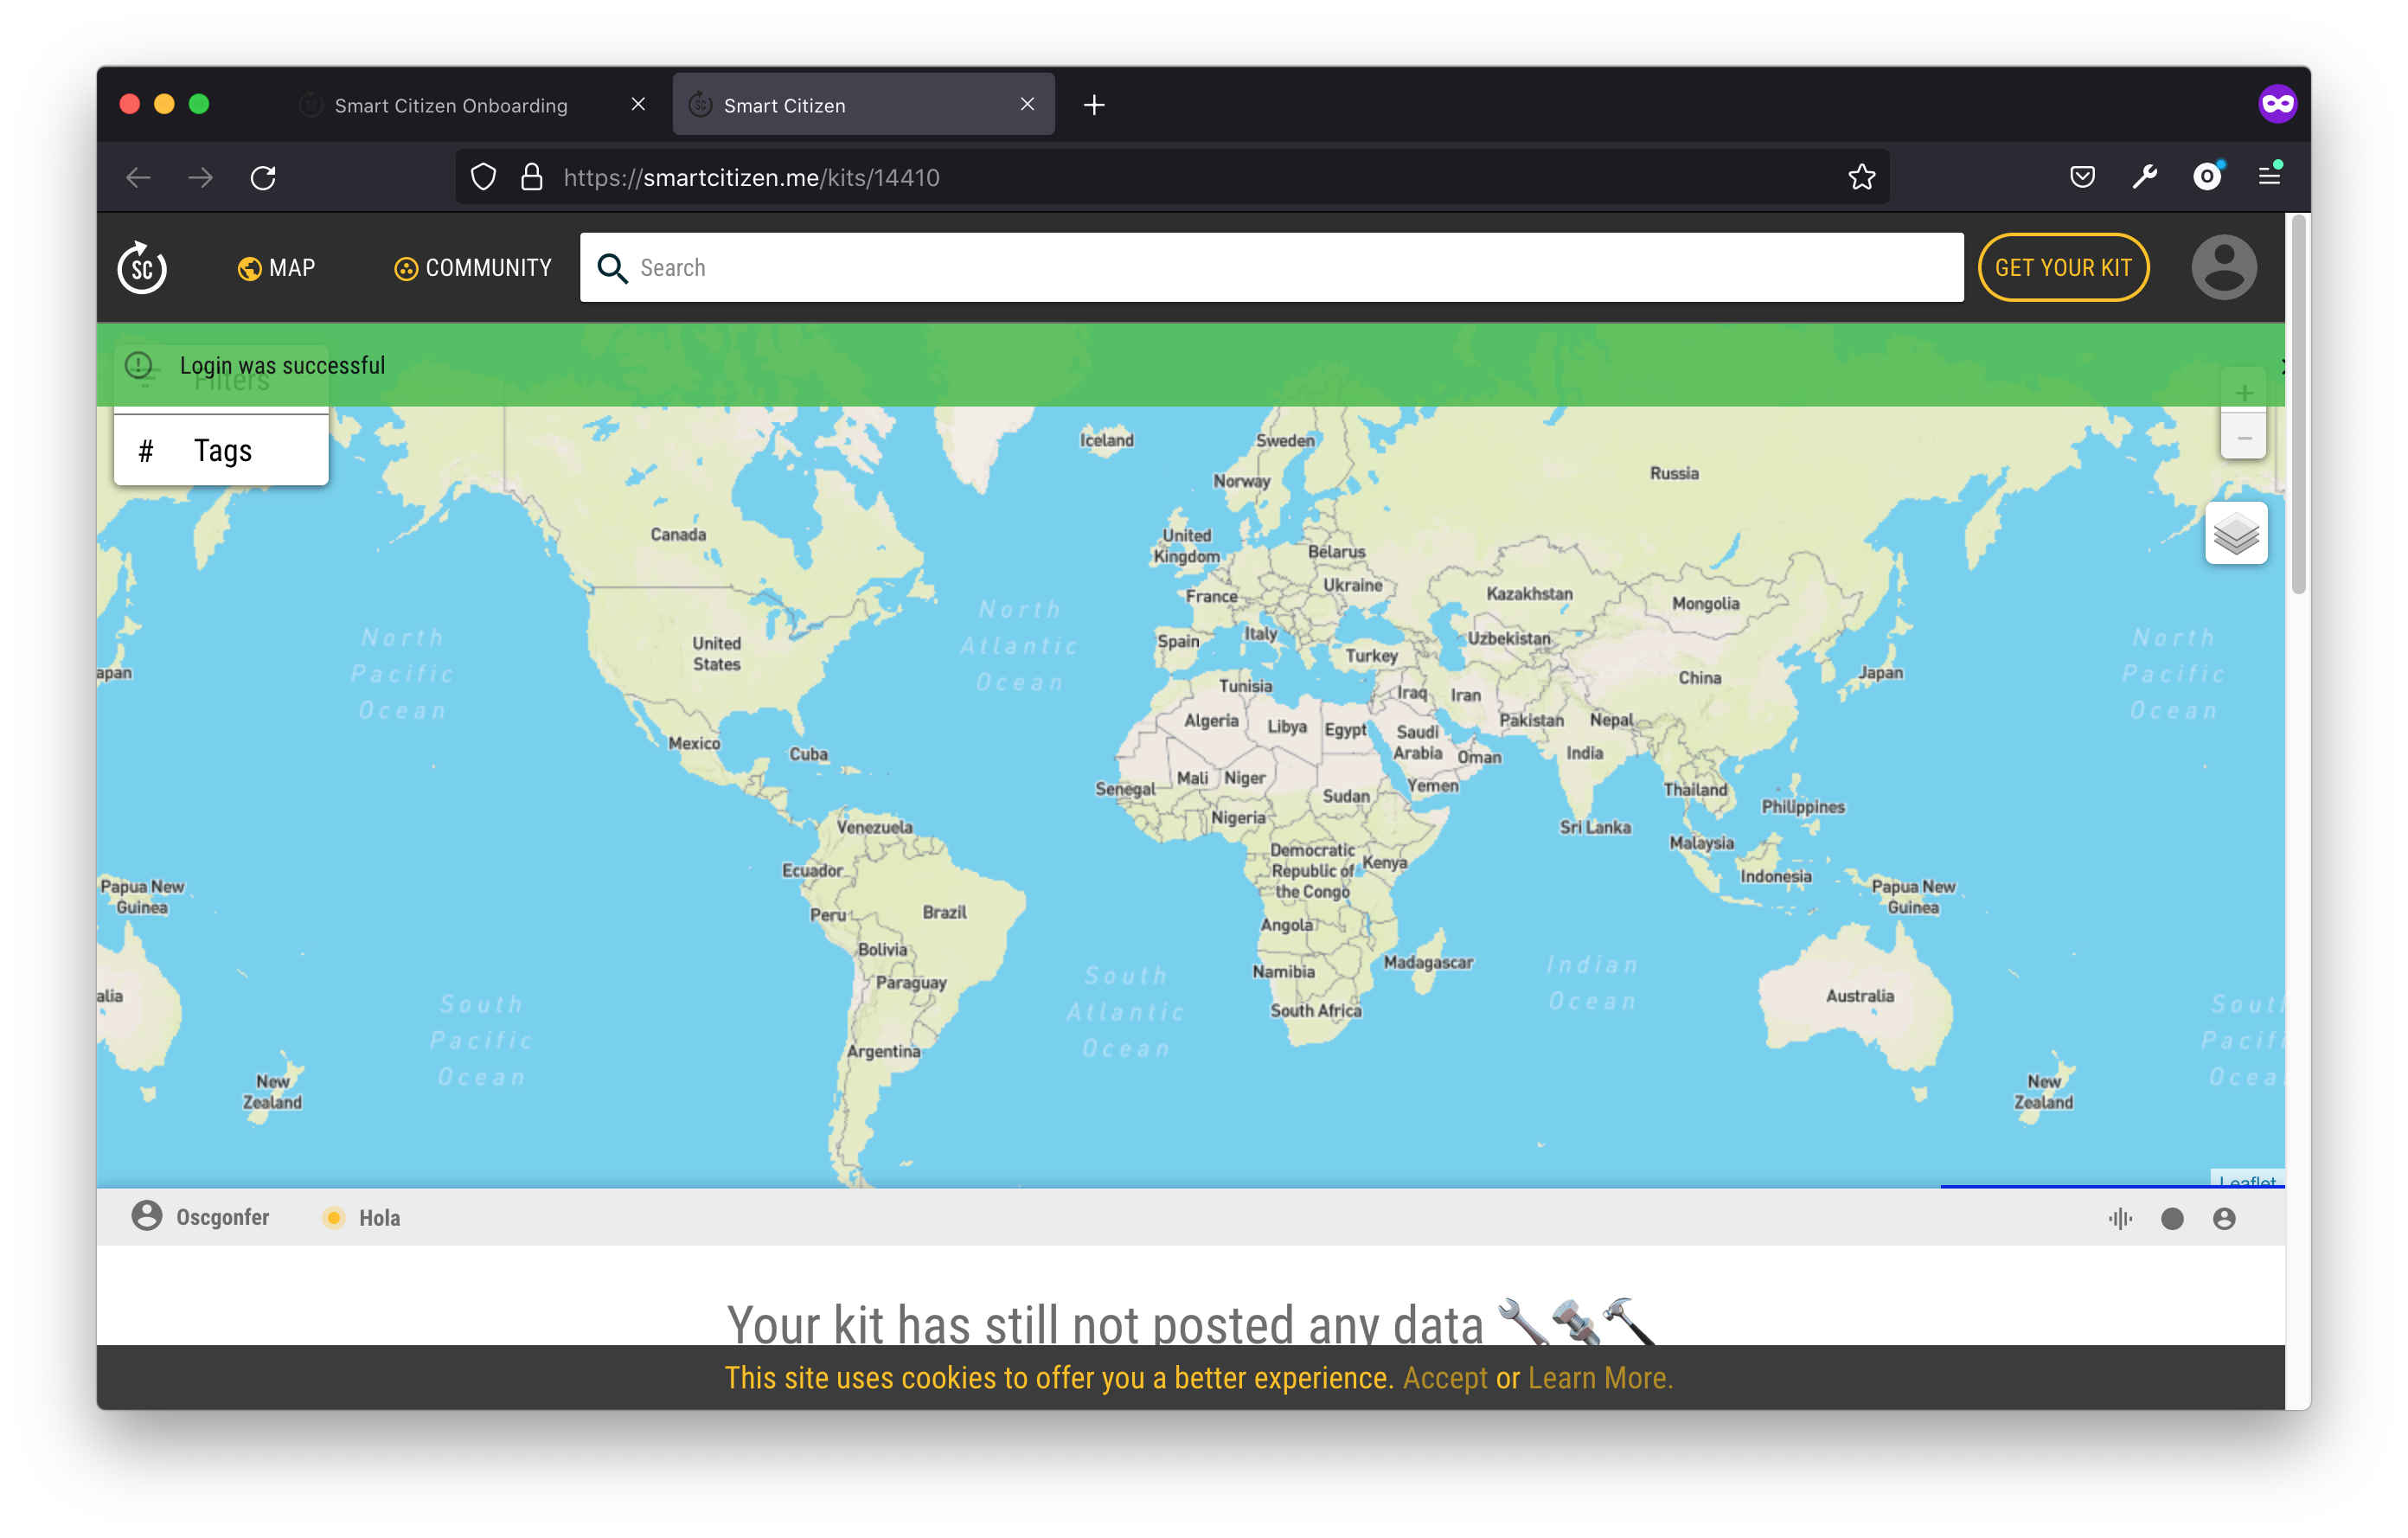
When the data is available, scroll down to make some basic explorations:
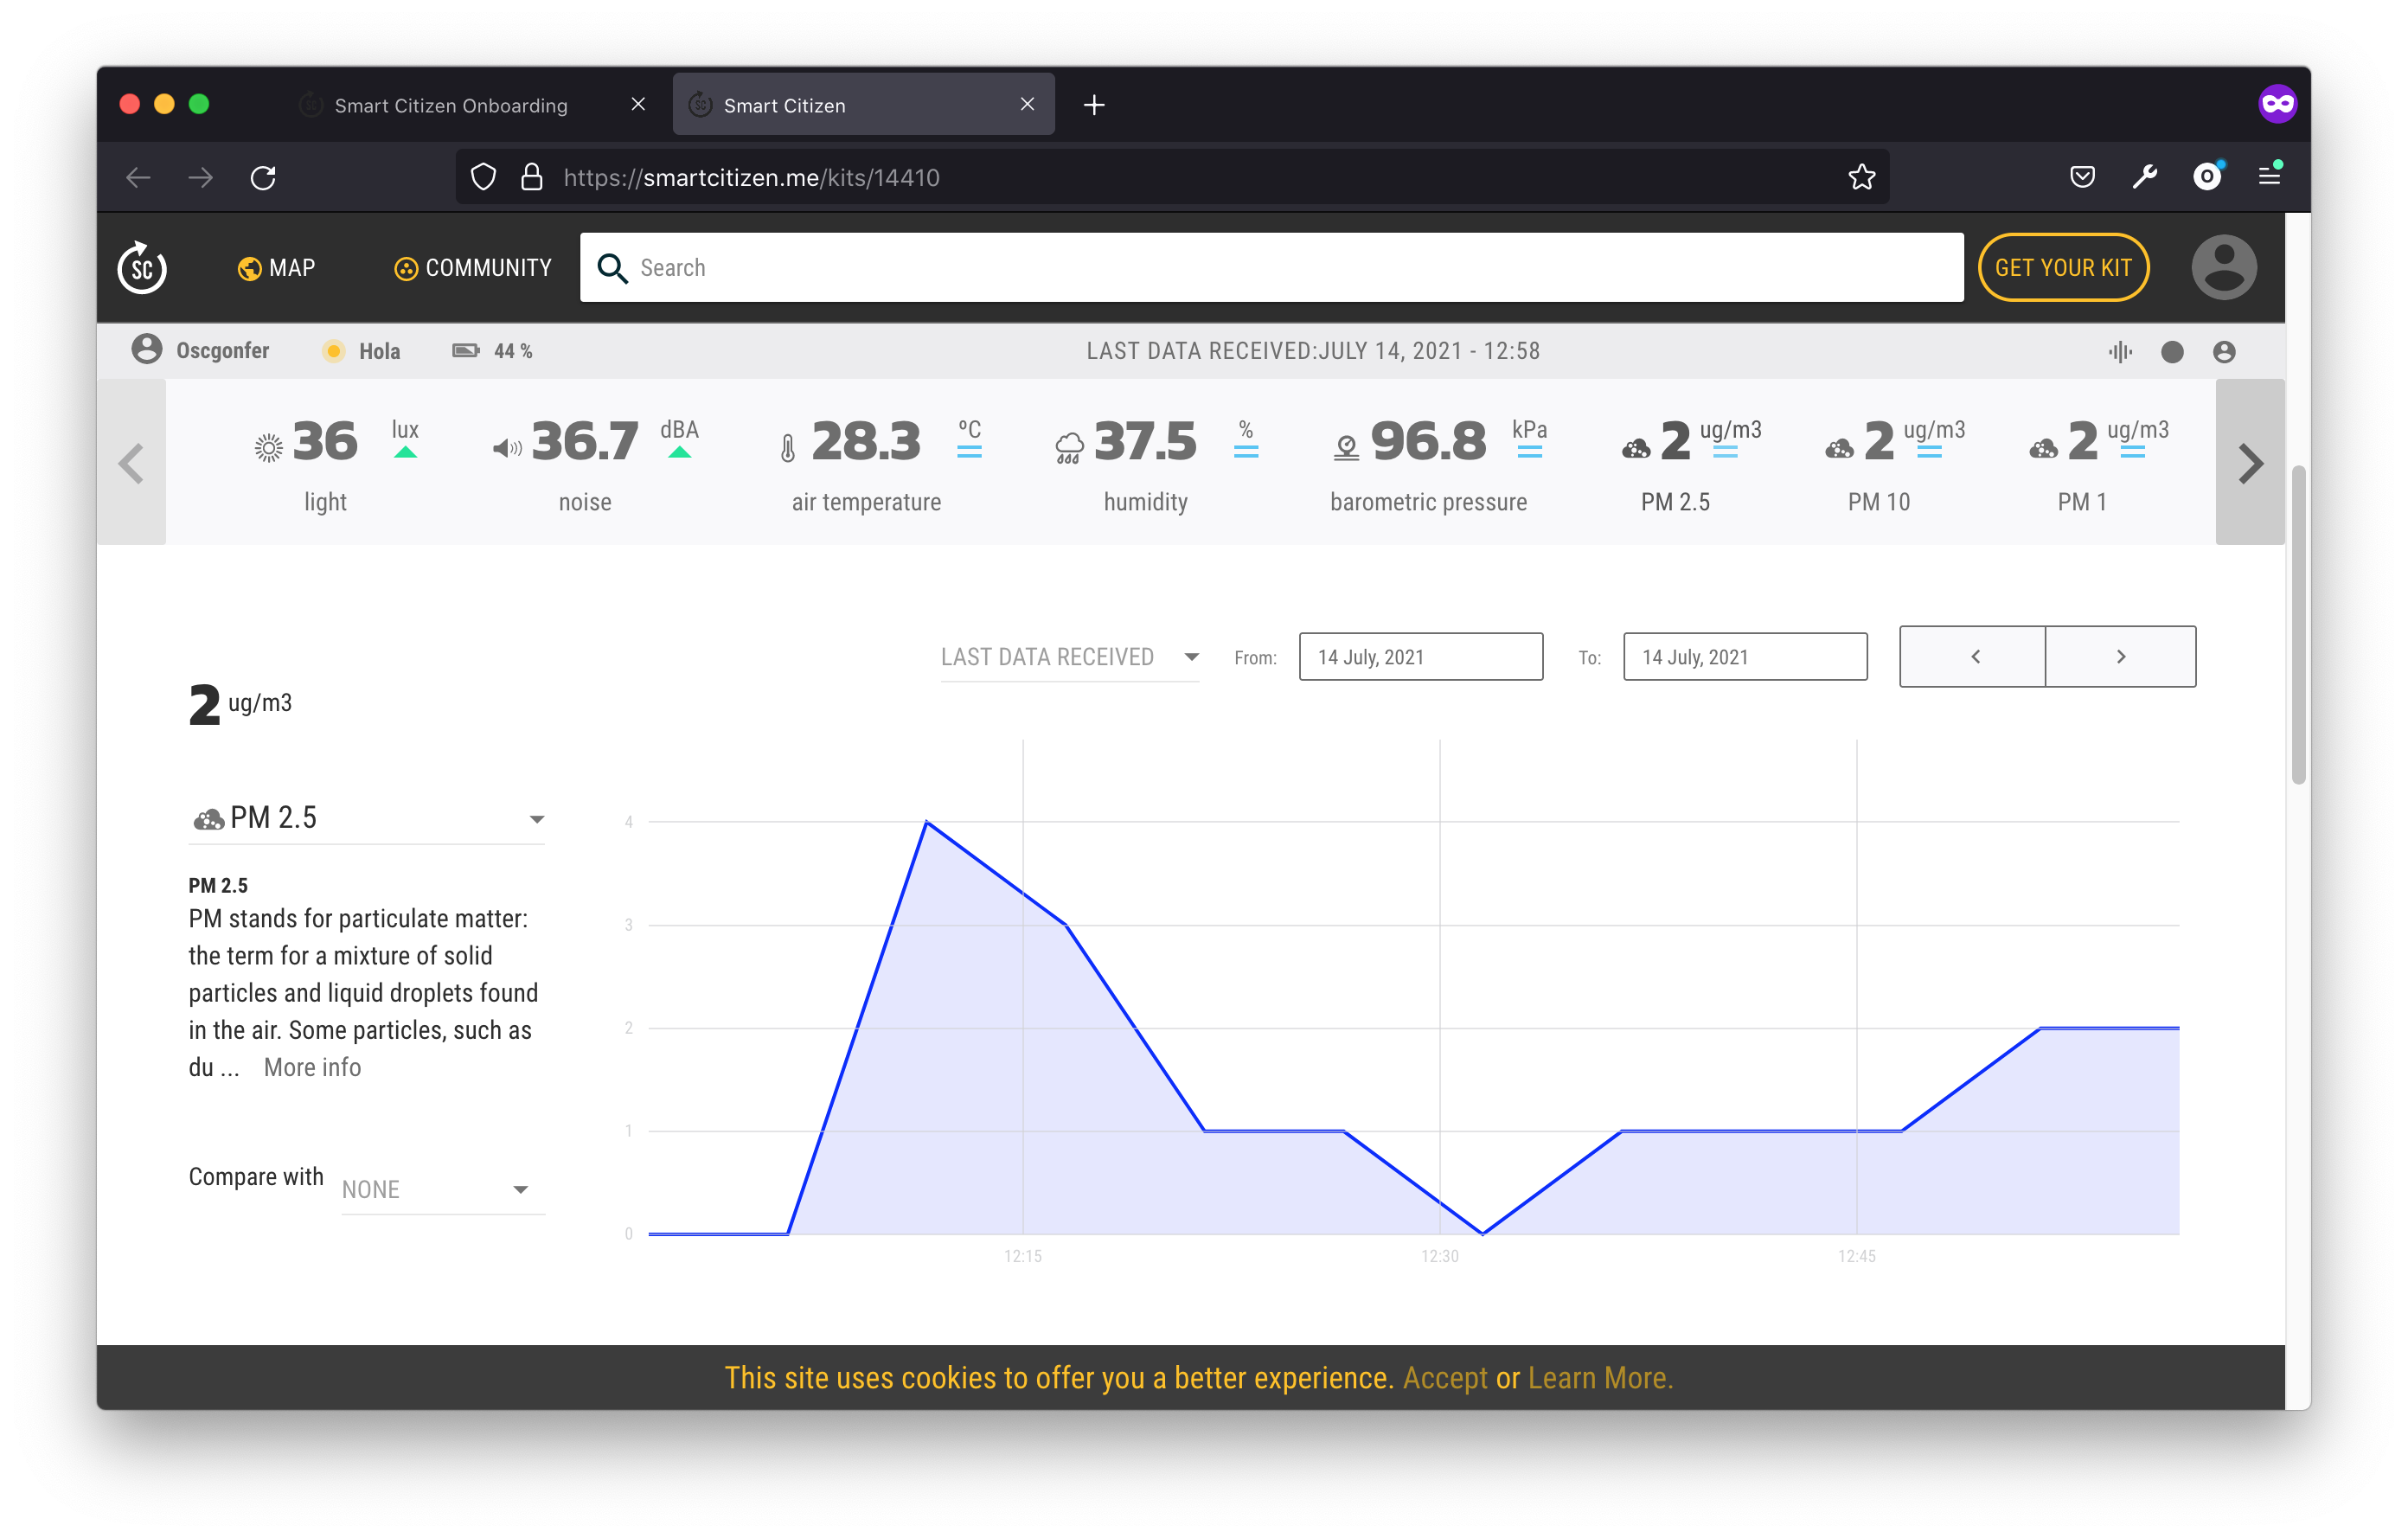
More on the data
The platform allows you to check the data in a basic way, but if you want to have a deeper look you can:
- Download the data in CSV
- Get it from the API
- Use python to analyse it
Advanced Kit Selection
The feature below is for users who want to know how to configure new or customized sensor devices:
How to choose a custom kit
- Click the 🛠️ icon in the bottom right corner
- Choose the blueprint of the device you want to setup
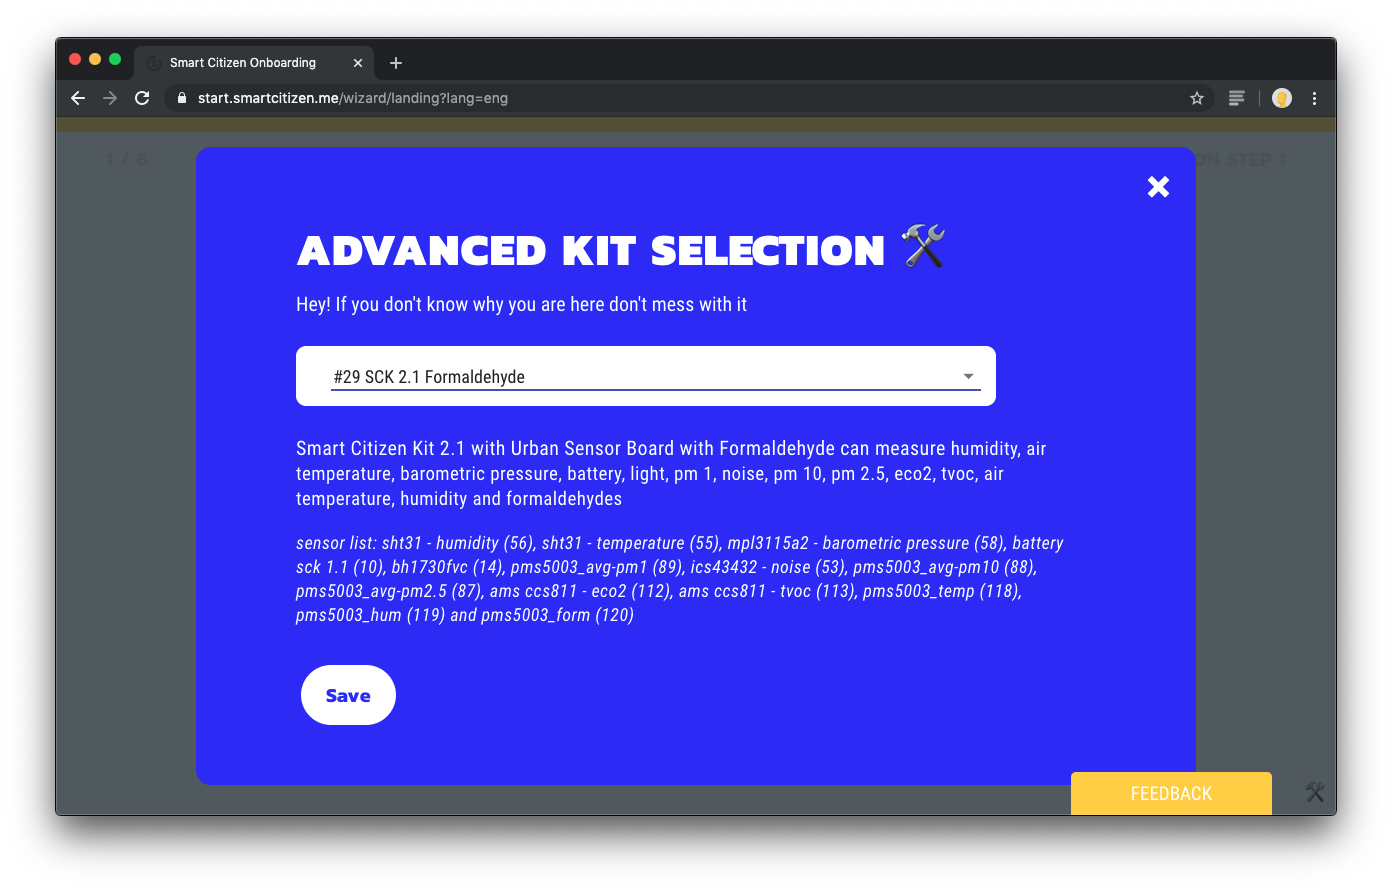
- Click save and continue the process as normal