Arduino serial monitor with the SCK
This tutorial is useful for testing the data recorded in real time and live demostrations.
Estimated time: 15 minutes + 15 minutes if you don't have Arduino IDE installed.
Requirements:
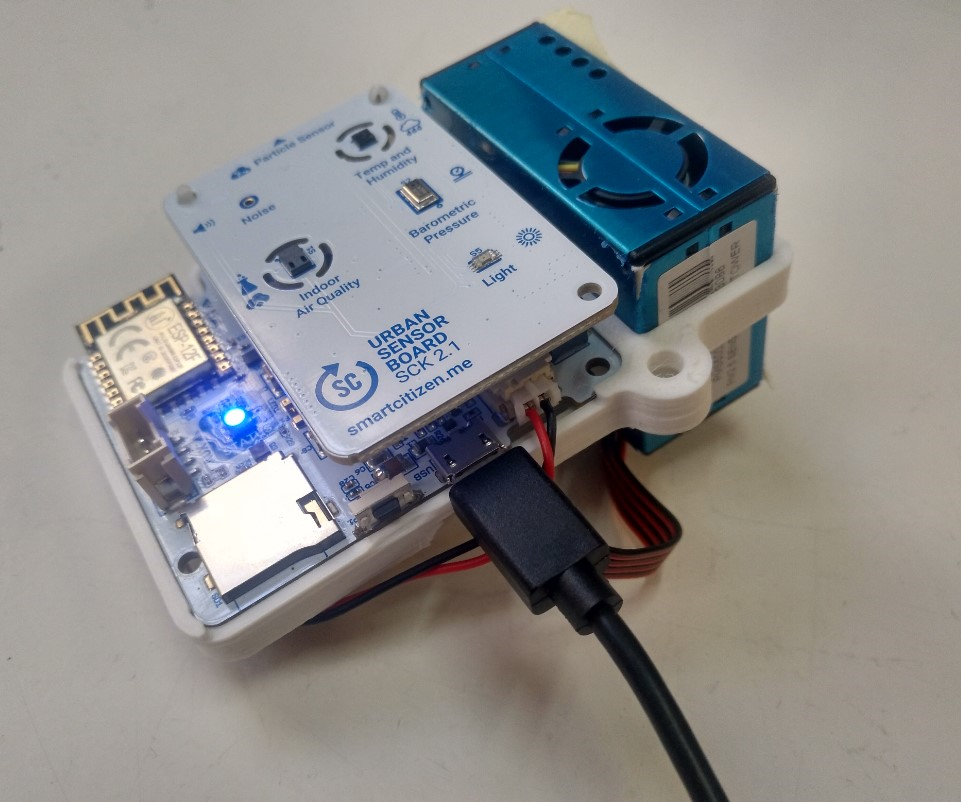
- SCK to monitor
- MicroUSB cable.
- A computer where we're going to configure it.
- Have Arduino IDE installed or other serial monitor installed (or knowledge about using it through terminal). You can download it from here
Connect to your kit
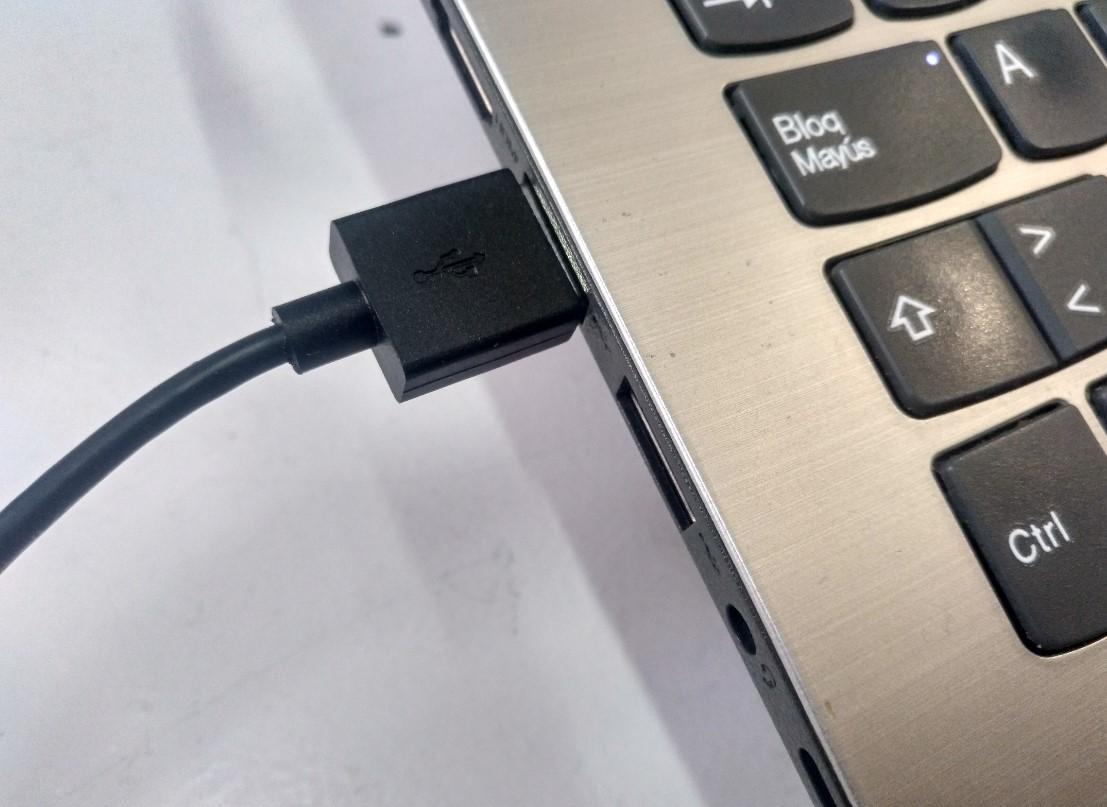
Connect the MicroUSB cable to the SCK:
And the USB to your computer:
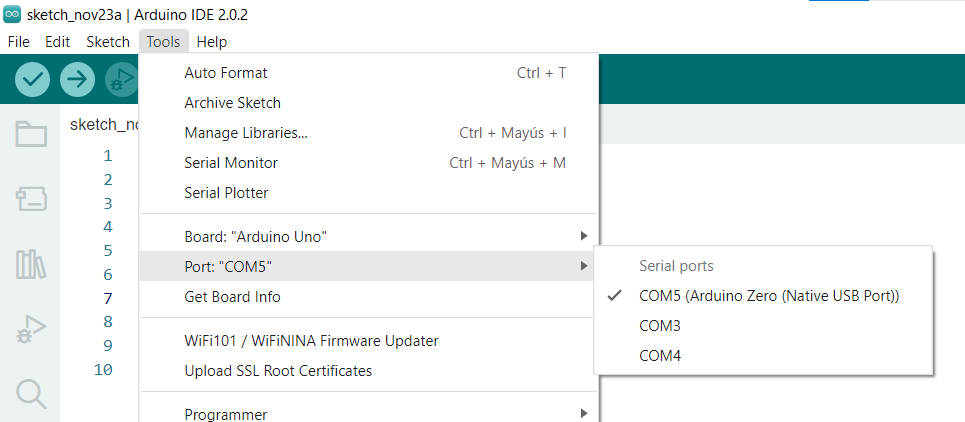
Open the Arduino IDE (the screenshots are done Arduino 2.0 in Windows). If this is your first time with the Arduino IDE don't worry, we will just be working with a couple of things.
Set the port
Go to Tools->Port and select the port that reads like either:
- (Arduino Zero (Native USB Port))
- (Arduino/Genuino Zero (Autodetect Port))
Open the serial plotter
Go to Tools->Serial plotter
Connection troubleshooting
"Couldn't open serial plotter"
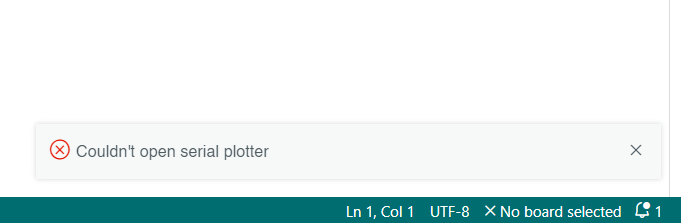
Check if the USB is properly connected and then, revise if the port is properly selected. Last, check if there is a board selected.
If the cable is connected but it's not being recognized by the Arduino IDE, try to reset the SCK by the ON/OFF button:
 ON/OFF button
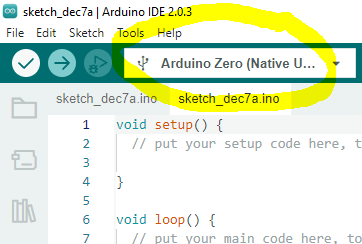
Arduino IDE 2.x
Alternativately, in Arduino IDE 2.x you can select the port from the display on the top
If you do, you're going to be asked probably to install the specific board of the board that the smartcitizen has on the bottom.
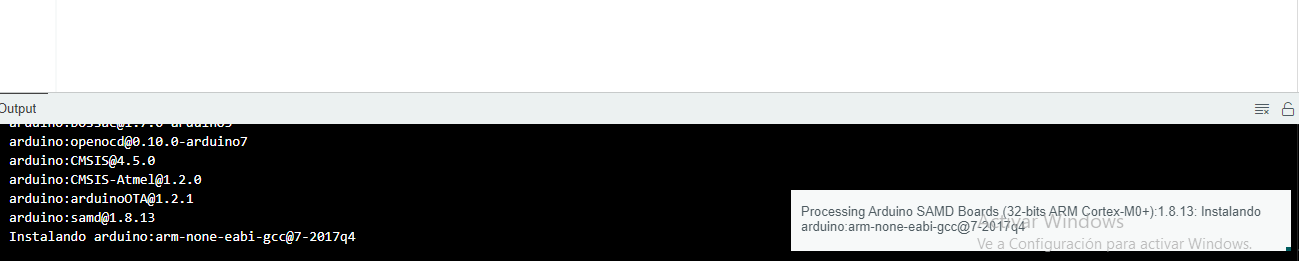
You can just follow the steps of installing the board (you may have some warnings from Windows of needing permissions).
If everything is correct you should get something like this:
 serial plotter without configuration
More on the serial plotter
More information about serial plotter in Arduino IDE with tutorials:
https://docs.arduino.cc/software/ide-v2/tutorials/ide-v2-serial-plotter [EN]
https://arduino.cl/como-usar-el-serial-plotter-en-arduino-ide/ [ES]
Use commands to select the plotting device
When you open the serial plotter you will have something like this:
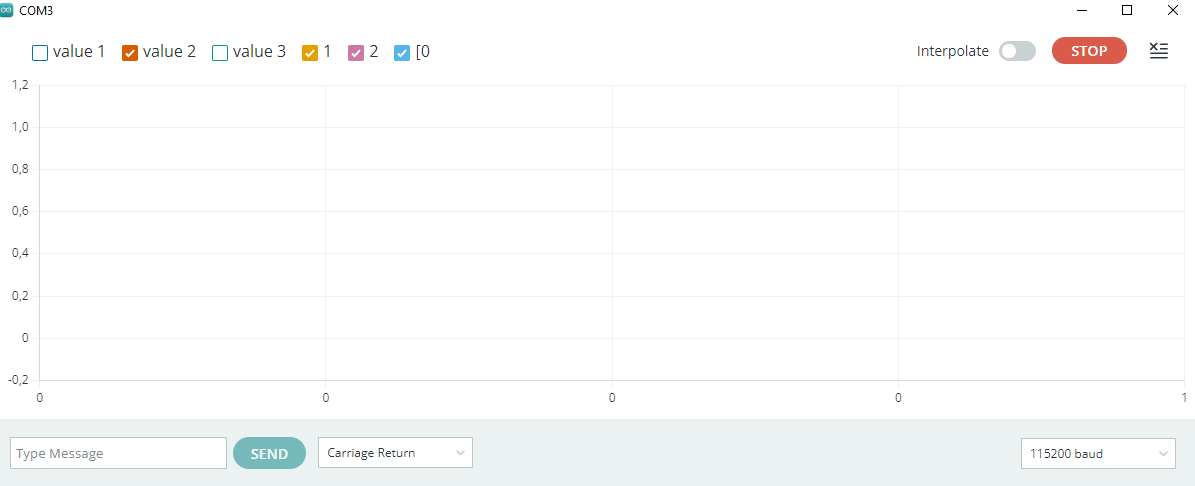
It's important to check the bottom part where it should say Carriage Return and 115200 baud:

In the box of Type Message we can send message to the kit.
The commands
If you want to know more about the available commands you can visit the information about using the shell or visit the Shell webinars!
These commands are without timestamp and they are usually seen in "value2". They will change at very high speed!
Noise
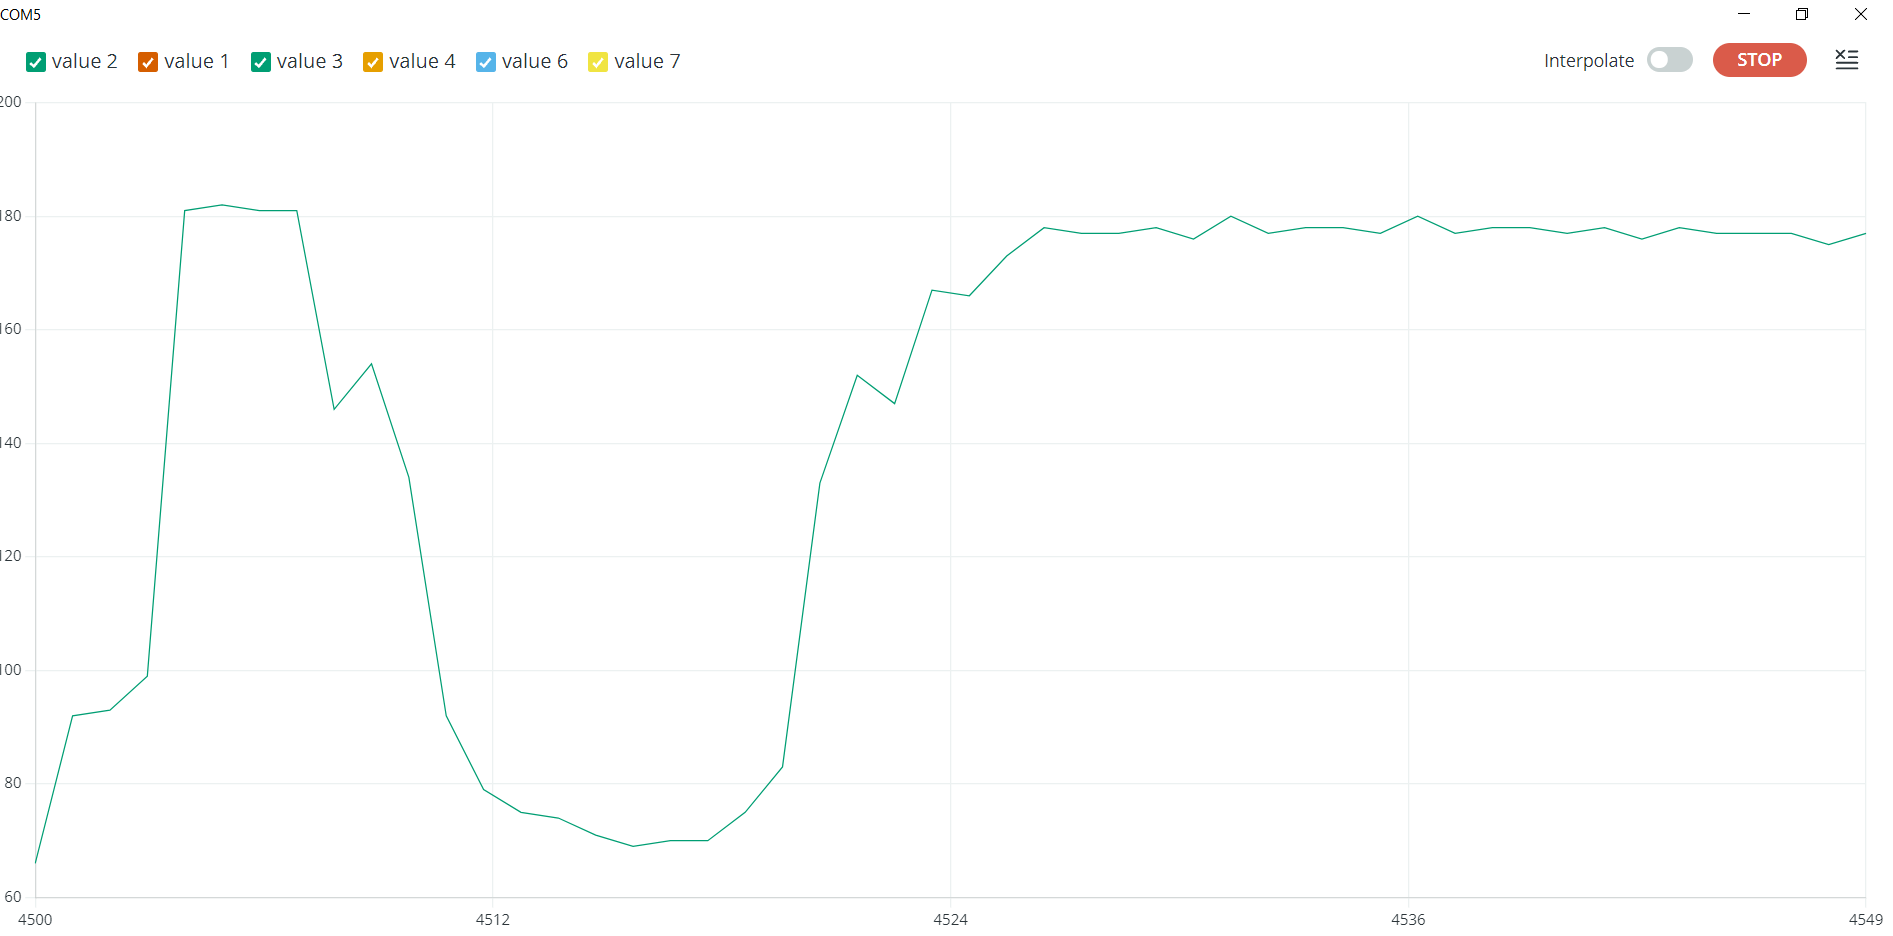
Input this command:
monitor noise -notime -noms
You will get something like this.
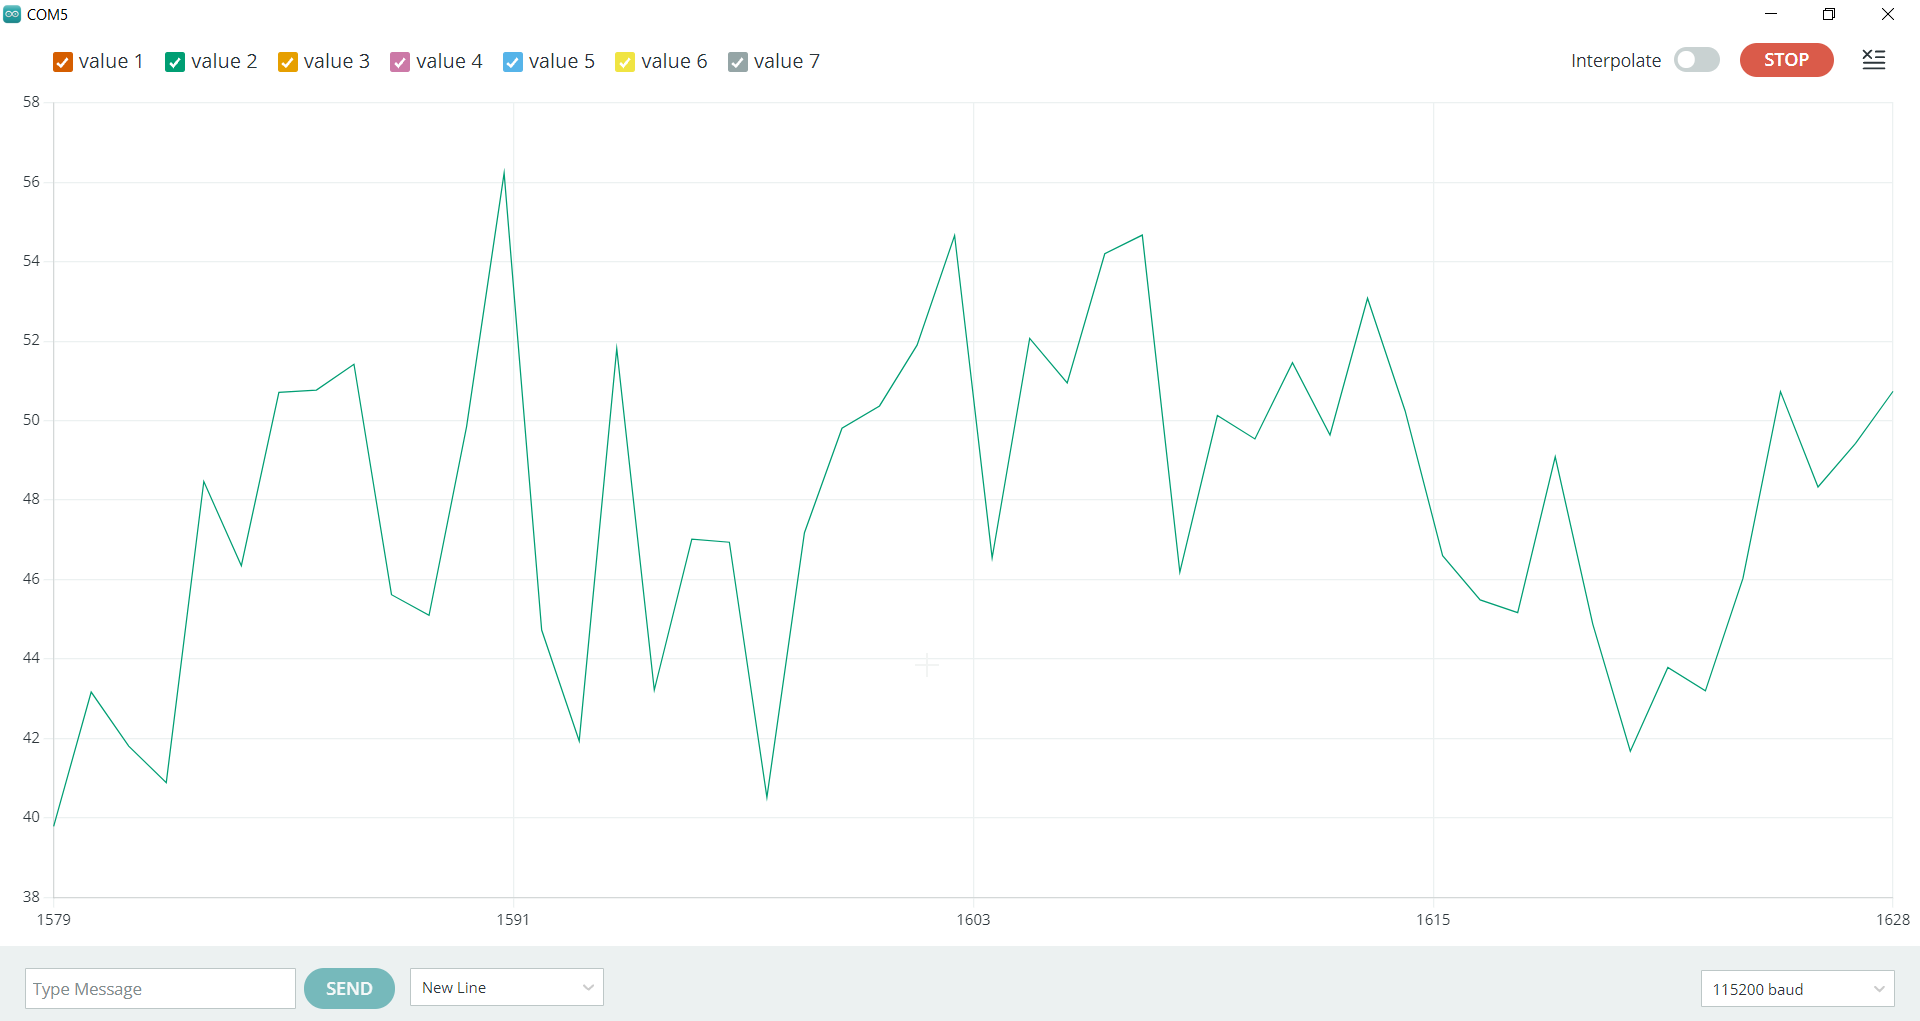
You will get the data in dBA. You can try to clap or stay quiet to keep the noise levels low.
Light
Input this command:
monitor light -notime -noms
You will get something like this.
Output is in lux. By covering or pointing the sensor to a light source you should see some changes.
Temperature
Input this command:
monitor temp -notime -noms
You will get something like this:
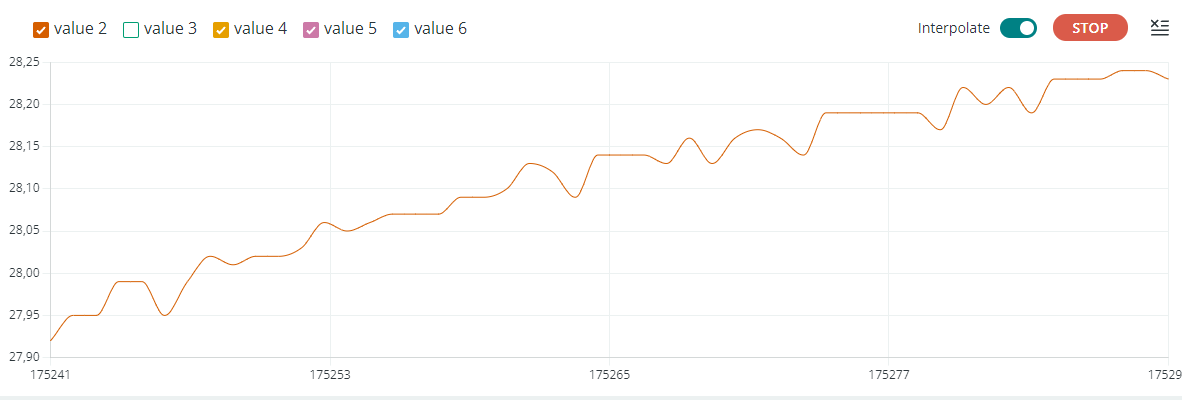
The output will be in ºC. You can put your finger into the temp and humidity sensor to see how it changes over time and go back to normal.
Humidity
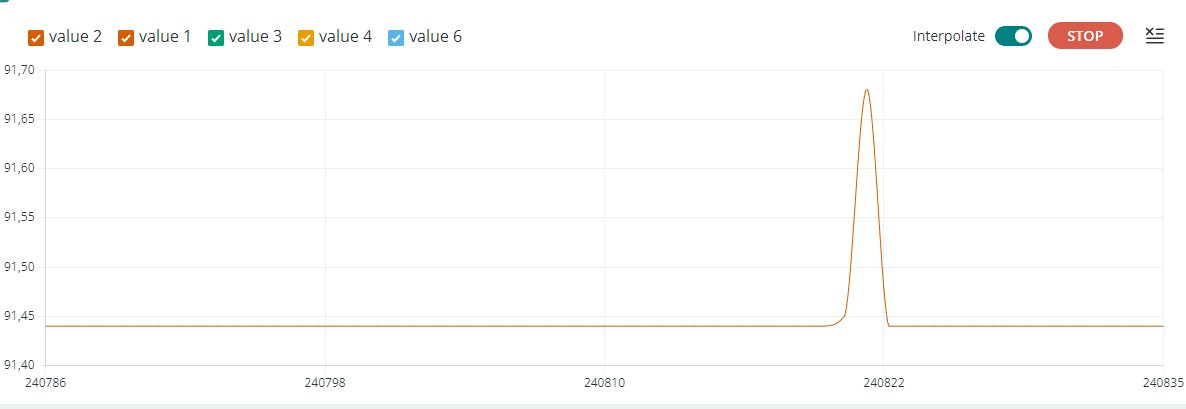
Input this command:
monitor humidity -notime -noms
You will get something like this.

The output is in %RH. You can put your finger into the temp and humidity sensor to see how it changes over time and go back to normal.
Pressure
Input this command:
monitor pressure -notime -noms
You will get something like this.
The output is in kPa.
VOC Gas CCS811
Input this command:
monitor VOC -notime -noms
eCO2 Gas CCS811
Input this command:
monitor eCO2 -notime -noms
PM 1.0
Input this command:
monitor pm -notime -noms
PM 2.5
Input this command:
monitor PM 2.5 -notime -noms
PM 10.0
Input this command:
monitor PM 10 -notime -noms