Assembling Smart Citizen Stations
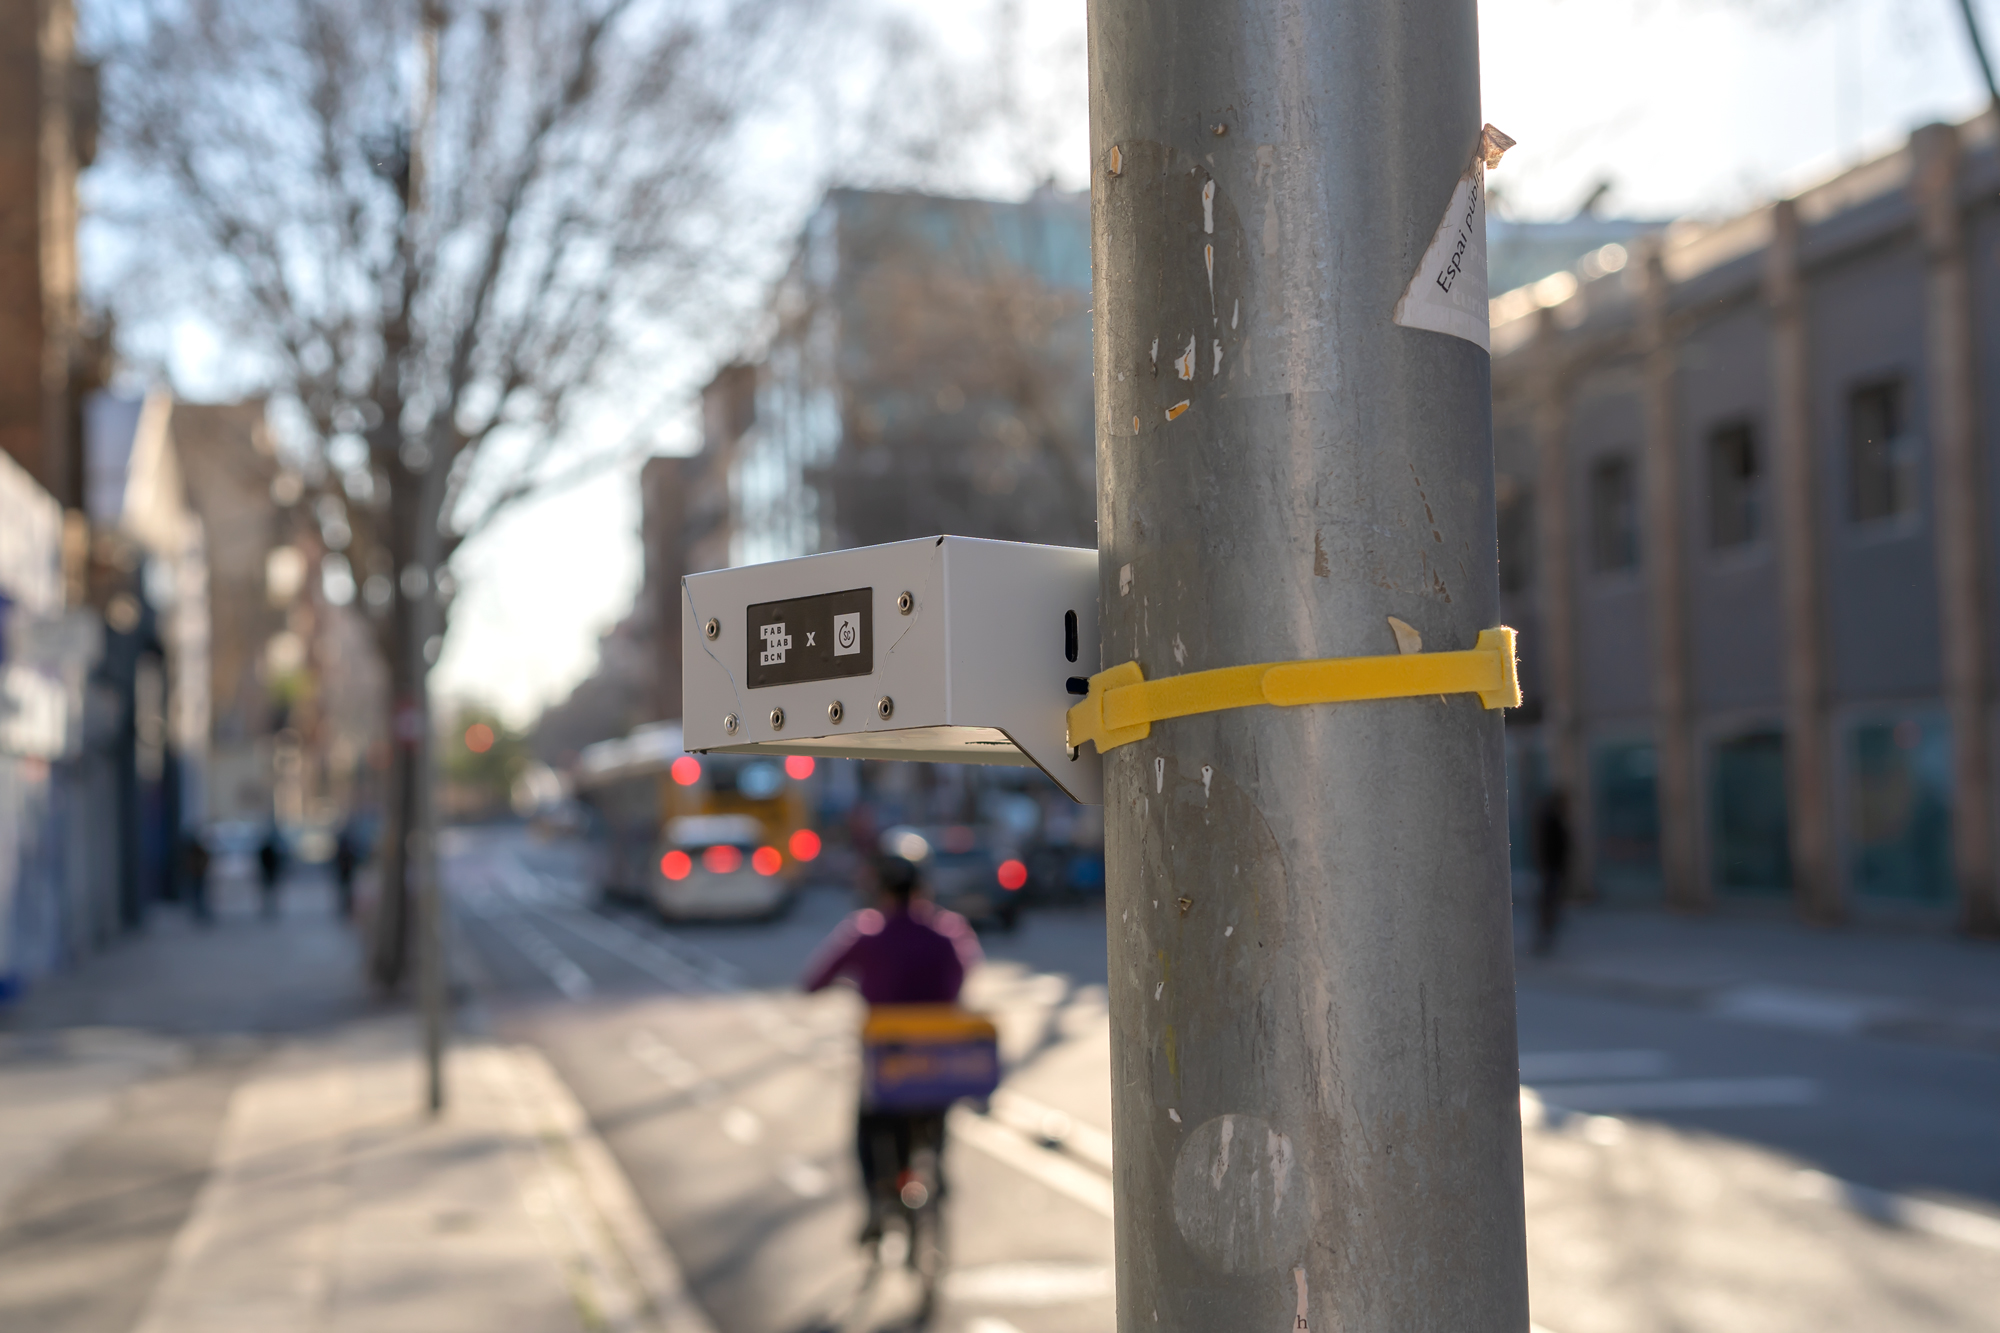
This guide will explain how to assemble the small Smart Citizen Stations. The unit is designed to be manufactured in a Fab Lab, and it has a series of 3D printed components, as well as a rain cover made out of composite material (commercially known as dibond).
Passing the cable through
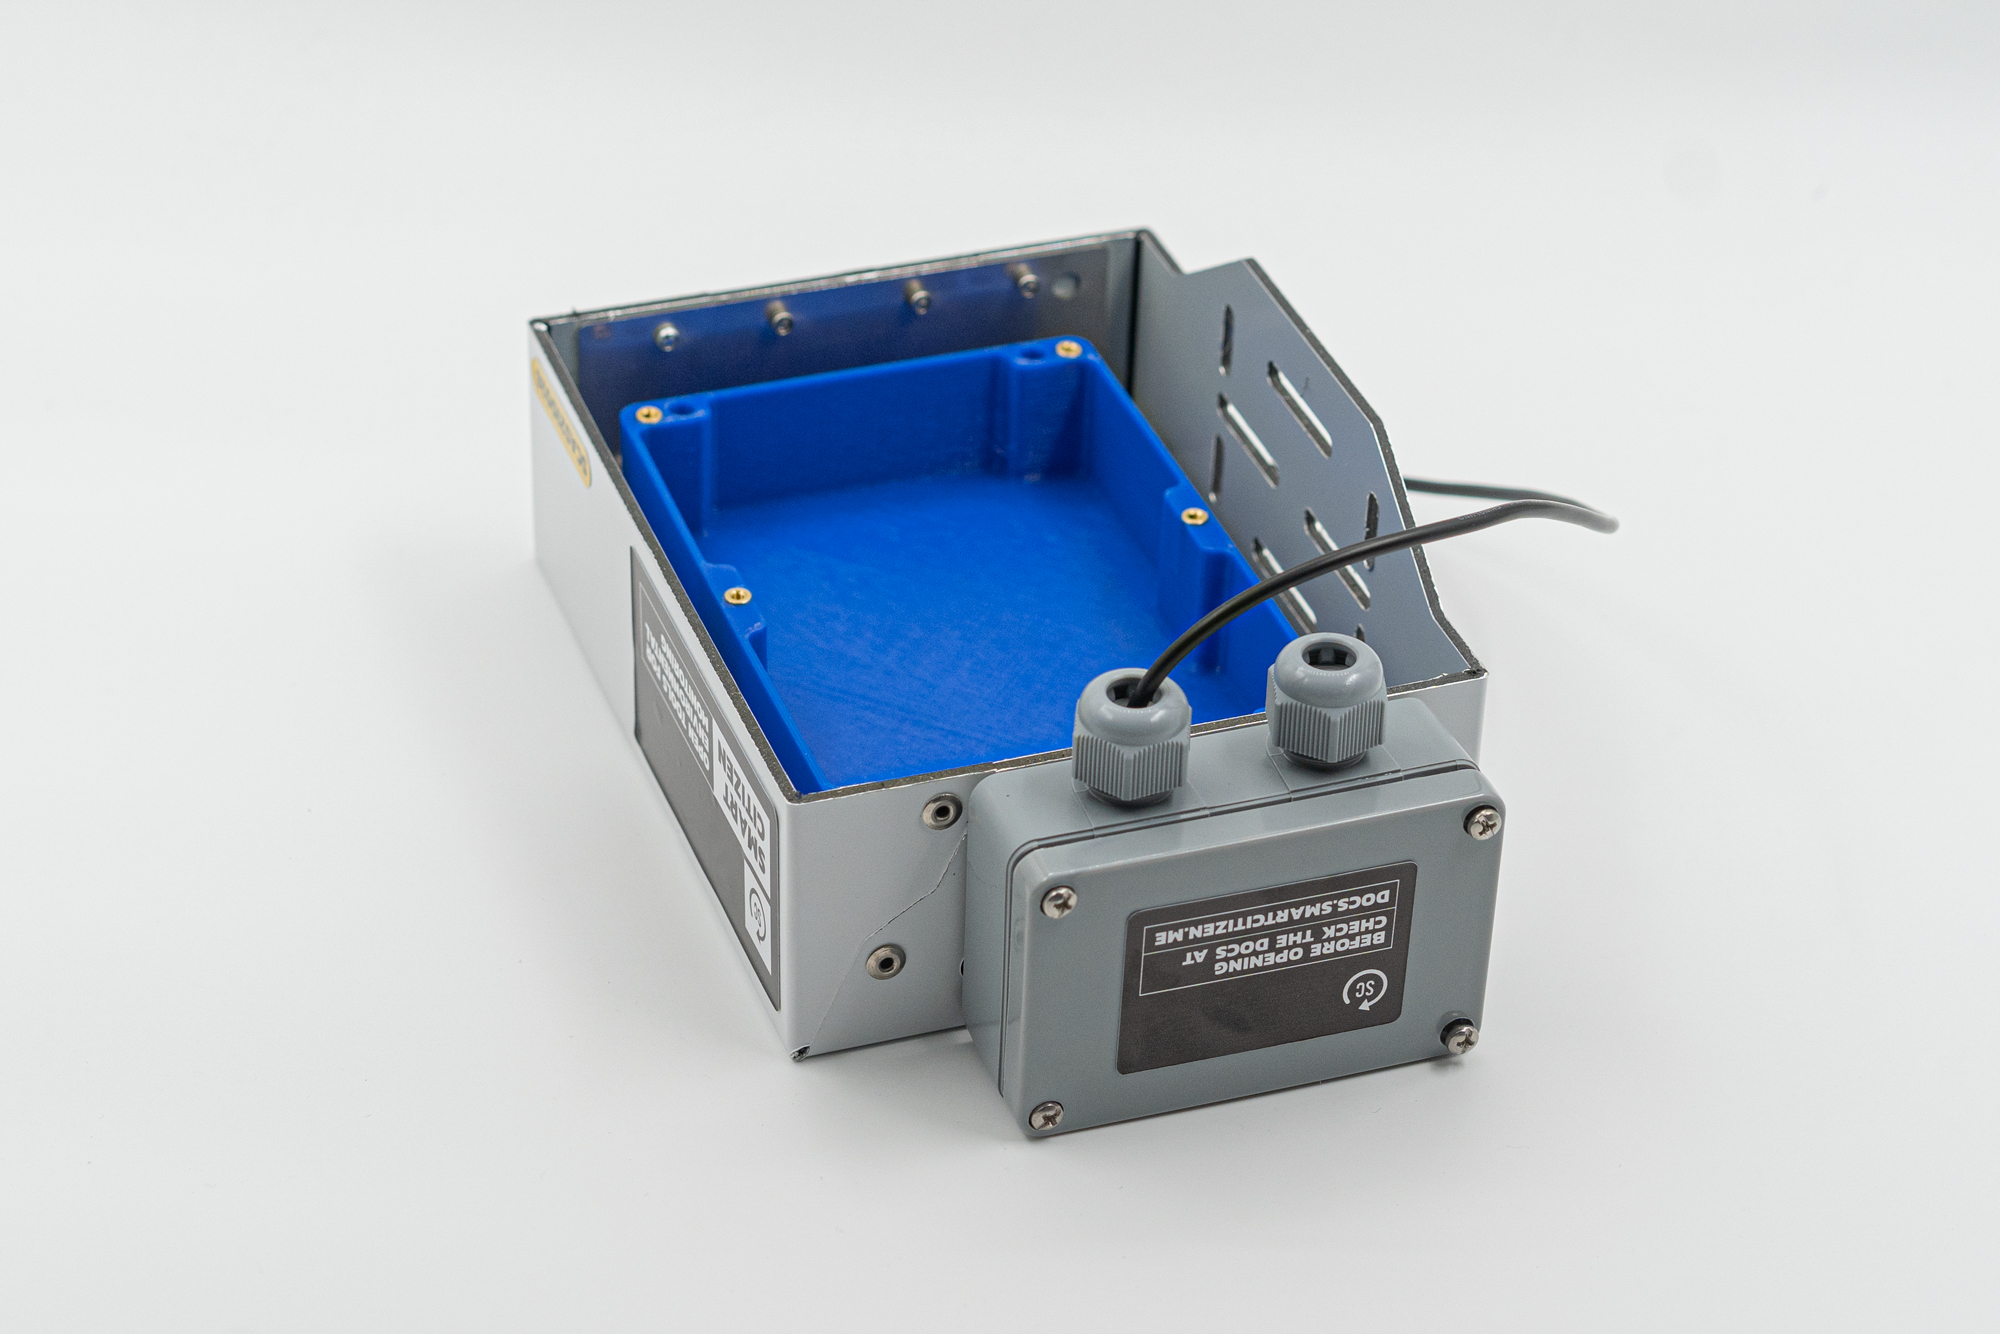
Even if it's very simple process, the USB cables we use to power the sensor come in different shapes and sizes. This makes it a bit difficult to seal the enclosure, and the cables are often are pulled and can damage the sensor. To avoid this, make sure you place this small cable gland in the enclosure.
Step-by-step
-
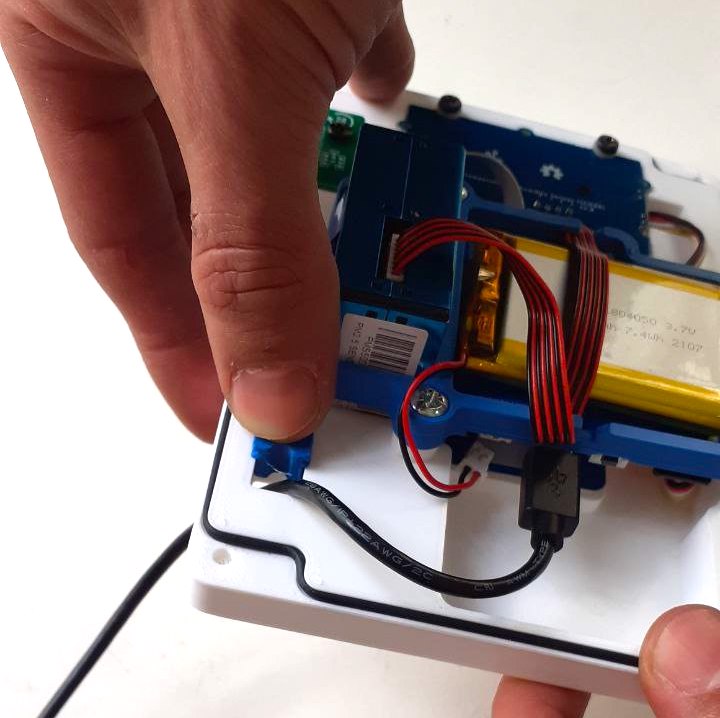
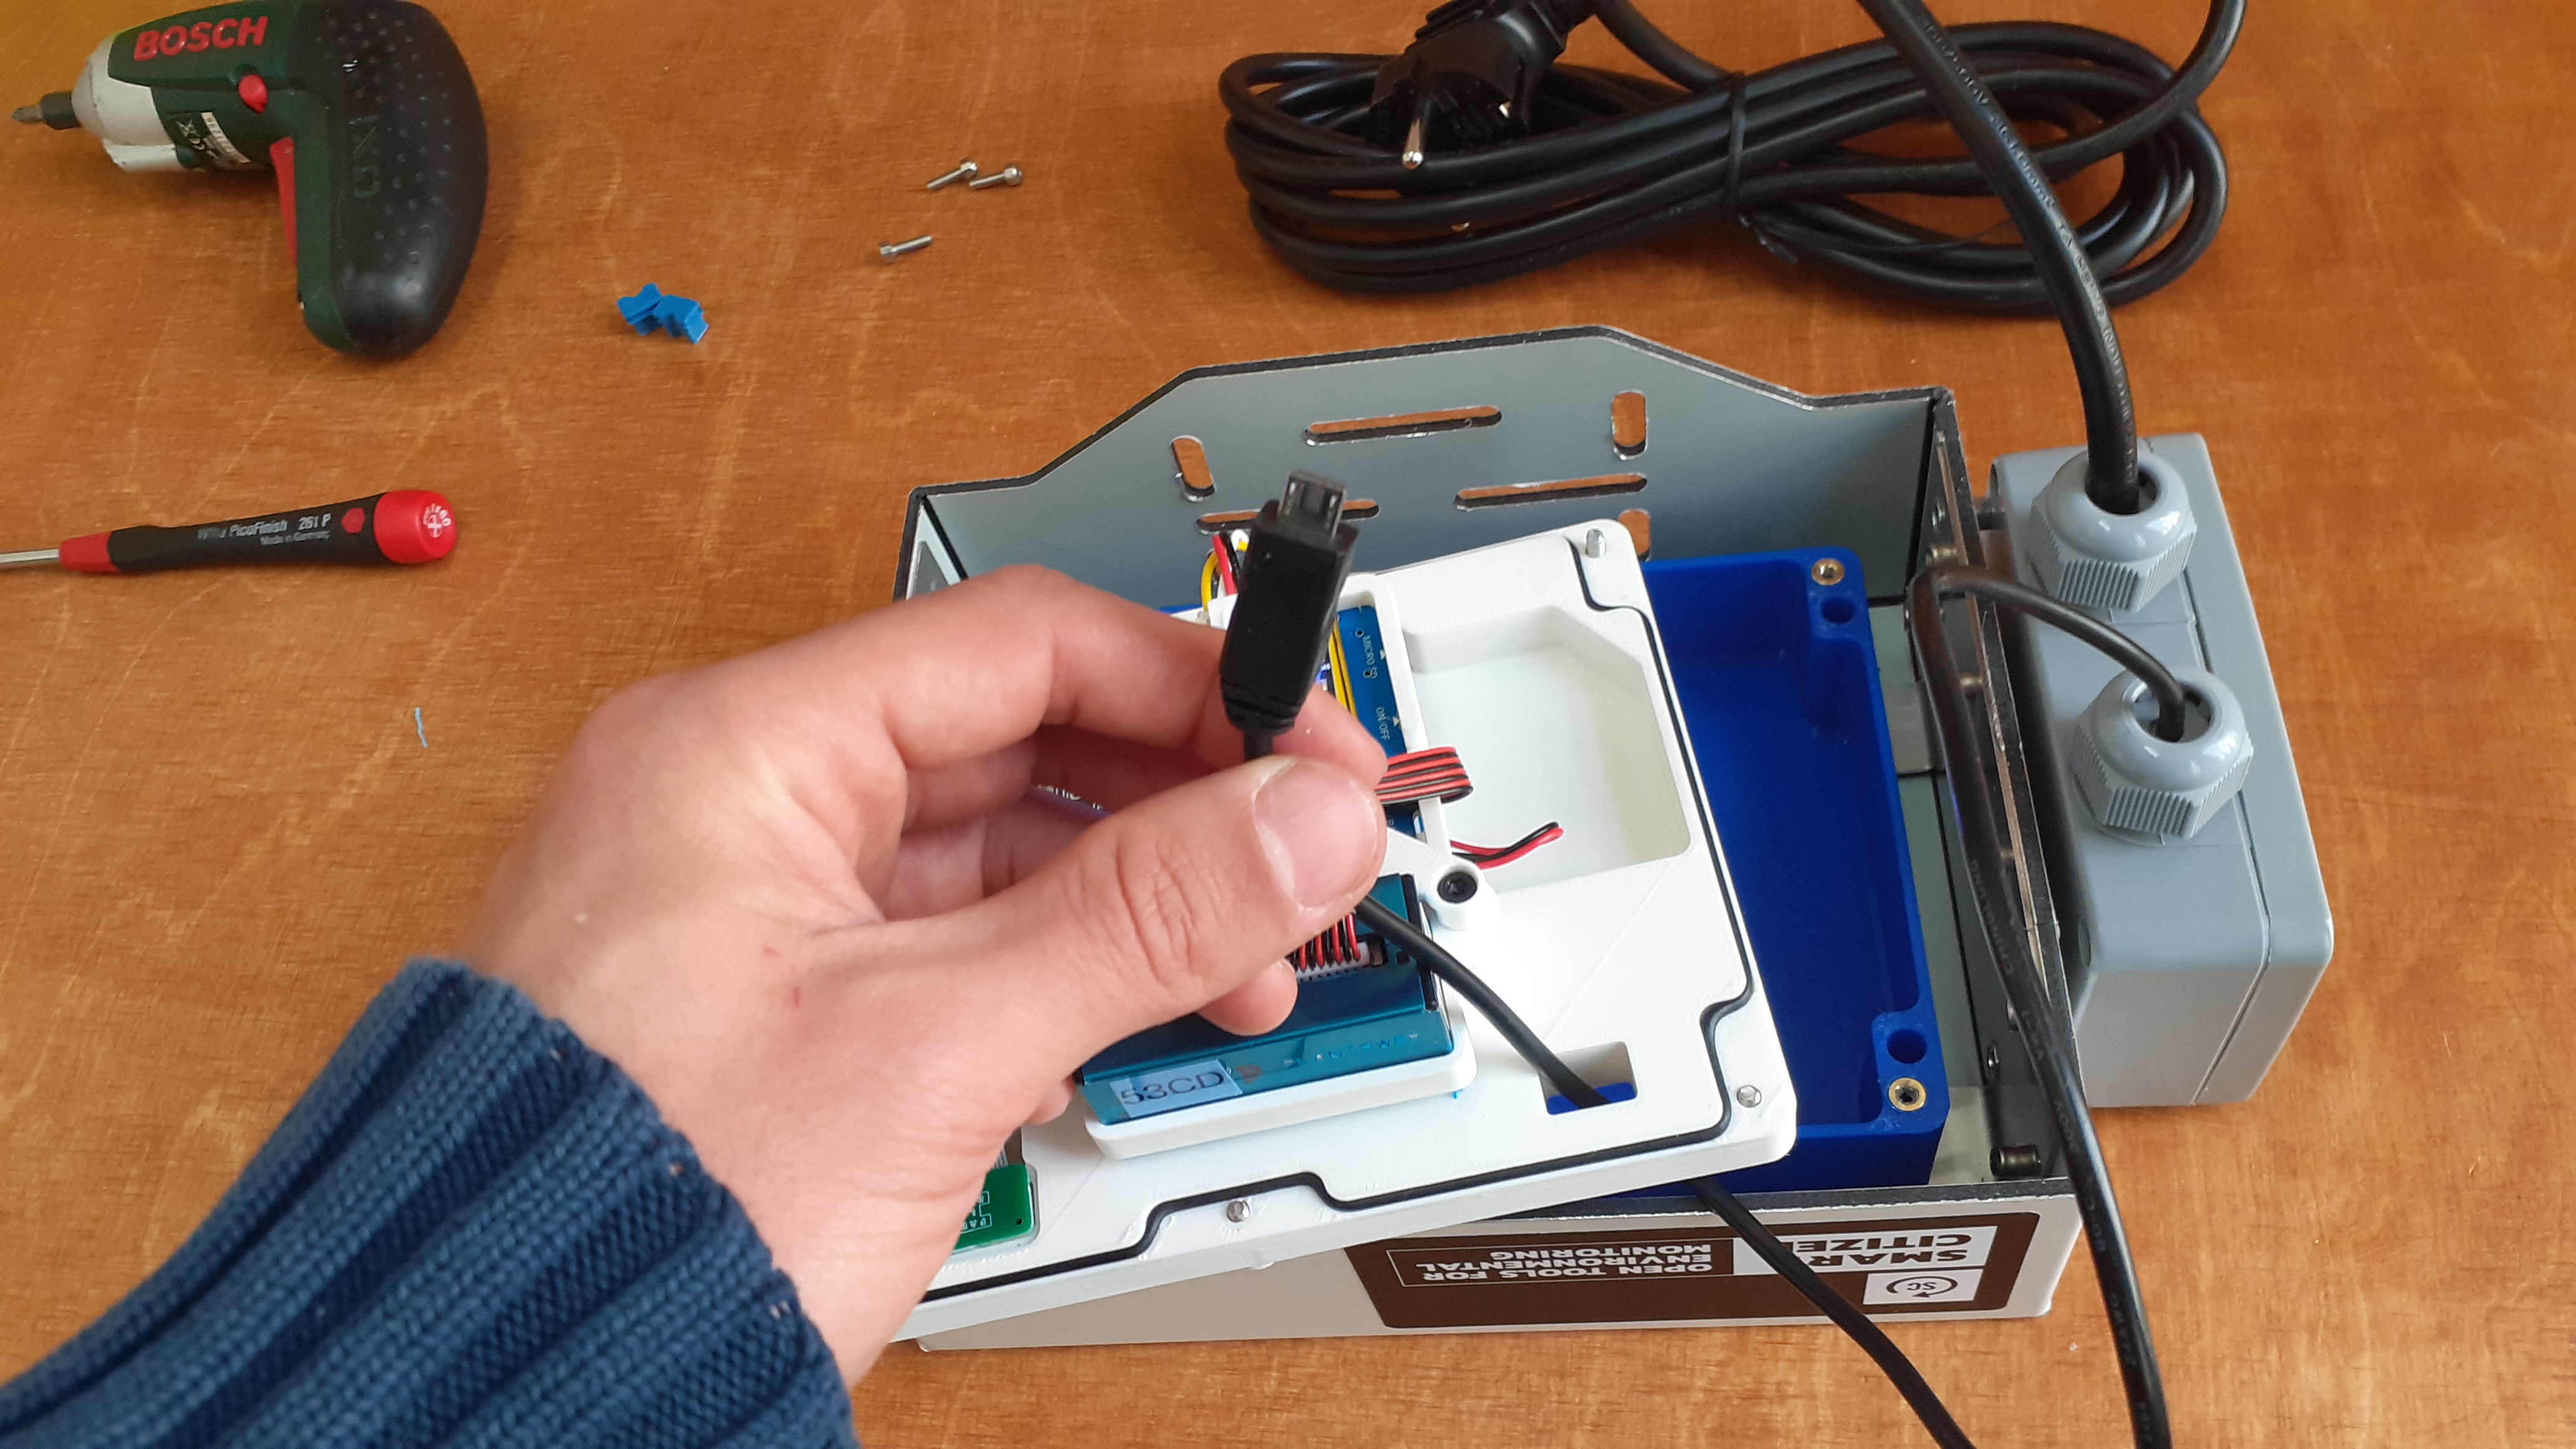
Prep the white base by dissassembling it from the blue cover
-
Pass the USB Cable through

- Connect the USB cable to help you out
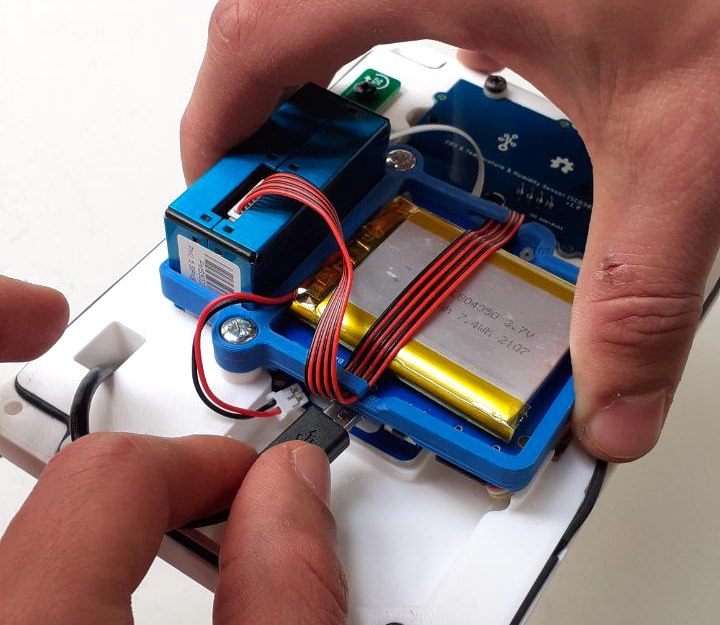
- Put in the first half of the cable gland. It fits tightly
- Finish it up with the other half
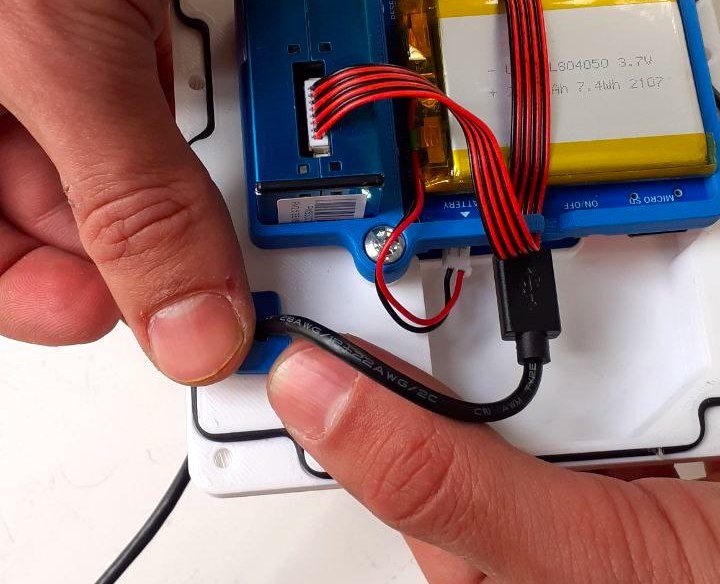
- Make sure the amount of cable inside the unit is not too long, not too short!
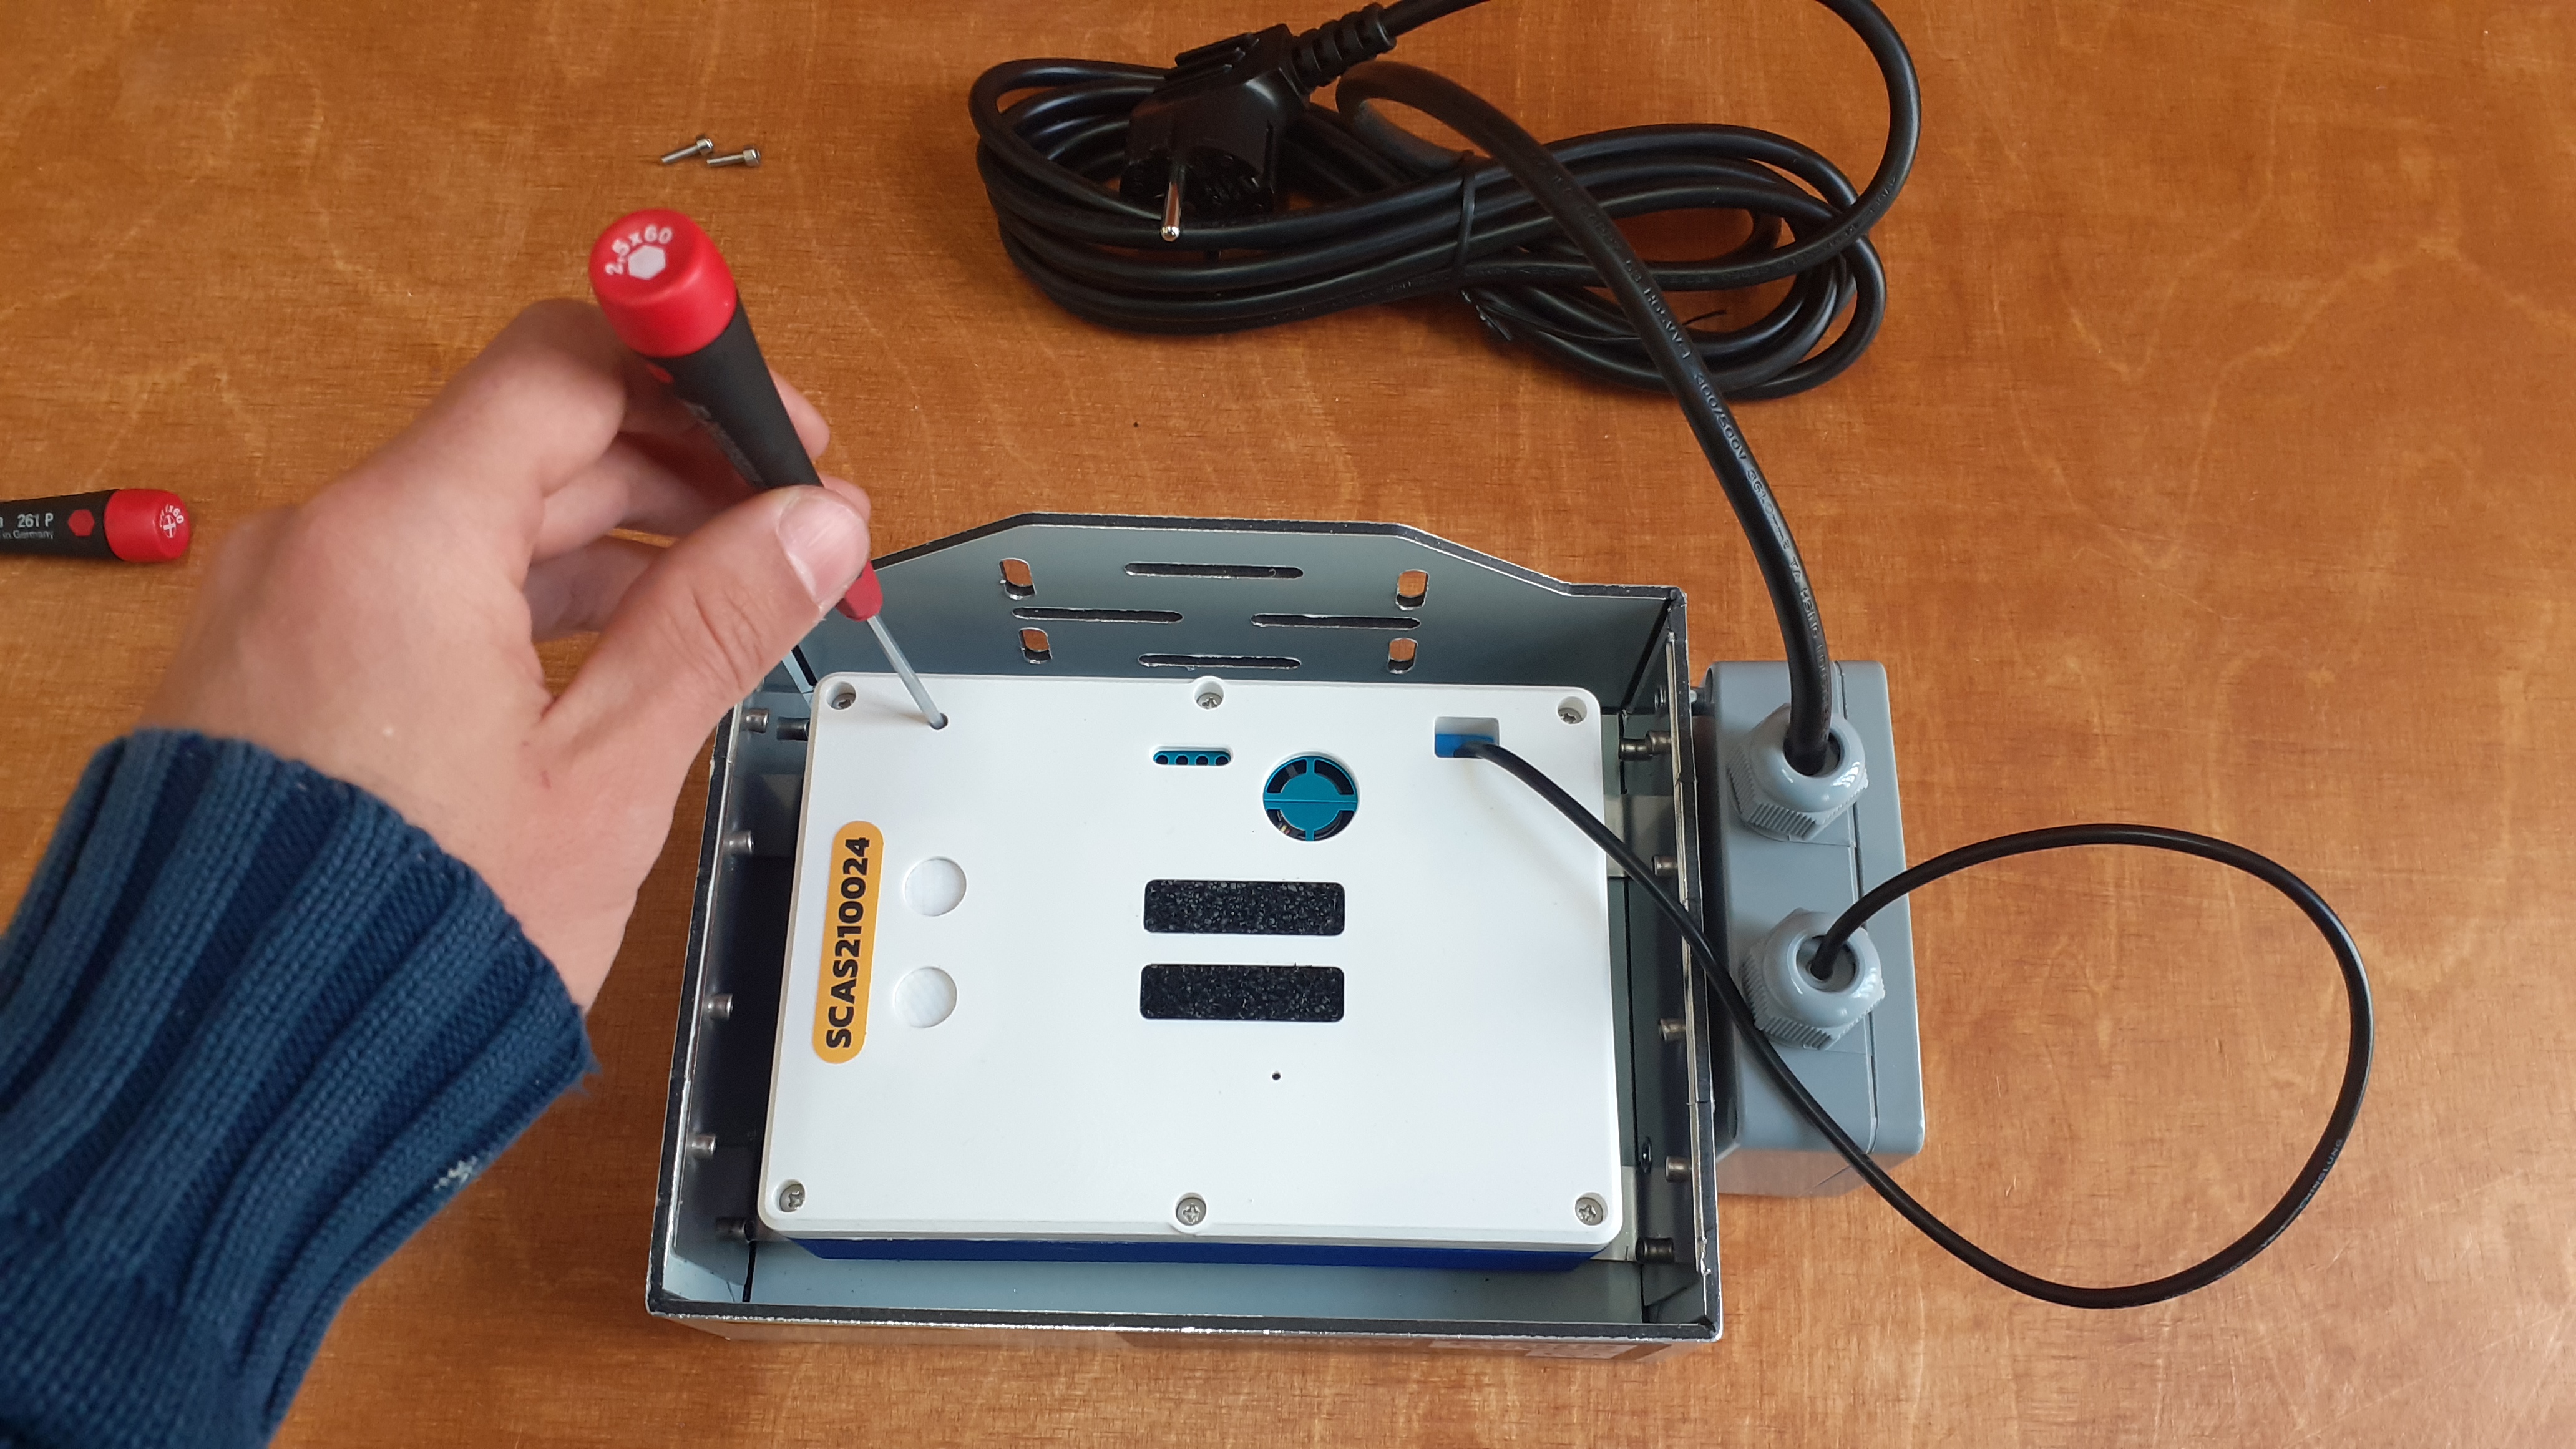
Assembling the rain cover
Step-by-step
-
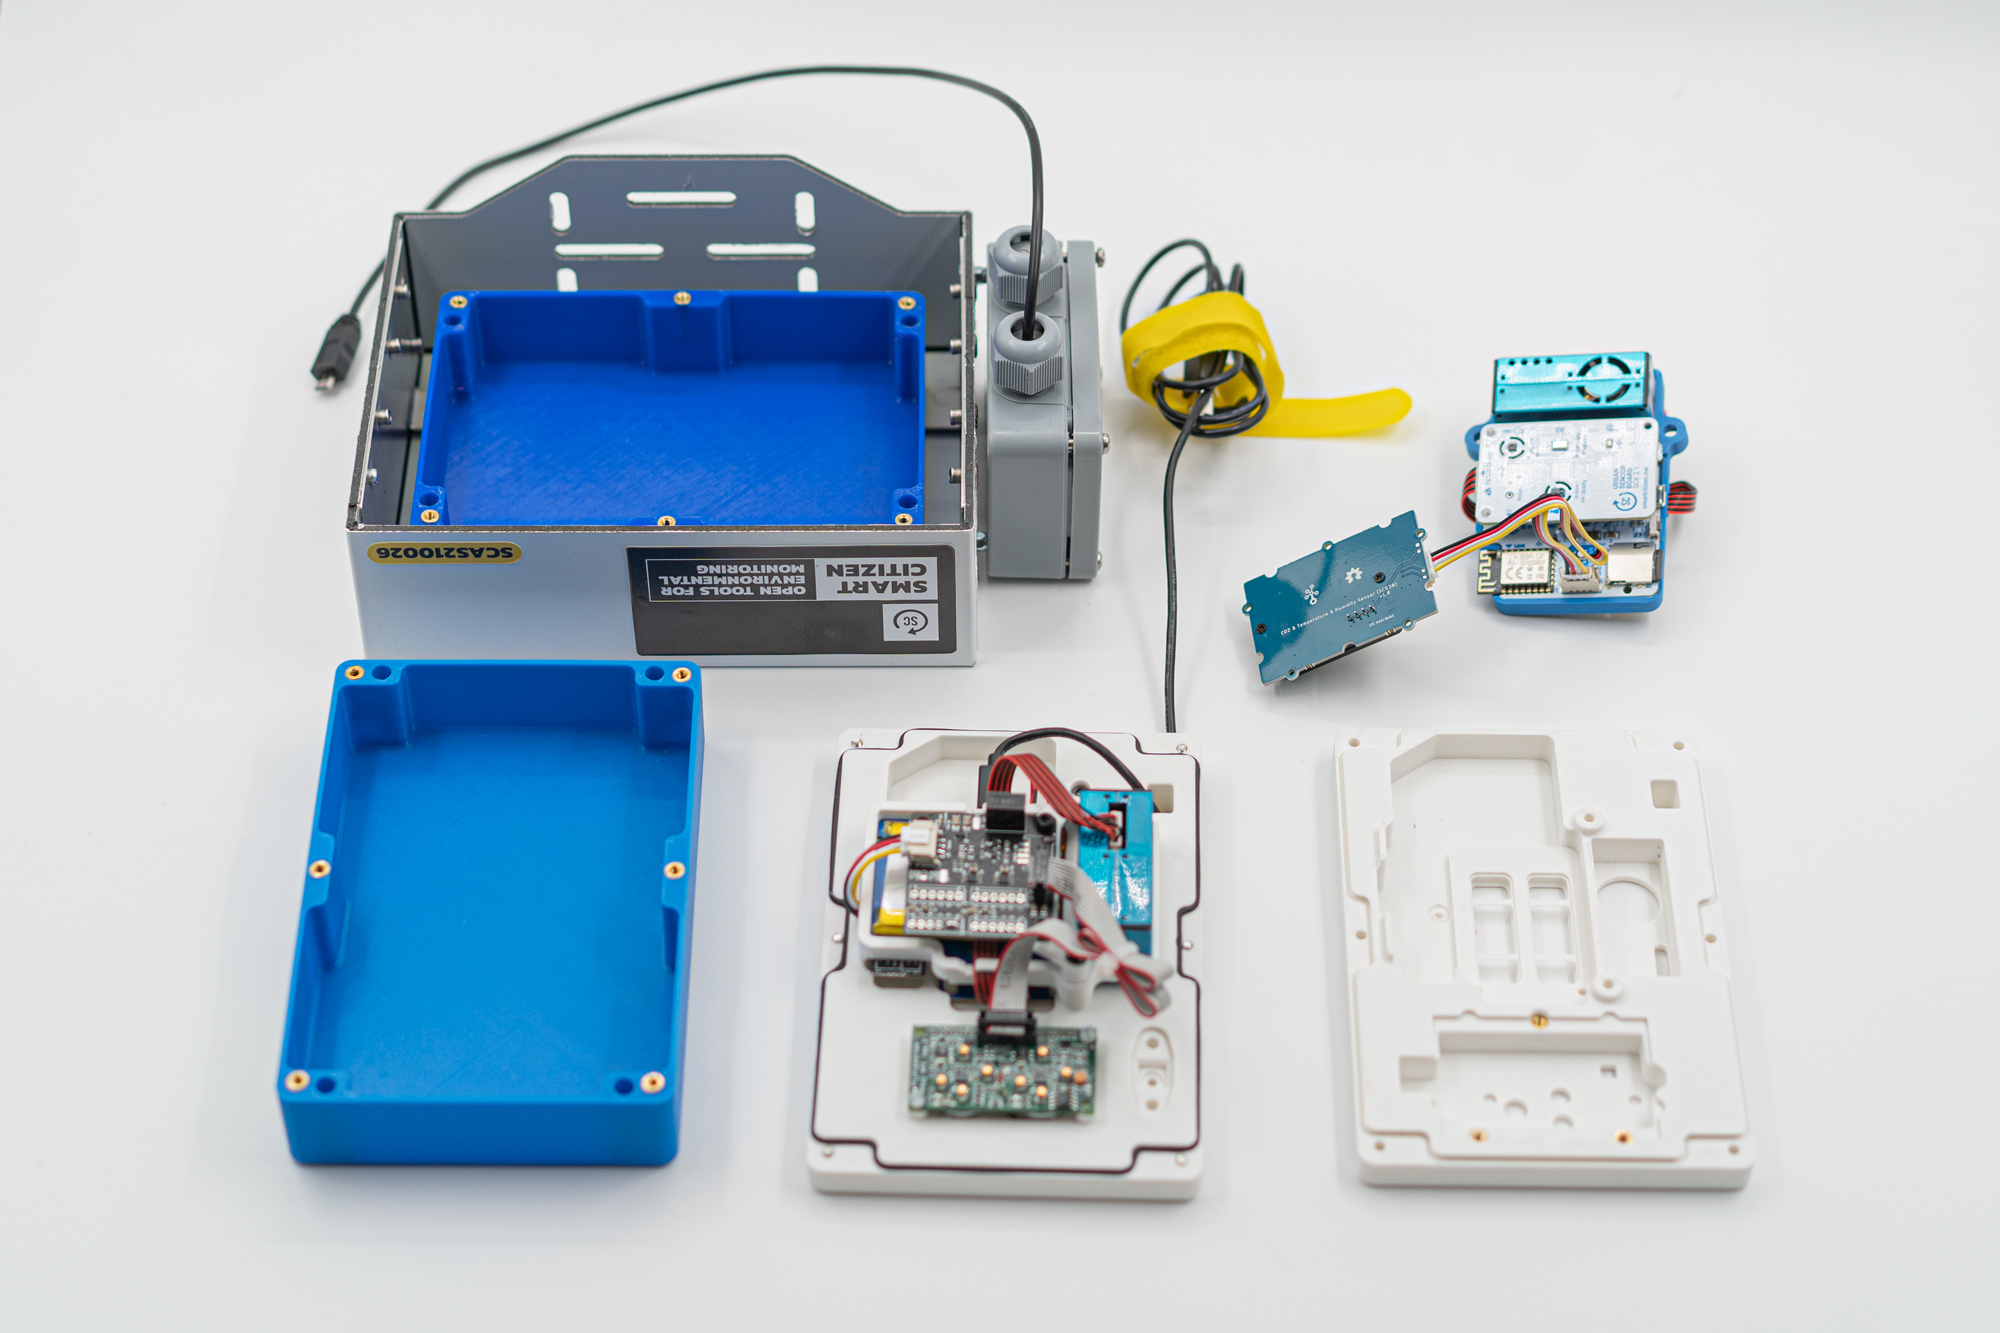
Setup the workspace with what you need:
- White base containing with sensors (with 6x M3x10 PH Inox screws)
- Blue cover
- Umbrella cover
- 4x M3x10 HEX Inox screws
- 2x screw drivers

-
Disconnect the plug from the power supply in case you connected it earlier
-
If the blue cover and white sensor base is assembled, open it up using the philips screw driver
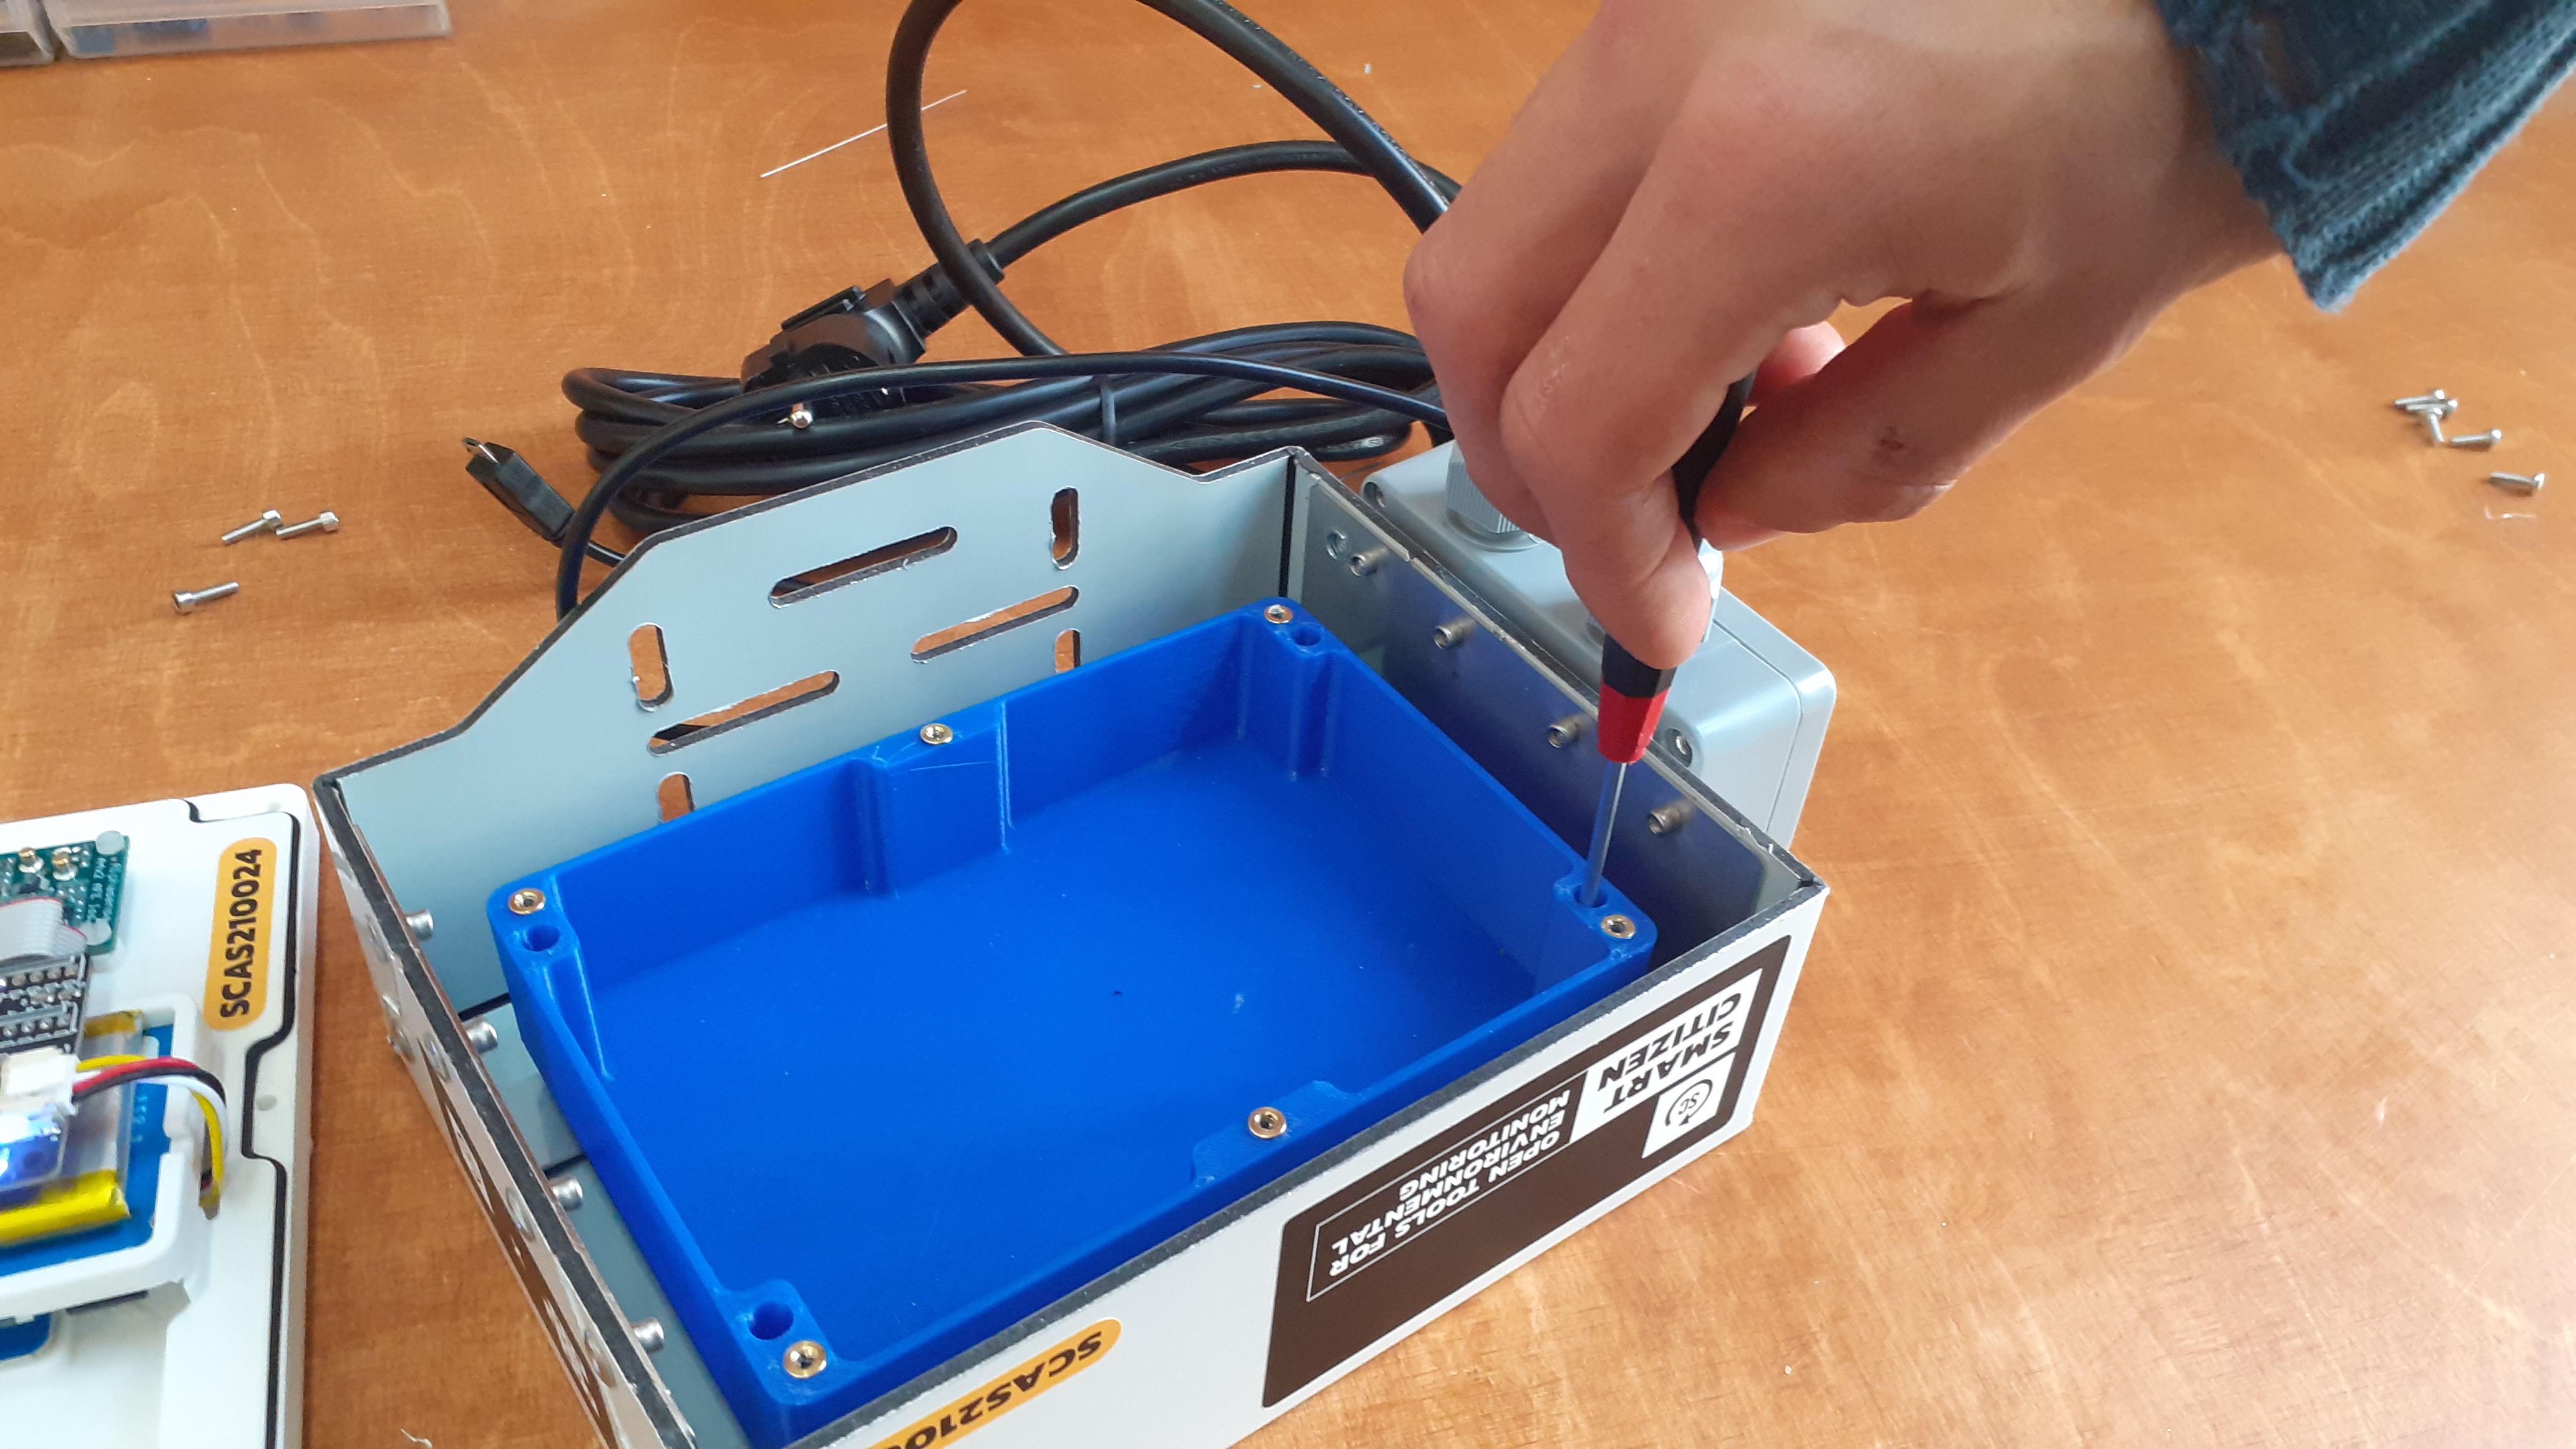
-
Introduce the HEX screws in the holes of the blue cover

- Attach the blue cover to the umbrella in the 4 corners and attach it with the screws in place
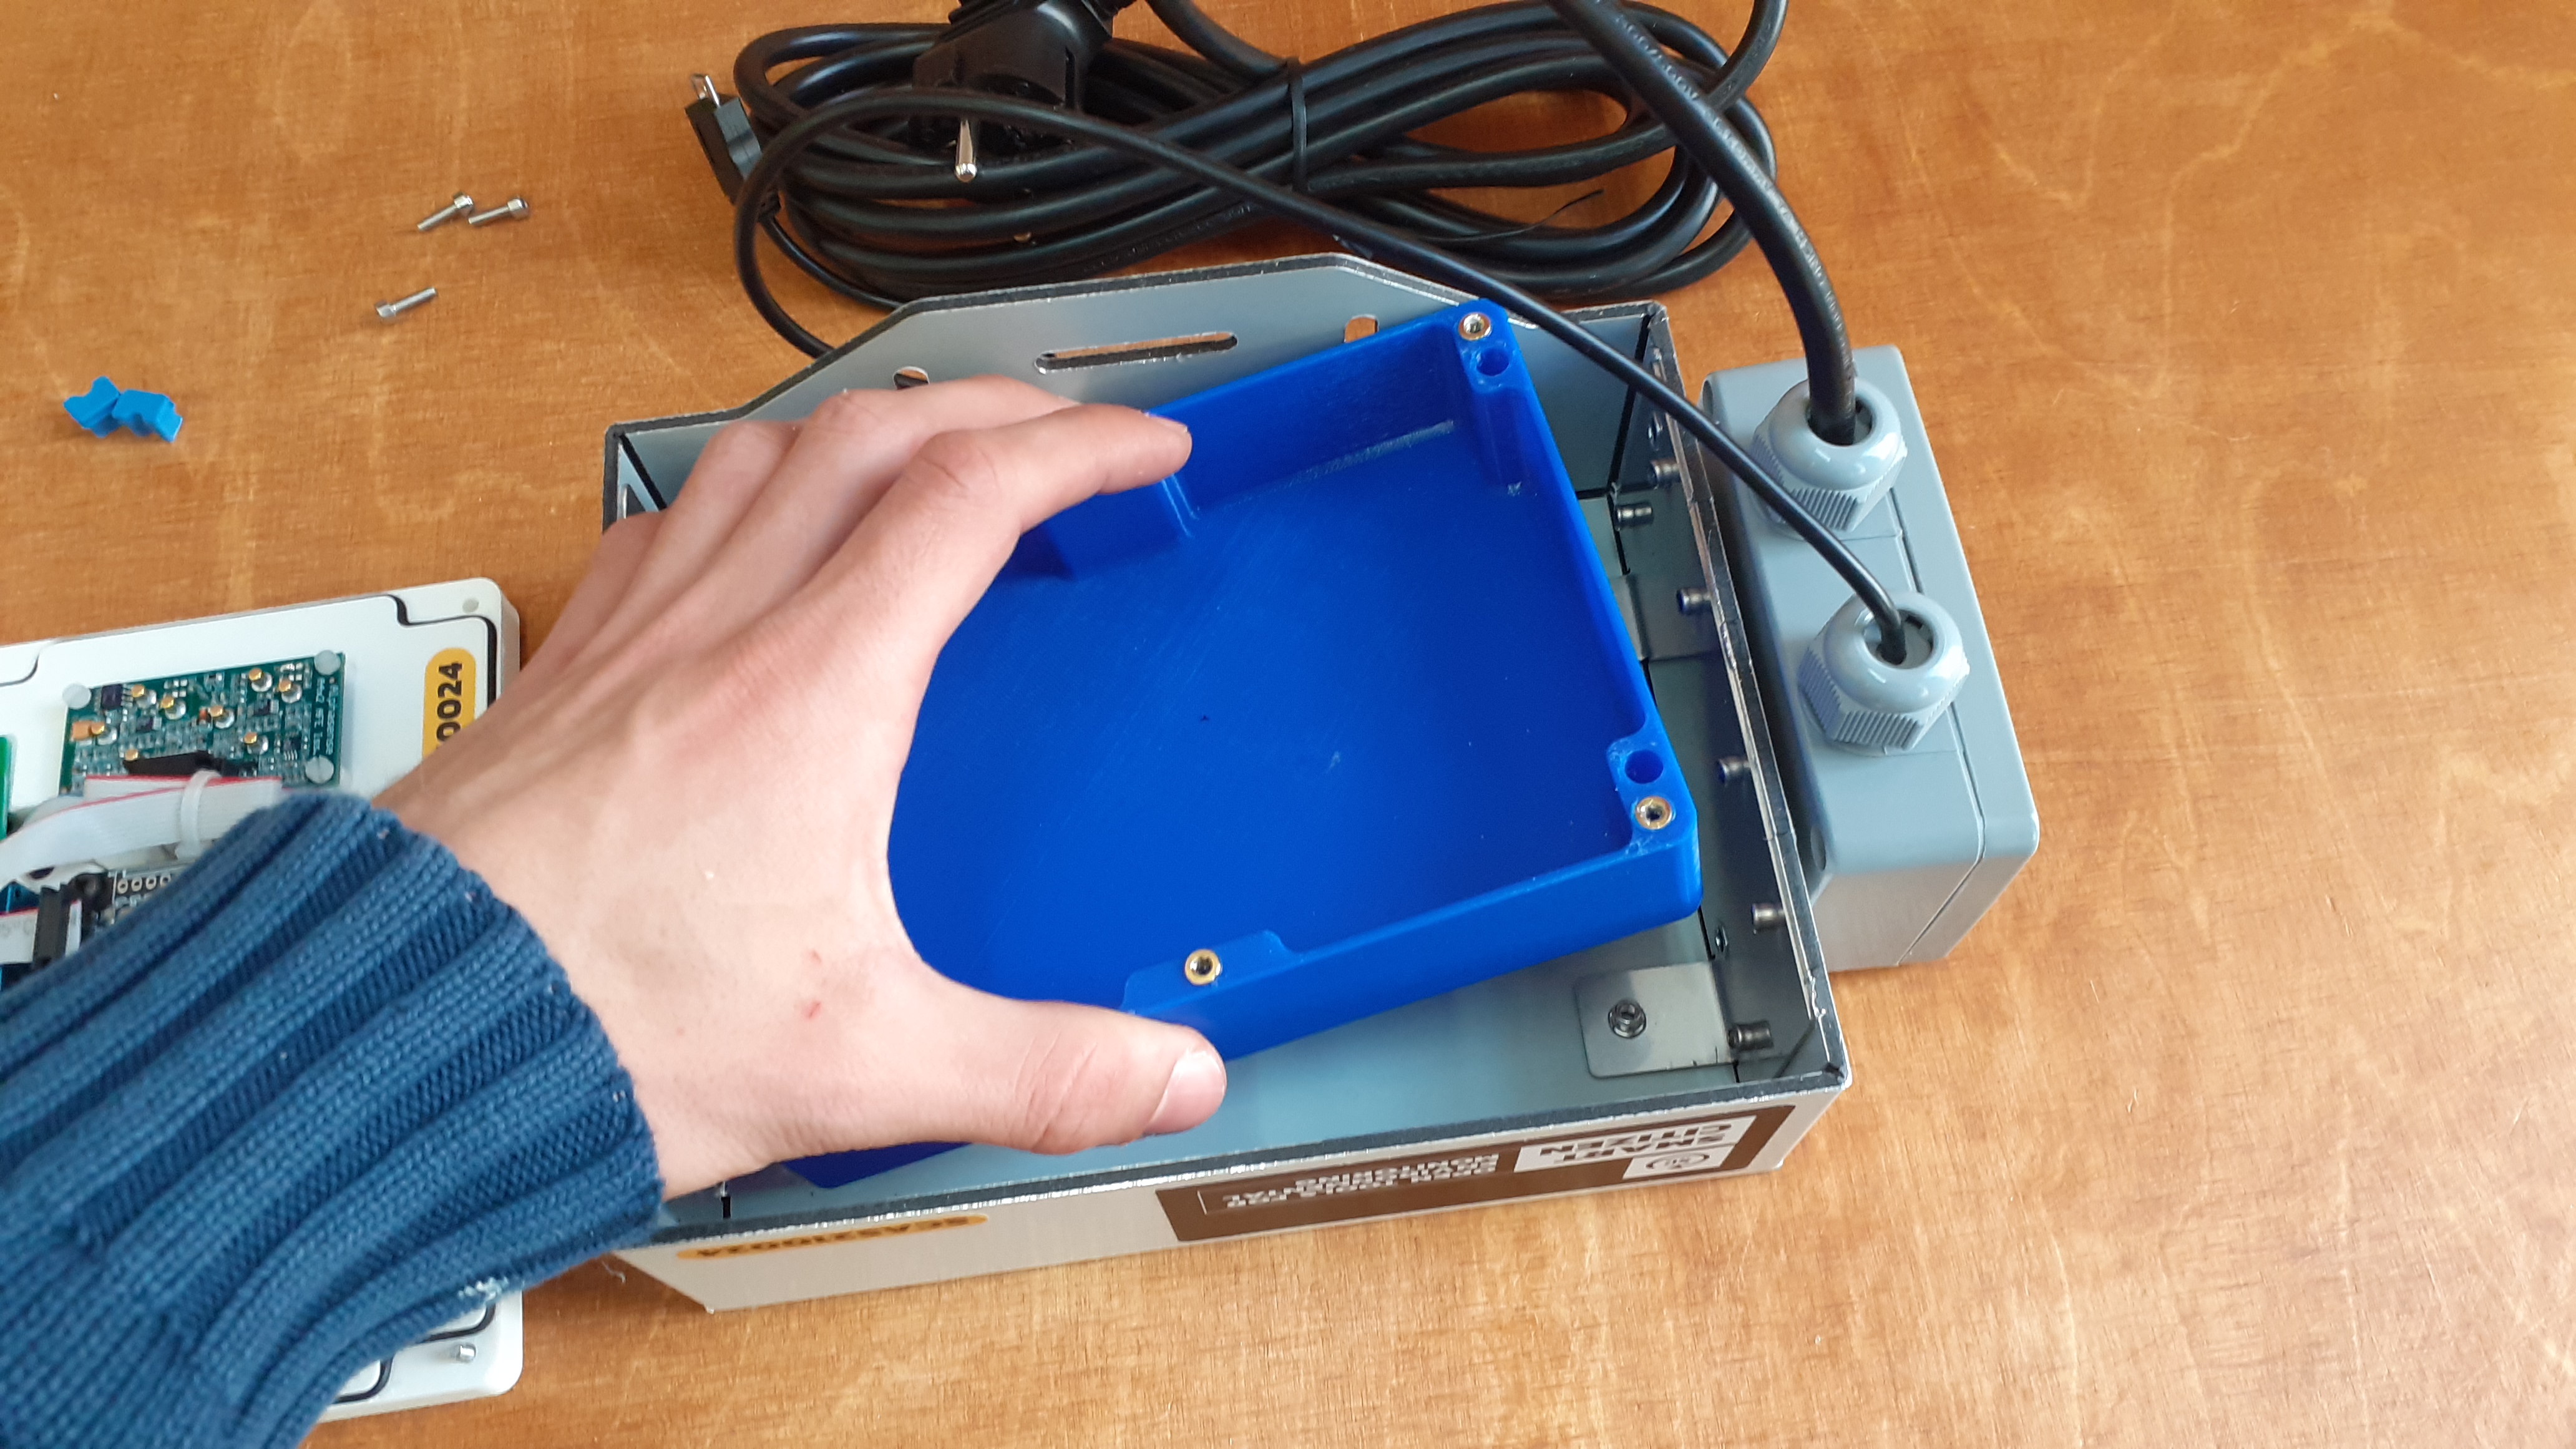
- Pass the USB cable through the hole and put the small cable gland to fit it in place
-
Turn on the device by pressing the ON/OFF button
-
And finally close it with the 6 screws in the white base
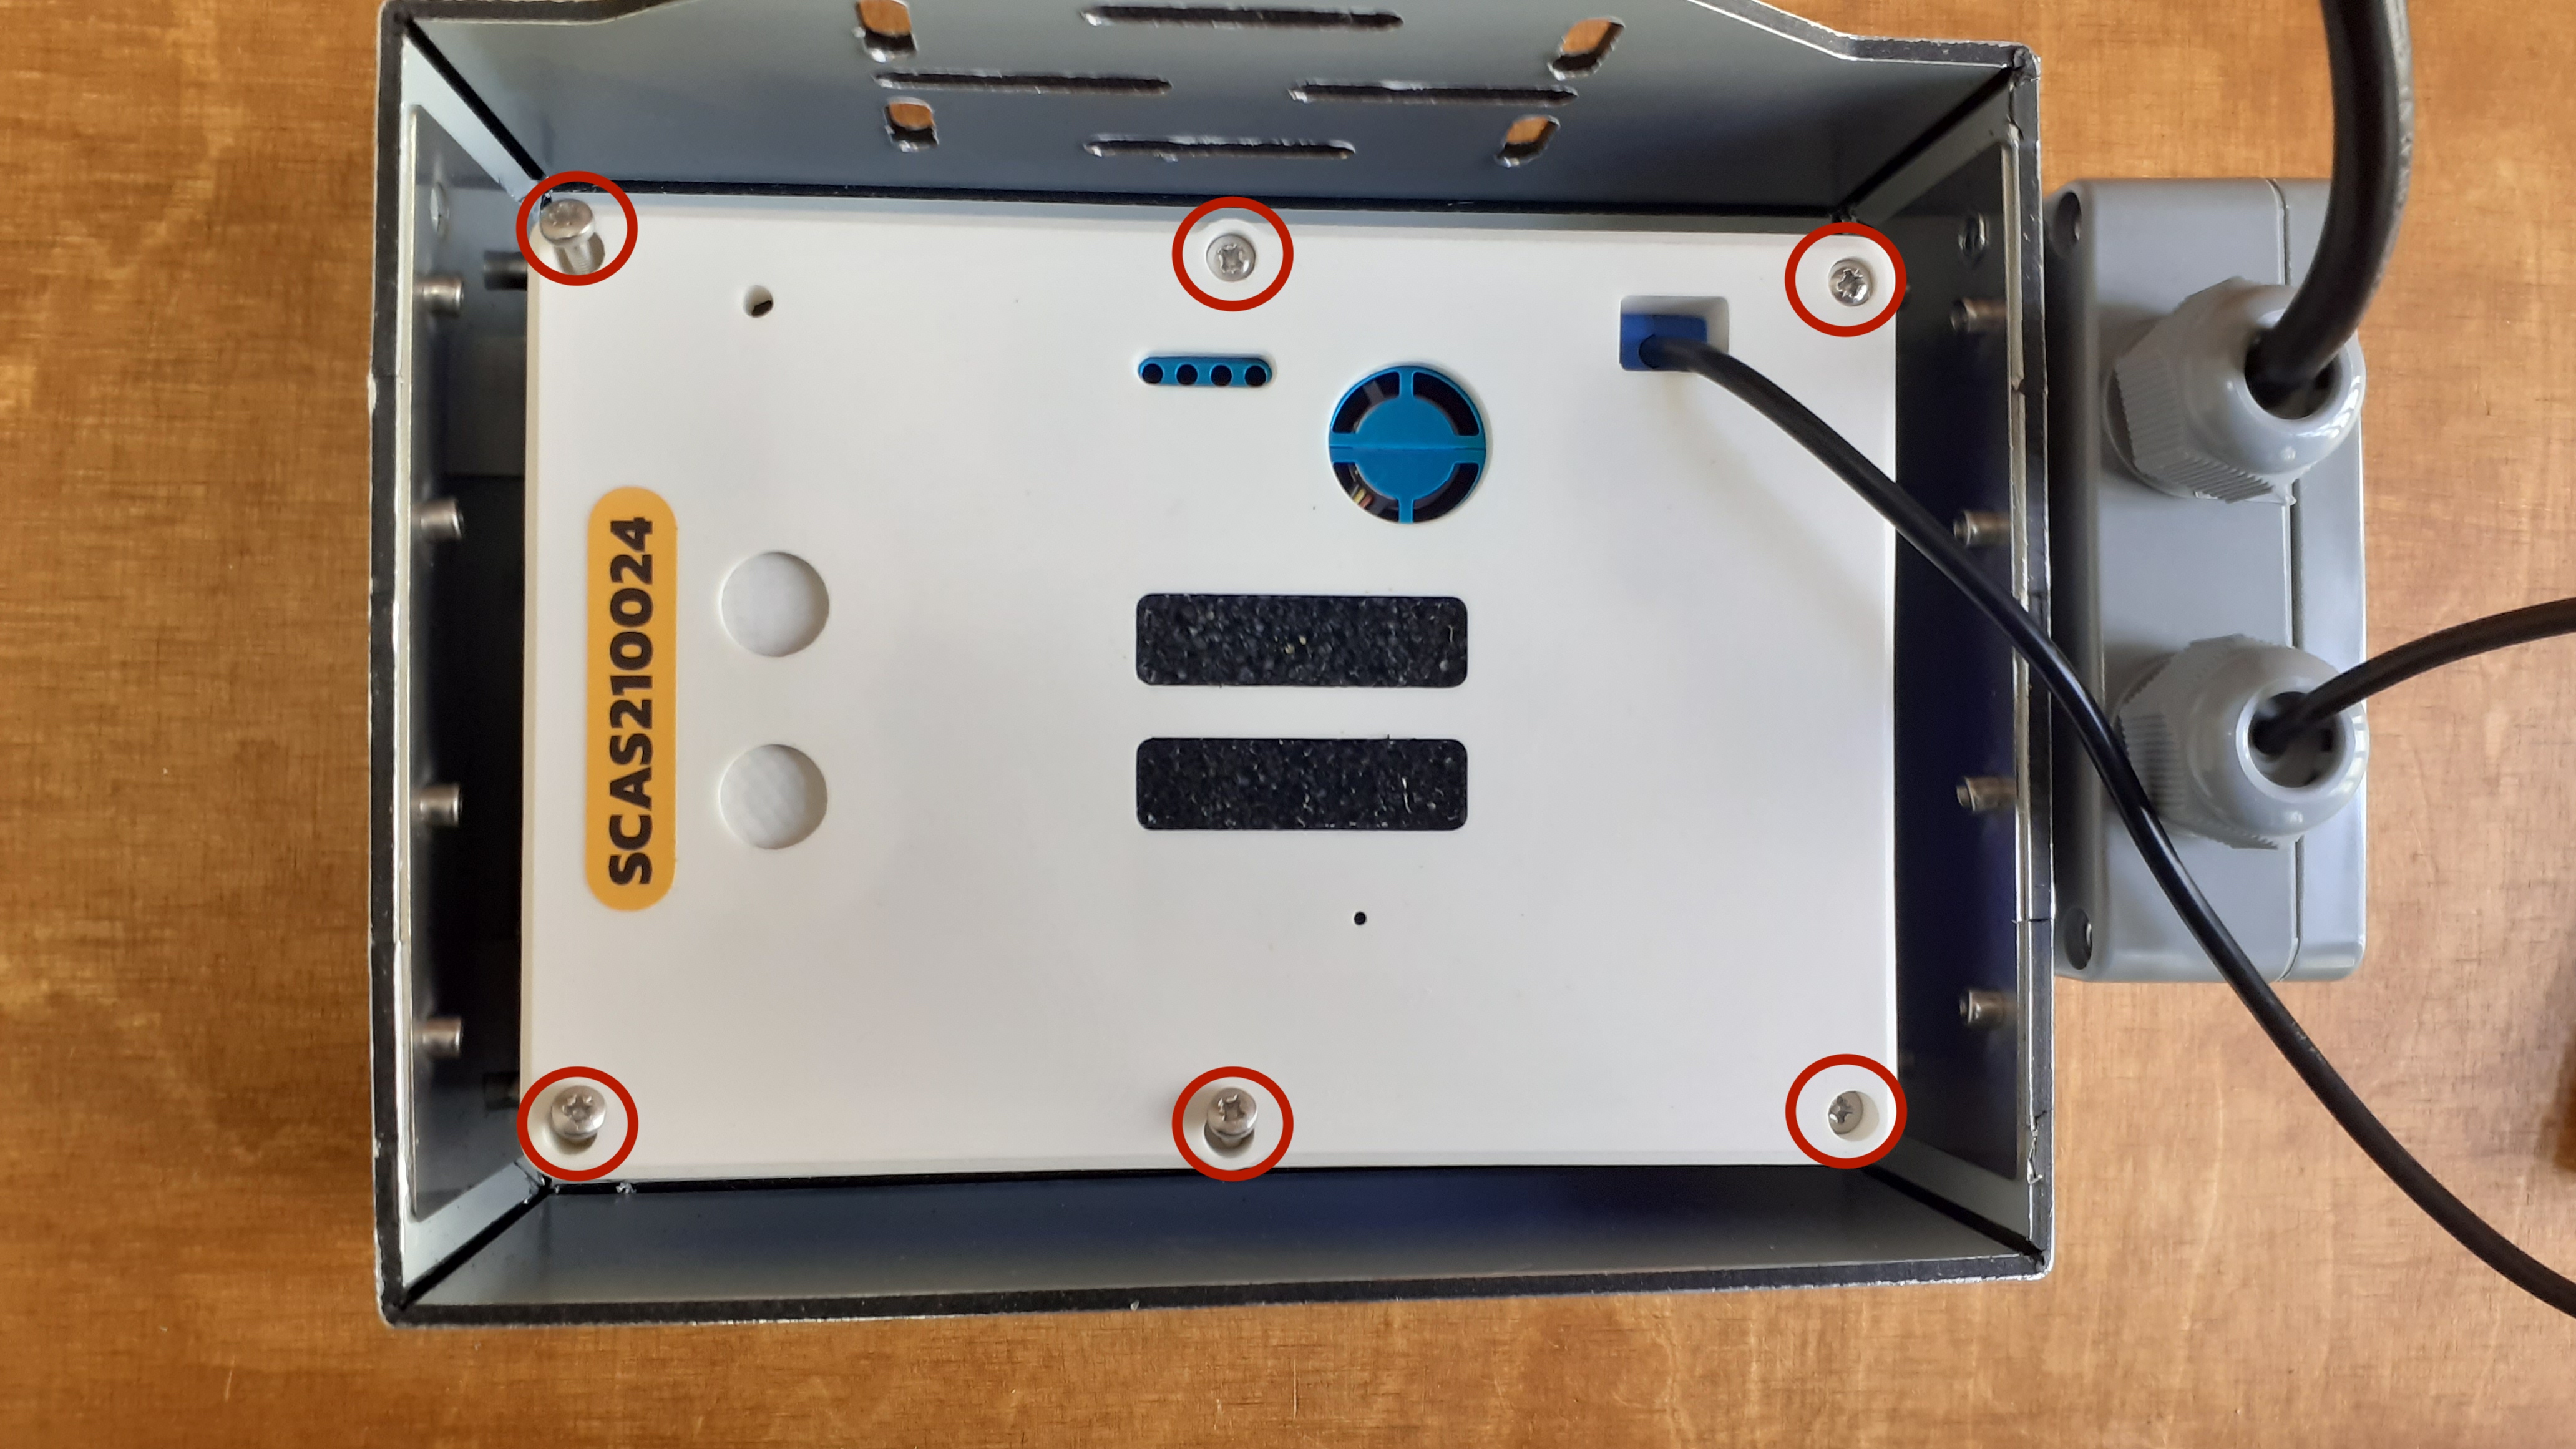
- Note: if you forgot to turn it on, you can always use the reset button